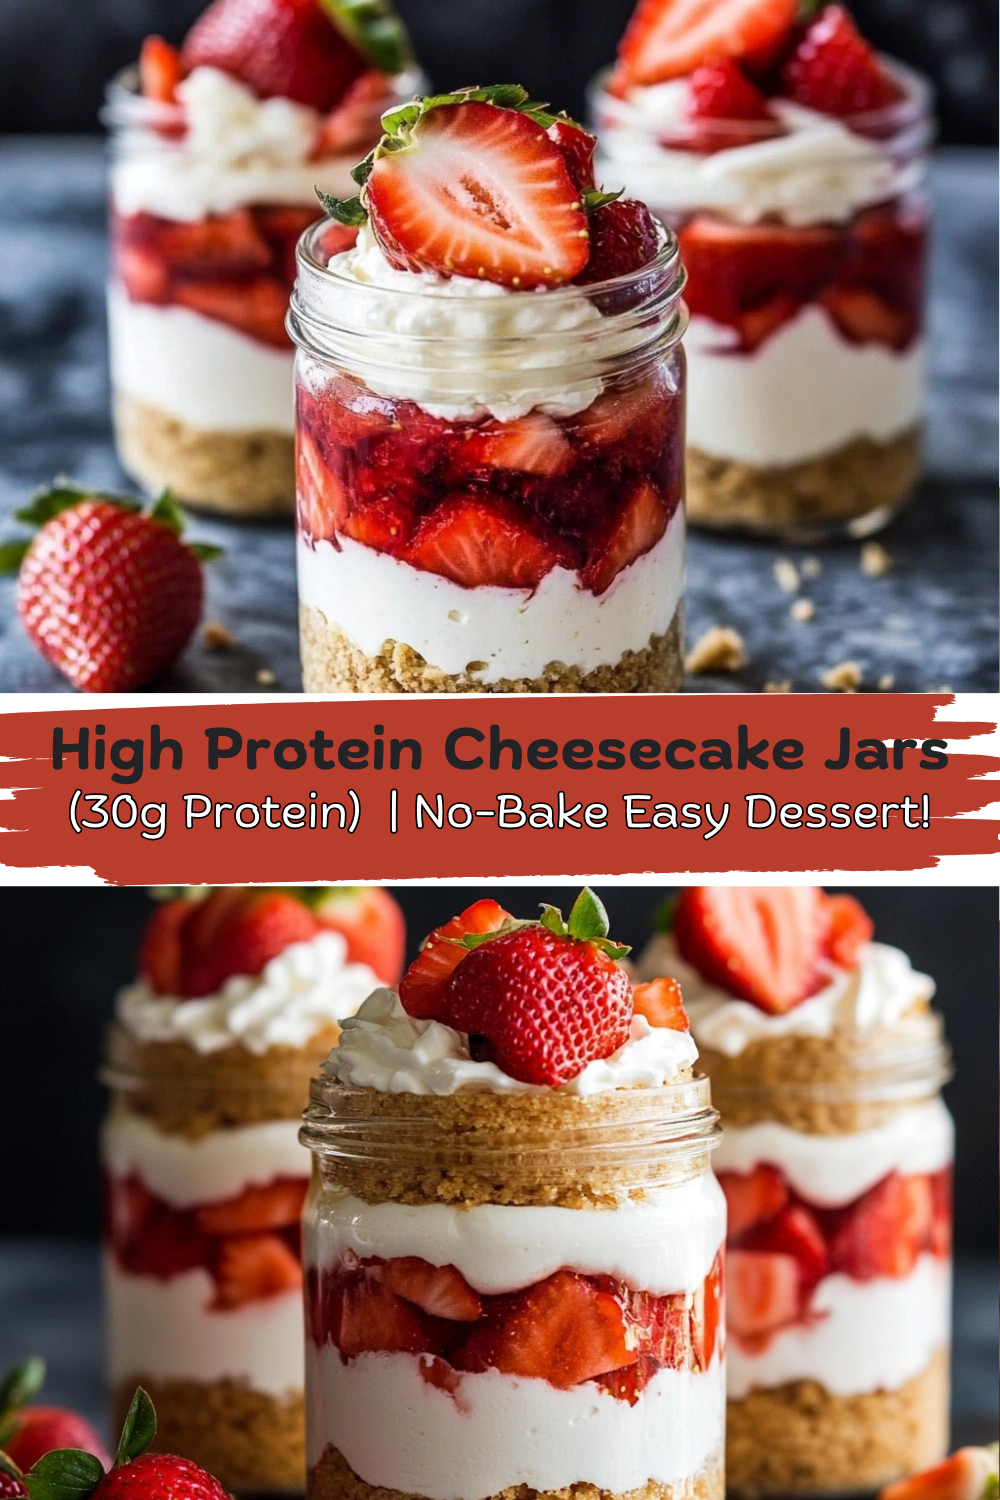
🍰🍓 High Protein Cheesecake Jars – No-Bake Sweetness with 30g Protein! 🍓🍰
If there’s one thing I absolutely adore, it’s sharing tasty dishes that are secretly healthy—and today’s recipe checks all those boxes. We’re talking creamy cheesecake jars packed with berries, graham crackers, and a luscious, protein-rich filling. Best part? No oven required, my friends!
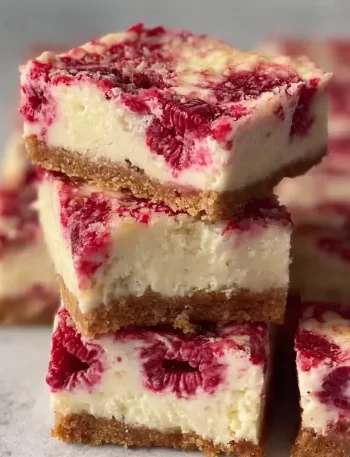
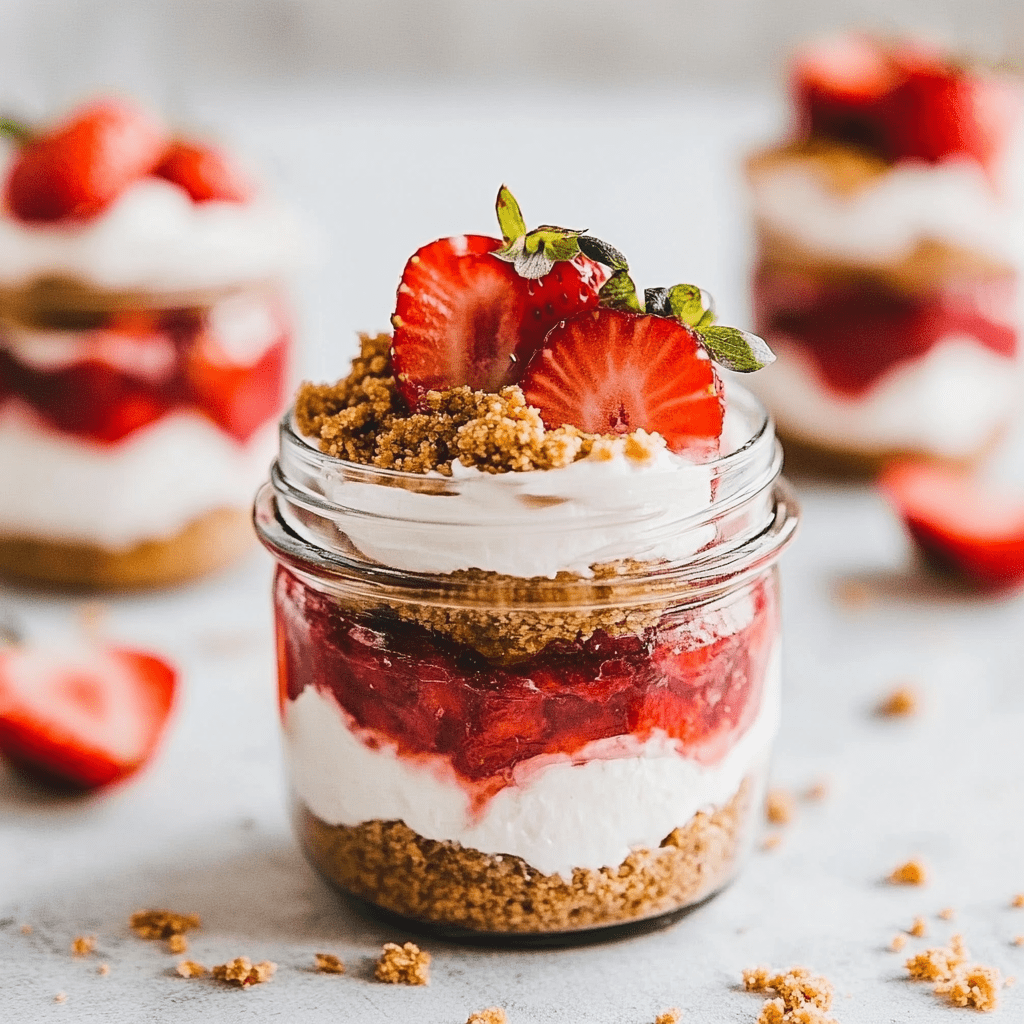
Imagine digging into smooth, fluffy cheesecake layers interrupted by crunchy crumbs and bursts of fresh berries. These delightful jars are packed with 30 grams of protein per serving, entirely no-bake, and unbelievably delicious.
Intrigued yet? Okay, grab a spoon and let’s dive in!
🥰 The Story Behind These Creamy Cheesecake Jars
Before we dive into the recipe, let me share a little memory. The first time I whipped these jars up was for a family dinner celebrating my sister’s birthday. She has always loved cheesecake, but she’s also super health-conscious. Honestly, I was nervous—would a healthy, no-bake cheesecake live up to her cheesecake expectations?
When I placed these adorable jars on the table, they got curious looks. A few spoons later, those uncertain faces melted into huge smiles. Everyone was completely blown away! My brother-in-law even asked me twice if they were indeed healthy.
Trust me—these cheesecake jars will fool even your most skeptical friends. They’re creamy, dreamy, bursting with flavor, and secretly good for you. And did I mention they’re packed with protein?
Let’s get cooking (… or rather, assembling)!
🛒 Ingredients You’ll Need (Serves 4)
Here’s your quick grocery list for delicious success:
– 2 cups cottage cheese (2% milk fat)
– 4 tbsp pure maple syrup
– 3 cups full-fat plain Greek yogurt
– 2 cups crushed graham crackers
– 1 cup fresh berries (strawberries, blueberries, raspberries, or your favorites!) plus extra for garnish
Yep, that’s it! Simple ingredients, amazing flavor. Ready?
👩🍳 How To Make High Protein No-Bake Cheesecake Jars
No oven means we get to enjoy these treats faster—hooray! Let’s make some cheesecake magic happen right now.
Step 1: Silky Smooth Cheesecake Base
Start by giving your cottage cheese some love. Add cottage cheese to a food processor and blend for around 2 minutes until velvety smooth. Scrape down the sides and blend again if necessary.
Tip: Silky cottage cheese makes a huge difference; spend an extra minute blending it nice and smooth!
Next, drizzle in the maple syrup and pulse again for 30 seconds. The sweetness perfectly complements our tangy cheesecake layer.
Step 2: Fold in the Greek Yogurt
Using a spatula, transfer your smooth, whipped cottage cheese-maple mixture into a large bowl. Add full-fat Greek yogurt gently, folding it in little by little until you get a thick, creamy, and decadent cheesecake filling. Don’t overmix—fold gently so the texture stays fluffy!
Kitchen confession: sometimes, I sneak a quick taste at this step—it’s irresistible, you’ve been warned!
Step 3: Assemble Your Beautiful Layers
Time for the fun part! Choose four glass jars or bowls to make your dessert look extra special. Layer in the following order:
– Crushed graham crackers (about 2 tbsp per jar)
– Cheesecake filling (a generous scoop, about 1/4 cup)
– Another layer of graham crackers
– Fresh berries (your choice, and be generous!)
– Another layer of creamy cheesecake mix on top
Repeat layers if your jar is a little taller, and end with cheesecake filling to make them picture-perfect.
Step 4: The Berry Best Garnish
Almost done! Decorate the top of your cheesecake jars with a sprinkle of extra graham cracker crumbs and fresh berries. I like sliced strawberries and blueberries for vibrant color contrast, but any berries you have on hand will be tasty and gorgeous.
Just like that—your no-bake, protein-packed cheesecake jars are ready to impress!
🥄 How to Serve Cheesecake Jars
Honestly, I love how versatile this recipe can be. Serve these cheesecake jars chilled straight from the fridge as:
– A guilt-free dessert that tastes indulgently creamy
– An impressive snack for guests (trust me, folks will beg for seconds)
– Grab-and-go breakfast jars for busy mornings (Who said cheesecake isn’t breakfast-friendly?)
For an extra luxurious touch, serve alongside fresh mint leaves or even a small drizzle of extra maple syrup or melted dark chocolate (shh, that’s our little secret!)
💡 Pro Tips from Your Kitchen Buddy (That’s Me!)
Want cheesecake jars worthy of a gourmet café? Here are some of my chef-tested secrets:
– Chill the jars in the fridge for 1–2 hours after assembling if you prefer a firmer, cheesecake texture.
– Swap maple syrup for honey or sugar-free syrup to customize sweetness to your liking.
– Get creative by adding in chopped nuts, shredded coconut, or even granola for an extra crunch!
🧁 Nutritional Goodness (Yes, Cheesecake Can Be Healthy!)
These sweet jars aren’t just tasty—they’re nutritional rockstars. Here’s the stats breakdown per serving (1 whole jar):
– Calories: 459
– Protein: 30g (seriously impressive!)
– Carbs: 62g
– Fat: 10g
– Sugar: 33g (pure maple and berries, for the win!)
– Fiber: 3g
– Calcium: 314mg
Cheesecake never looked better, didn’t it?
🎀 Final Thoughts from My Kitchen to Yours
Guys, I am SO thrilled for you to try these high-protein cheesecake jars. They’re insanely tasty, totally satisfying, and secretly nutritious. Creamy Greek yogurt and cottage cheese prove once again that healthy baking (or rather, no-baking!) can taste unbelievably amazing.
Give them a go, share them with friends and family, snap a pic, and tag me online—I can’t wait to see your creation!
Remember, eating healthy and deliciously doesn’t have to compromise fun. Cooking is about trying new things, sharing moments, and enjoying every spoonful!
Happy cooking, friends! Until next time—stay hungry!
Xoxo, your foodie friend 👩🍳❤️