Hot Chocolate Brownies: Your New Go-To Cozy Dessert
Hey there, friend! Let’s talk about that magical moment when you’re curled up on the couch, wrapped in your favorite blanket, and sipping on a steaming mug of hot chocolate. The world feels a little quieter, a little softer. Now, imagine capturing all that cozy, chocolatey magic and baking it into the fudgiest, most decadent brownie you’ve ever tasted. Sounds like a dream, right? Well, pull up a chair and preheat your oven, because we’re about to make that dream a delicious reality.
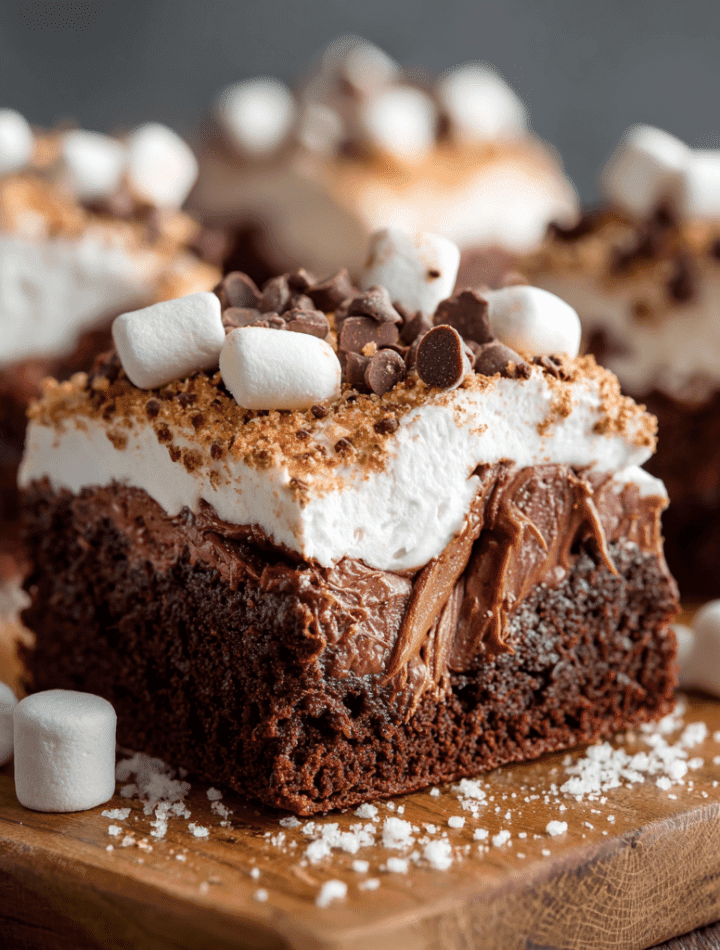
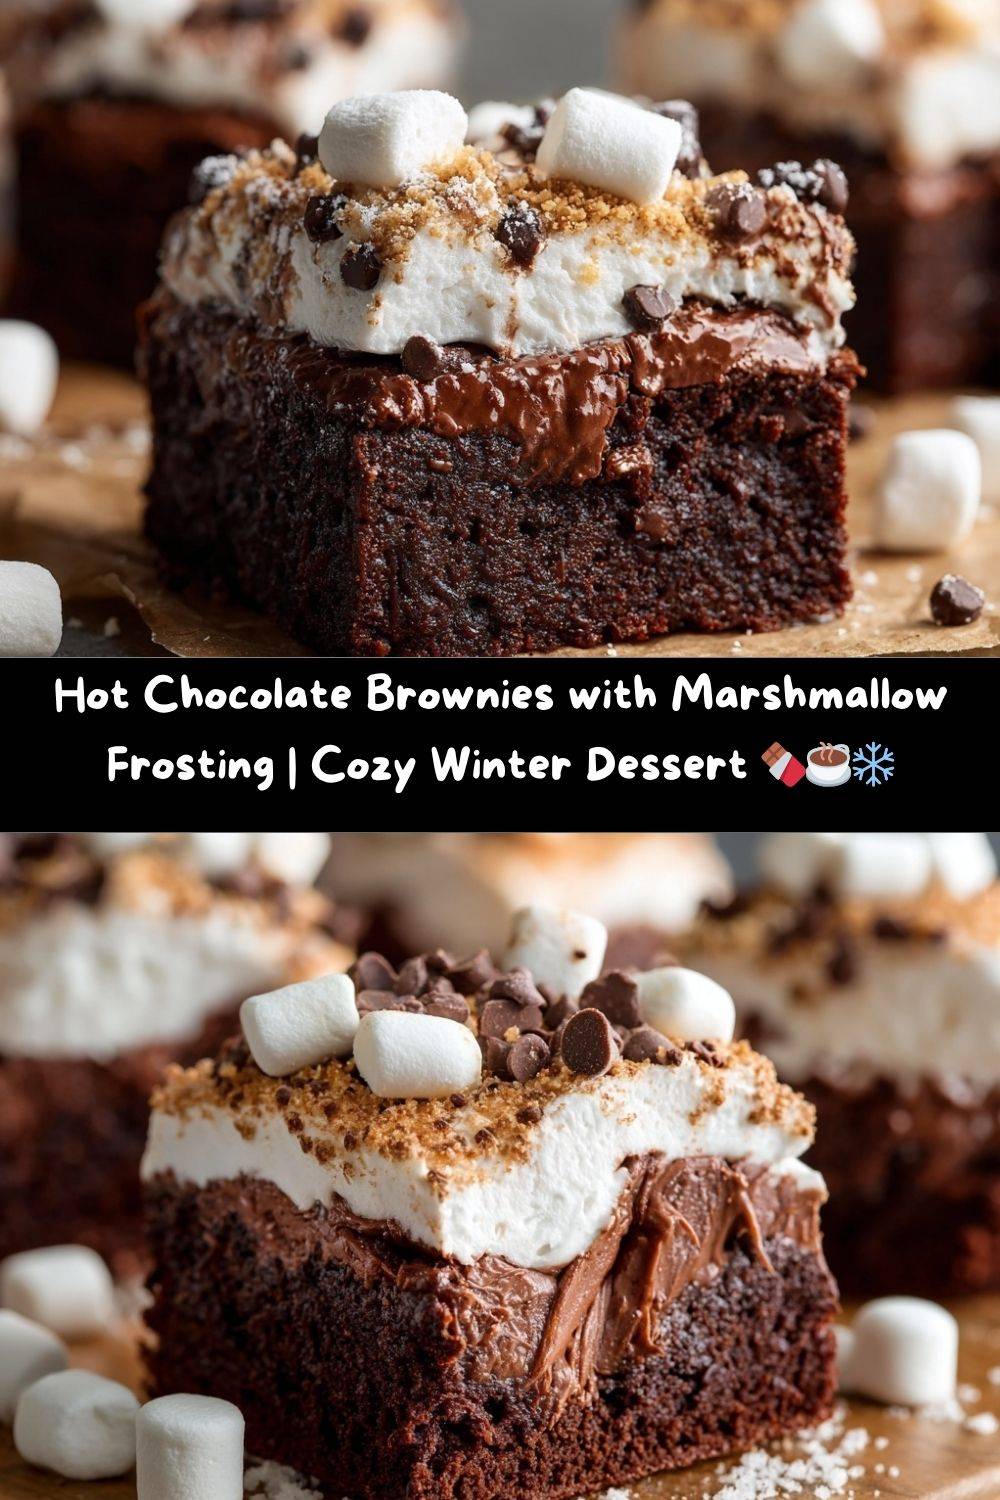
I’m so excited to share my recipe for Hot Chocolate Brownies with Marshmallow Frosting. This isn’t just any brownie recipe. This is a hug in dessert form. We’re taking a super-rich, fudgy brownie base—infused with that classic hot chocolate flavor—and crowning it with a cloud of sweet, fluffy, homemade marshmallow frosting. Each bite is a perfect symphony of textures and warmth, like your favorite winter beverage decided to put on its fanciest clothes and come to a party. Whether you’re baking for a holiday cookie swap, a cozy family gathering, or just because it’s Tuesday, these brownies are guaranteed to turn an ordinary day into a celebration. So, tie on that apron (the messy one is always the best), and let’s make something unforgettable together.
The Snow Day That Started It All
This recipe has a special place in my heart because it was born from one of my favorite kitchen memories. I was about ten years old, and a massive snowstorm had blanketed our town, canceling school and turning our backyard into a winter wonderland. After hours of building forts and having epic snowball fights with my brother, we’d stumble inside, our boots dripping and our cheeks bright red. My grandma, without fail, would have a pot of homemade hot chocolate simmering on the stove, the steam fogging up the kitchen windows.
One particular afternoon, she was also baking a pan of her famous fudge brownies. I remember watching her, covered in flour, and having a wild idea. “Grandma,” I declared, “what if we put the hot chocolate in the brownies?” She laughed that wonderful, full-bellied laugh of hers and said, “Well, Em, only one way to find out!” We ended up stirring a packet of instant cocoa mix right into the batter. The result was a little gritty, I won’t lie, but to our sugar-hyped, snow-day minds, it was pure genius. This recipe is the polished, grown-up (and much, much tastier) version of that childhood experiment—a tribute to grandmas, snow days, and the beautiful, delicious chaos of the kitchen.
Gathering Your Cozy Ingredients
This recipe is all about building layers of chocolatey flavor, so using quality ingredients makes a world of difference. Don’t worry, though—I’ve got plenty of substitutions and chef secrets to make this work with what you have in your pantry!
For the Fudgy Hot Chocolate Brownies:
- 1 cup Unsalted Butter: The foundation of our rich, fudgy texture. Using unsalted lets you control the salt level. If you only have salted, just reduce the added salt in the recipe by a quarter teaspoon.
- 8 oz Semisweet Chocolate, chopped: Don’t be shy with the chocolate! I prefer chopping a good-quality baking bar for the best melt, but high-quality chocolate chips work in a pinch.
- 2 cups Granulated Sugar: This sweetens the deal and also helps create that beautiful, crackly top we all love on a brownie.
- 4 Large Eggs: They need to be at room temperature to incorporate smoothly into the batter and give our brownies structure. Pro tip: if you forgot to take them out, just place them in a bowl of warm water for 5-10 minutes!
- 2 tsp Vanilla Extract: The ultimate flavor enhancer. It rounds out the chocolate and makes everything taste more complex.
- ½ cup Cocoa Powder: This is where that “hot chocolate” flavor really shines through. Use natural, unsweetened cocoa powder for the most authentic taste.
- 2 tsp Instant Coffee Granules: Wait, don’t skip this! I promise your brownies won’t taste like coffee. This is my favorite chef’s hack—the coffee deepens the chocolate flavor, making it taste richer and more intense.
- 1 cup All-Purpose Flour: The structural backbone. Be sure to measure it correctly—spoon it into the measuring cup and level it off for accuracy.
- ½ tsp Salt: A must! Salt is chocolate’s best friend, cutting the sweetness and making all the flavors pop.
- 1 cup Mini Chocolate Chips & ½ tsp Cinnamon (Optional): My special twist! The chips give you extra melty pockets of chocolate, and the cinnamon adds a subtle, warm note that whispers “cozy winter day.”
For the Dreamy Marshmallow Frosting:
- 2 cups Marshmallow Fluff: The star of the show! This gives us that iconic, gooey marshmallow flavor and texture without needing a blowtorch.
- 1 cup Unsalted Butter, softened: The base of our frosting. It MUST be softened to room temperature to get a light and fluffy consistency. If it’s too cold, you’ll have lumpy frosting.
- 2 tsp Vanilla Extract: A little extra vanilla in the frosting balances the sweetness perfectly.
- Pinch of Salt: Trust me on this—a tiny pinch in your frosting is a game-changer for balancing sweetness.
- 2 cups Powdered Sugar: This sweetens and stabilizes the frosting. Sift it if it’s lumpy for the smoothest result.
Let’s Bake! Your Step-by-Step Guide to Brownie Bliss
Ready to create some magic? Follow these steps, and you’ll be a brownie hero in no time. I’ve packed this section with all my favorite tips and tricks to ensure your baking success.
- Preheat and Prep: Start by preheating your oven to 350°F (175°C). This is non-negotiable for even baking! Then, line your 9×13-inch baking pan with parchment paper, leaving a little overhang on two sides. This is my ultimate hack for easily lifting the entire slab of brownies out of the pan for flawless cutting. If you don’t have parchment, just give the pan a light coating of butter and flour.
- Melt the Chocolate & Butter: In a medium saucepan over low heat, combine the butter and chopped semisweet chocolate. Stir constantly until it’s just melted and smooth. We’re not trying to cook it, just melt it. The moment it’s liquid, take it off the heat. This prevents the chocolate from seizing or burning. Your kitchen should already be smelling amazing.
- Whisk in the Sugar: Whisk the granulated sugar directly into the warm chocolate-butter mixture. You’ll see it start to look a little grainy and shiny—that’s perfect! The residual heat will begin to dissolve the sugar.
- Incorporate the Eggs & Flavor: Now, beat in the eggs one at a time, whisking vigorously after each addition. This is key for that shiny, crackly top! After the eggs are fully incorporated, whisk in the vanilla extract, cocoa powder, and those all-important instant coffee granules.
- Fold in the Dry Ingredients: Switch to a spatula for this part. Add the flour and salt, and gently fold them in until the last streak of flour disappears. Do not overmix! Overmixing is the enemy of a fudgy texture, as it develops gluten and can make brownies tough. Once the flour is just incorporated, fold in the mini chocolate chips and cinnamon if you’re using them.
- Bake to Perfection: Pour the thick, luxurious batter into your prepared pan and smooth the top with your spatula. Pop it into the preheated oven and bake for 23-27 minutes. You want to pull them out when the edges look set and the center is still slightly soft and gooey. A toothpick inserted into the center should come out with a few moist crumbs attached, not completely clean. Remember, they will continue to cook as they cool!
- The Most Important Step: Let Them Cool! I know, the temptation is REAL. But you must, must, MUST let the brownies cool completely in the pan on a wire rack before you even think about frosting them. If you frost them warm, the frosting will melt into a puddle (a delicious puddle, but still). Patience is a virtue that pays off in perfectly layered brownies.
- Whip Up the Marshmallow Frosting: While the brownies are cooling, let’s make that fluffy cloud of frosting! In a large bowl, use an electric mixer to beat the softened butter on medium-high speed until it’s pale and super fluffy—this should take about 3-4 minutes. Add the Marshmallow Fluff, vanilla, and salt, and beat until combined. Gradually add the powdered sugar, starting on low speed so you don’t get a sugar-dust storm, then increase the speed and beat for another 2-3 minutes until the frosting is light, smooth, and dreamy.
- Frost and Finish: Once the brownies are completely cool, spread the marshmallow frosting evenly over the top. For a final chef’s touch, you can dust the top with a little extra cocoa powder through a fine-mesh sieve. If you’re feeling extra, now is the time to sprinkle on those crushed graham crackers or mini marshmallows!
How to Serve These Cozy Masterpieces
Presentation is part of the fun! Here’s how I love to serve these brownies to make them feel extra special.
For a classic look, use a sharp knife (wiping it clean between cuts) to slice the brownies into neat squares. Pile them high on a beautiful cake stand or a rustic wooden board. If you really want to lean into the hot chocolate theme, serve each brownie on a small plate with a dusting of cocoa powder and a few mini marshmallows on the side. For the ultimate cozy experience, pair a warm brownie (you can gently warm it in the microwave for 10 seconds) with a cold glass of milk or a hot cup of coffee. The contrast is absolutely divine. These are the perfect dessert for a holiday party, a potluck where you want to be the star, or just a quiet night in with a good movie.
Get Creative! Fun Recipe Variations
One of the best things about baking is making a recipe your own. Here are a few of my favorite ways to mix things up!
- S’mores Supreme: Before baking, press handfuls of graham cracker pieces into the top of the brownie batter. After frosting, top with mini marshmallows and use a kitchen torch to gently toast them for that classic campfire flavor.
- Mint Chocolate Chip: Add 1 teaspoon of peppermint extract to the brownie batter along with the vanilla, and swap the mini chocolate chips for mint chocolate chips. It’s like a festive candy cane in brownie form!
- Salted Caramel Swirl: Dollop ½ cup of thick salted caramel sauce over the brownie batter right before baking. Use a knife or toothpick to swirl it gently into the batter for beautiful marbled layers.
- Gluten-Free Goodness: You can easily make these gluten-free by substituting the all-purpose flour with a 1:1 gluten-free flour blend. I’ve had great success with this swap, and no one can tell the difference!
- Mocha Madness: For the coffee lovers, increase the instant coffee granules to 1 tablespoon for a stronger mocha kick. It’s a grown-up twist that’s simply irresistible.
Chef Emily’s Secret Notes
This recipe has evolved so much since that first snowy-day experiment. The biggest lesson I’ve learned? The instant coffee granules were the breakthrough. I added them on a whim one day, and it was like someone turned up the volume on the chocolate flavor. Now I add a pinch to almost all my chocolate baked goods!
Another funny story: I once tried to double the recipe in a single pan, thinking I was being efficient. Let’s just say I spent the next hour cleaning a volcano of chocolate lava out of my oven. Learn from my mess—stick to the recommended pan size! These brownies have become a staple in my home, and I love hearing how they become a staple in yours, too. Don’t be afraid to get messy and make this recipe your own.
Your Brownie Questions, Answered!
Over the years, I’ve gotten a lot of questions about this recipe. Here are the answers to the most common ones to help you bake with confidence.
- My brownies are too cakey. What did I do wrong? The most common culprit is overmixing the batter after adding the flour, or using too many eggs. Remember, fold just until combined! Also, be sure you’re using large eggs, not extra-large or jumbo, as that can throw off the wet-to-dry ratio.
- Can I make these brownies ahead of time? Absolutely! They are actually even better the next day. Once cooled and frosted, store them in an airtight container at room temperature for up to 3 days. The flavors have more time to meld and become even more fudgy.
- My frosting is too runny. How can I fix it? This usually happens if the butter was too soft or the brownies were still warm. You can try popping the whole bowl of frosting into the fridge for 15-20 minutes to firm up the butter, then re-whip it. If it’s still runny, you can add a little more powdered sugar, a quarter cup at a time, until it reaches a spreadable consistency.
- I don’t have Marshmallow Fluff. What can I use? No problem! You can make a simple Swiss Meringue Frosting instead, or even use jarred marshmallow creme (it’s the same thing!). For a quick fix, you could simply top the cooled brownies with a layer of mini marshmallows and broil them for 30-60 seconds until puffy and golden (watch them closely!).
A Little Note on Nutrition
Let’s be real: these brownies are a treat, and they’re meant to be enjoyed as such! While I’m all about balance, I also believe in indulging in desserts made with love and real ingredients. This recipe uses real butter, quality chocolate, and simple pantry staples.
Each brownie (assuming you cut the pan into 24 generous squares) provides approximately 320 calories, 3g of protein, 38g of carbohydrates, 18g of fat, and 26g of sugar. If you’re looking for ways to lighten it up slightly, you can reduce the sugar in the brownies by ¼ cup—they’ll be less fudgy but still delicious. Remember, enjoying a homemade dessert is about more than just the numbers; it’s about the joy of baking, the warmth of sharing, and creating sweet memories. So savor every single bite!
Final Sweet Thoughts
And there you have it! My ultimate recipe for Hot Chocolate Brownies with Marshmallow Frosting. This dessert is more than just a combination of sugar, flour, and chocolate; it’s a feeling. It’s the taste of nostalgia, the warmth of a cozy kitchen, and the joy of sharing something truly special with the people you love.
I hope this recipe brings as much happiness to your home as it has to mine. Don’t forget to tag me @TastyChow on social media if you make them—I absolutely love seeing your creations! Now, go forth and bake. Your kitchen is waiting, and so is that empty pan, ready to be filled with something magical.