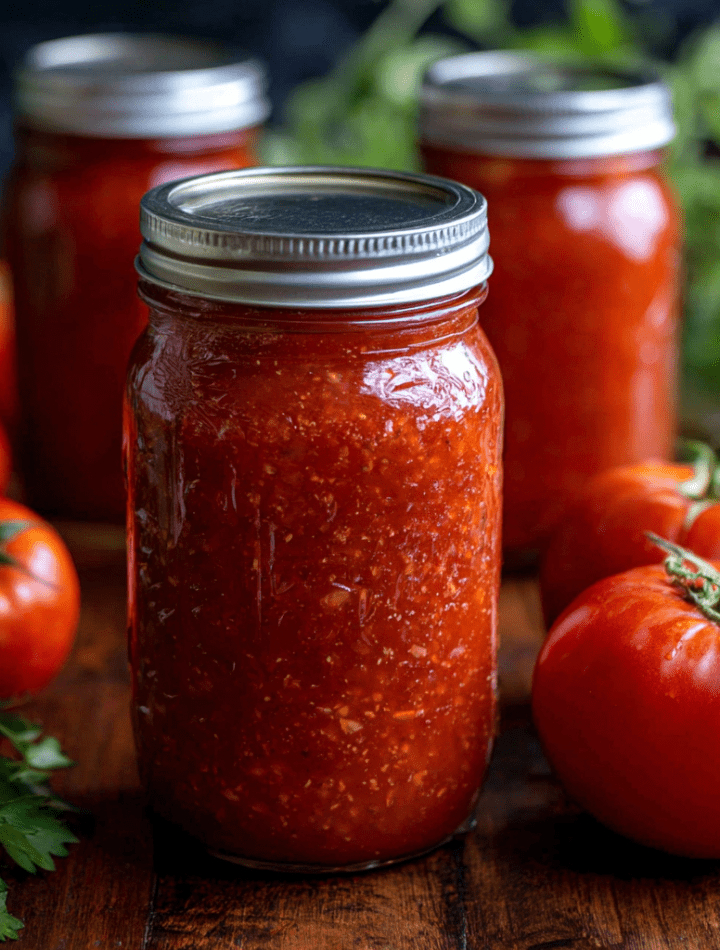
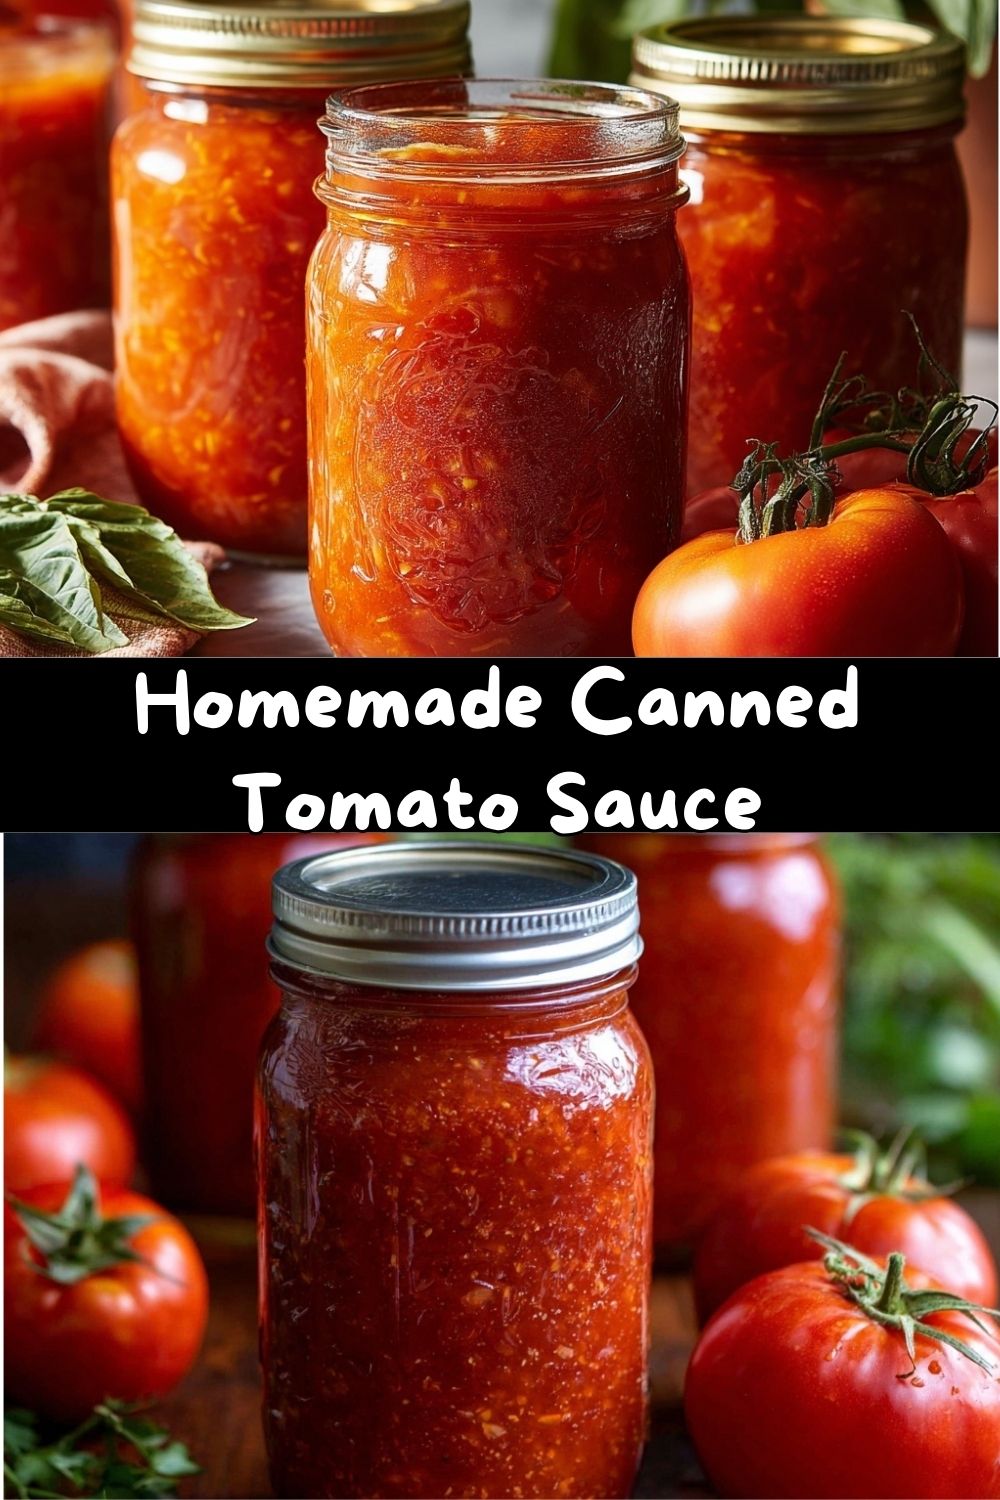
Capture Summer in a Jar: Your Guide to Homemade Canned Tomato Sauce
Hey friends! Emily here, from my flour-dusted kitchen to yours. Is there anything that sings “summer” quite like a sun-warmed, perfectly ripe tomato? That burst of sweet, tangy juice is pure liquid sunshine. But here’s the thing—what if we could bottle that feeling? What if, on a chilly February evening, you could pop open a jar and be instantly transported back to August’s golden light?
That, my fellow flavor-chasers, is the magic of canning your own tomato sauce. It’s not just preserving food; it’s preserving moments. The satisfaction of lining up those gleaming jars on your shelf is a special kind of kitchen trophy. I know the idea of canning can seem a little intimidating, maybe even old-fashioned. Visions of complicated equipment and strict rules might pop into your head. But trust me, with a solid, safe recipe and a dash of confidence, it’s one of the most rewarding kitchen projects you’ll ever tackle.
Today, I’m walking you through my go-to, beginner-friendly water bath method. We’re going to keep it safe, keep it simple, and focus on capturing the pure, vibrant essence of tomato. We’ll talk about why acidity is our best friend, how to achieve the perfect simmer, and my favorite little hacks to make the whole process a joy. So, roll up your sleeves, put on your favorite apron, and let’s turn that basket of summer bounty into a year’s worth of delicious possibilities. Your future self, craving a quick and incredible pasta dinner, will thank you profusely.
The Symphony of My Grandma’s Kitchen: Where My Canning Journey Began
My love for canning started not in culinary school, but in my Grandma Eleanor’s steamy, fragrant kitchen. Every late August, her house would transform into a tomato-canning command center. The air was thick with the smell of simmering sauce—earthy, sweet, and slightly metallic from the pots. It was a symphony of sounds: the *pop-pop-pop* of tomatoes being blanched, the rhythmic *chunk* of her old-fashioned food mill, and the satisfying *ping* of jars sealing as they cooled on her checkered tablecloth.
I was her official “lid-passer” and “rim-wiper,” jobs I took with immense seriousness at age eight. She’d let me taste the sauce straight from the spoon, always asking, “Needs a little more love, Em?” which was her code for a pinch of salt. The real magic happened months later, in the dead of a snowy winter, when she’d open a jar for Sunday dinner. That taste wasn’t just tomato; it was summer memories, patience, and her unwavering love, all preserved in glass. This recipe is an ode to her, simplified with modern safety standards, but carrying the same heart. When I hear that *ping* today, I’m right back in her kitchen, and that connection is something no store-bought jar can ever provide.
Gathering Your Sunshine: Ingredients & Why They Matter
Here’s what you’ll need to make about 6-7 pints of glorious homemade sauce. Remember, great preserved food starts with the best fresh ingredients you can find!
- 20 lbs Fresh Tomatoes (Roma or Plum preferred): These meaty, less-watery varieties are the canning MVP. They yield more sauce and cook down beautifully. Chef’s Insight: If you get a mix of heirlooms from the market, that’s fantastic for flavor! Just expect a slightly thinner, but possibly more complex, sauce.
- Bottled Lemon Juice or Citric Acid (2 tbsp per pint jar): This is our NON-NEGOTIABLE safety star. Tomatoes’ acidity can vary, and we must ensure a safely high acid level for water bath canning. Always use bottled lemon juice for consistent acidity (fresh is too variable). Citric acid is a great, flavor-neutral alternative you can find in the canning aisle.
- Salt (1 tsp per jar, optional): Pure canning or kosher salt is best. Iodized salt can cloud the brine. This is purely for flavor enhancement in the jar; you can always add more when cooking with the sauce later.
- Fresh Herbs or Garlic (OPTIONAL & Used Sparingly): A cautionary tale! For water bath safety, we avoid adding low-acid ingredients like onions, garlic, or large amounts of fresh herbs directly to the jar. Substitution Tip: If you crave those flavors, can your plain tomato sauce and sauté fresh garlic/onions/herbs when you open the jar to make your meal. It’s safer and the flavor is brighter!
Step-by-Step: The Dance of Turning Tomatoes into Treasure
Ready? Let’s break this down into simple, manageable steps. Put on some tunes, pour yourself a cool drink, and let’s get into the flow.
- Prep & Peel Your Tomatoes (The Blanching Ballet): Wash, core, and score a small “X” on the bottom of each tomato. In batches, lower them into a large pot of boiling water for 30-60 seconds until the skins split. Immediately transfer them to a waiting ice bath. Chef’s Hack: This shock stops the cooking and makes the skins slip right off like a silk jacket! Peel all the tomatoes—it’s meditative, I promise.
- Simmer & Sauce (The Transformation): Add your peeled tomatoes to a large, heavy-bottomed pot. Crush them with your hands (so satisfying!) or a potato masher as they heat. Bring to a lively simmer. You can leave it chunky, use an immersion blender for semi-smooth, or pass it through a food mill for silky seedless sauce. Simmer uncovered for 1-2 hours, stirring occasionally, until it thickens to a sauce consistency you love. Pro Tip: A simmering sauce splatters! Use a splatter screen or partially cover the pot with the lid tilted.
- Sanitize Your Jars & Gear: While the sauce simmers, wash your jars, lids, and rings in hot, soapy water. You can sterilize them by boiling in your canning pot for 10 minutes, or by running them through a dishwasher cycle and keeping them hot until use. Your jars must be HOT when filled with HOT sauce to prevent breakage.
- The Crucial Acid Addition: To each clean, hot pint jar, add 2 tablespoons of bottled lemon juice or 1/2 teaspoon of citric acid. (Double for quarts). This step is your safety insurance—don’t skip it!
- Fill ‘Em Up (The Main Event): Using a canning funnel and ladle, fill the hot jars with your hot sauce, leaving a 1/2-inch headspace (that’s the space between the sauce and the rim). Remove air bubbles by sliding a non-metallic tool (like a chopstick) around the inside. Wipe the rims impeccably clean with a damp paper towel—any food residue can prevent a seal.
- Apply Lids & Bands: Place the flat lid on the jar, then screw on the band until it’s “fingertip tight.” This means snug, but not Hercules-tight. The air needs to escape during processing.
- Water Bath Processing: Using a jar lifter, place the filled jars on the rack in your boiling water bath canner, ensuring they are covered by at least 1-2 inches of water. Bring back to a full, rolling boil, put the lid on, and start your timer: 35 minutes for pints, 40 minutes for quarts. Altitude Alert: If you live above 1,000 ft, you MUST increase processing time. Check the National Center for Home Food Preservation for guidelines!
- The Grand Finale: Cool & Store: When time is up, turn off the heat, wait 5 minutes, then remove the jars to a towel-lined, draft-free counter. Do NOT tighten the bands. Over the next 12-24 hours, you’ll hear the most beautiful sound: the musical *ping* of each jar sealing. Once completely cool, press the center of each lid. If it doesn’t flex, it’s sealed! Remove the bands, label, and store in a cool, dark place for up to a year.
How to Serve Your Liquid Gold
Opening a jar of your homemade sauce is a celebration! For a simple pasta night, gently heat the sauce in a saucepan. Since we canned it plain, now’s your chance to customize: sauté some garlic in olive oil until fragrant, pour in your sauce, and add a handful of fresh basil. Let it all get happy together. It’s incredible as a pizza base, simmered with meatballs, in lasagna, or as a braising liquid for chicken or eggplant. My favorite weeknight hack? Heat a jar with a can of drained white beans and a sprinkle of rosemary for a stunning, 10-minute soup.
Get Creative! Flavor Twists & Swaps
Once you master the basic safe method, you can play! Here are a few ideas for your next canning batch:
- “Garden Confetti” Chunky Vegetable Sauce: For a thicker, veggie-packed sauce, safely add 1 cup of finely diced carrots, celery, and bell peppers (all low-acid) per 4 cups of tomato puree. You MUST use a tested recipe from a source like the Ball Blue Book for correct acidification and processing times when adding low-acid veggies.
- Herb-Infused Oil Topper: Can your sauce plain. When serving, drizzle each bowl with a vibrant herb oil (blend basil, parsley, or oregano with olive oil) for a restaurant-worthy finish.
- Spicy Arrabbiata Base: Add 1/2 to 1 teaspoon of crushed red pepper flakes to each jar before adding the sauce for a built-in kick.
- No-Salt-Added Version: Simply omit the optional salt from the jar. The acid (lemon juice/citric) is still mandatory for safety.
- Roasted Tomato Sauce: For deeper flavor, halve tomatoes, toss with a little oil, and roast at 400°F until caramelized before proceeding with peeling and simmering.
Chef Emily’s Notes & Kitchen Confessions
This recipe has evolved from my grandma’s “a little of this, a little of that” method to one that prioritizes absolute safety without sacrificing soul. My biggest lesson learned? One year, I got cocky and added whole cloves of garlic to every jar because “it smelled right.” Let’s just say I spent that winter using those jars immediately and storing them in the fridge, not the pantry. It was a delicious but important reminder to respect the science of food safety. Now, I keep it pure in the jar and add my garlic later. Also, a friend once called me in a panic because her jars didn’t seal after cooling. Nine times out of ten, it was a tiny speck of sauce on the rim she missed. The wipe is everything! This process is part art, part science, and 100% love.
FAQs & Canning Confidence Boosters
Q: Can I use my own recipe for tomato sauce to can?
A: You can, but you must be sure it’s acidic enough for safe water bath canning. Tomatoes vary. For any recipe not specifically designed for canning, it’s safest to follow this method: add the required acid (2 tbsp bottled lemon juice per pint) to the jar, then fill with your *already cooked* sauce. Do not alter the proportions of added low-acid ingredients (like onions, peppers) unless using a tested recipe.
Q: Why did my liquid separate in the jar after processing?
A> Don’t worry! This is natural, especially with chunkier sauces. The solids settle, and clear liquid (often from the lemon juice) may rise to the top. It’s perfectly safe and will reincorporate when you shake or stir the jar upon opening.
Q: A jar didn’t seal! What do I do?
A> First, don’t panic. Check the lid for nicks and the rim for cracks. You have two options: 1) Refrigerate it and use that jar within a week, or 2) Immediately reprocess it with a new, sanitized lid. Reheat the sauce, fill a clean hot jar with acid, re-cap, and process for the full time again.
Q: Is it okay to skip peeling the tomatoes?
A> Technically, for safety, yes. The peel is safe to eat. For texture and appearance? I don’t recommend it. The peels will curl up into tough, unpleasant little ribbons in your smooth sauce. The blanching step is worth it for that velvety finish.
A Spoonful of Goodness: Nutritional Info
Here’s the beautiful thing about homemade canned tomato sauce: you control exactly what goes in it. A 1/2-cup serving of this basic sauce (without added salt) has approximately:
Calories: ~40 | Carbohydrates: 9g | Sugars: 6g (natural) | Fiber: 2g | Vitamin C: 25% DV | Vitamin A: 15% DV | Lycopene: An excellent source!
Compared to many store-bought versions, yours will have no added sugar, no preservatives, and you can limit or omit the salt. It’s a clean, flavorful base for countless healthy meals, packed with antioxidants like lycopene, which is actually more bioavailable to our bodies from cooked tomatoes. You’re not just preserving taste; you’re preserving nutrition.
Your Pantry, Full of Summer
And there you have it, friends! From garden (or market) to jar, you’ve just captured a season. More than that, you’ve joined a beautiful tradition of home cooks who look at a harvest and think, “How can I share this joy for months to come?” Canning is a act of optimism—a belief in future meals, shared tables, and the deep comfort of knowing exactly what’s in your food.
So admire those rows of ruby-red jars. Feel proud. You did that. When you open one this winter, I hope you taste more than just tomatoes. I hope you taste the sunshine, the patience, and the love you poured into them today. Now, who’s ready for spaghetti? Happy canning, and as always, happy chowing!