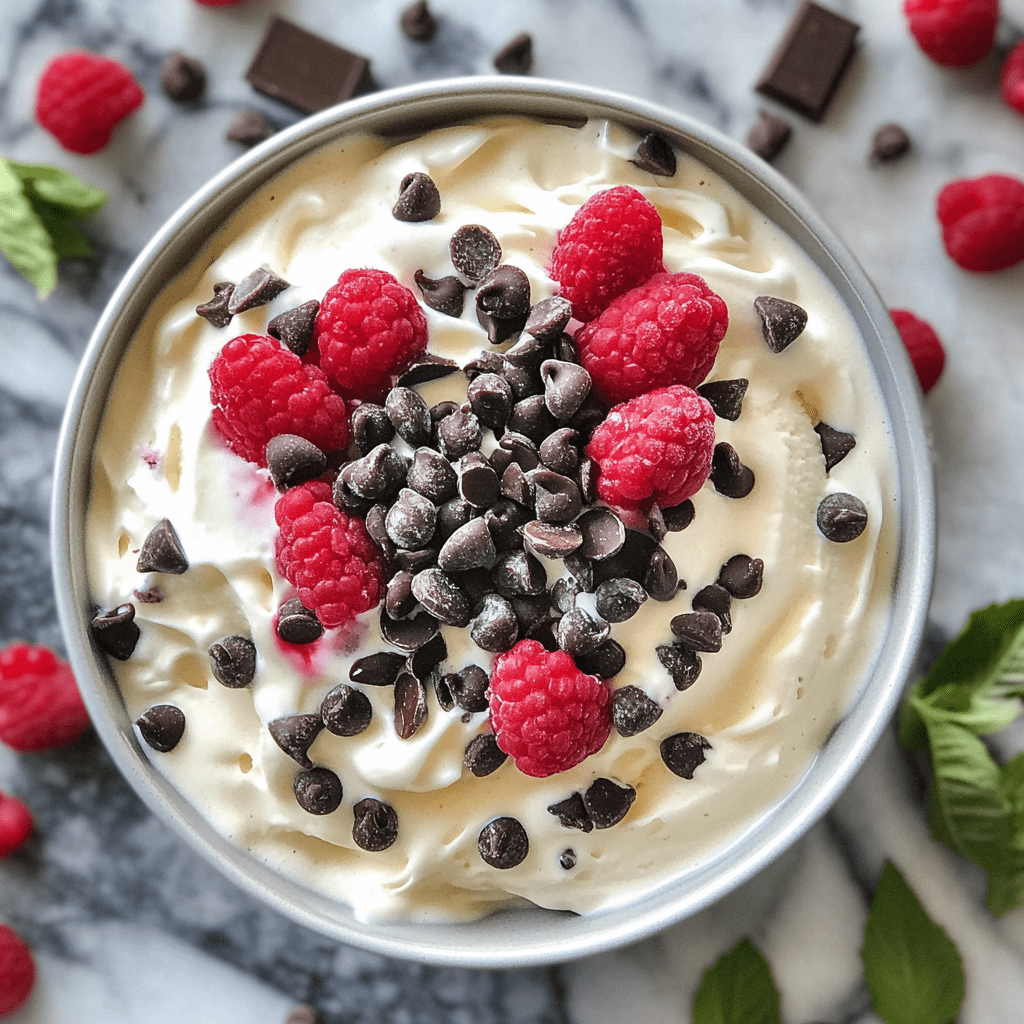
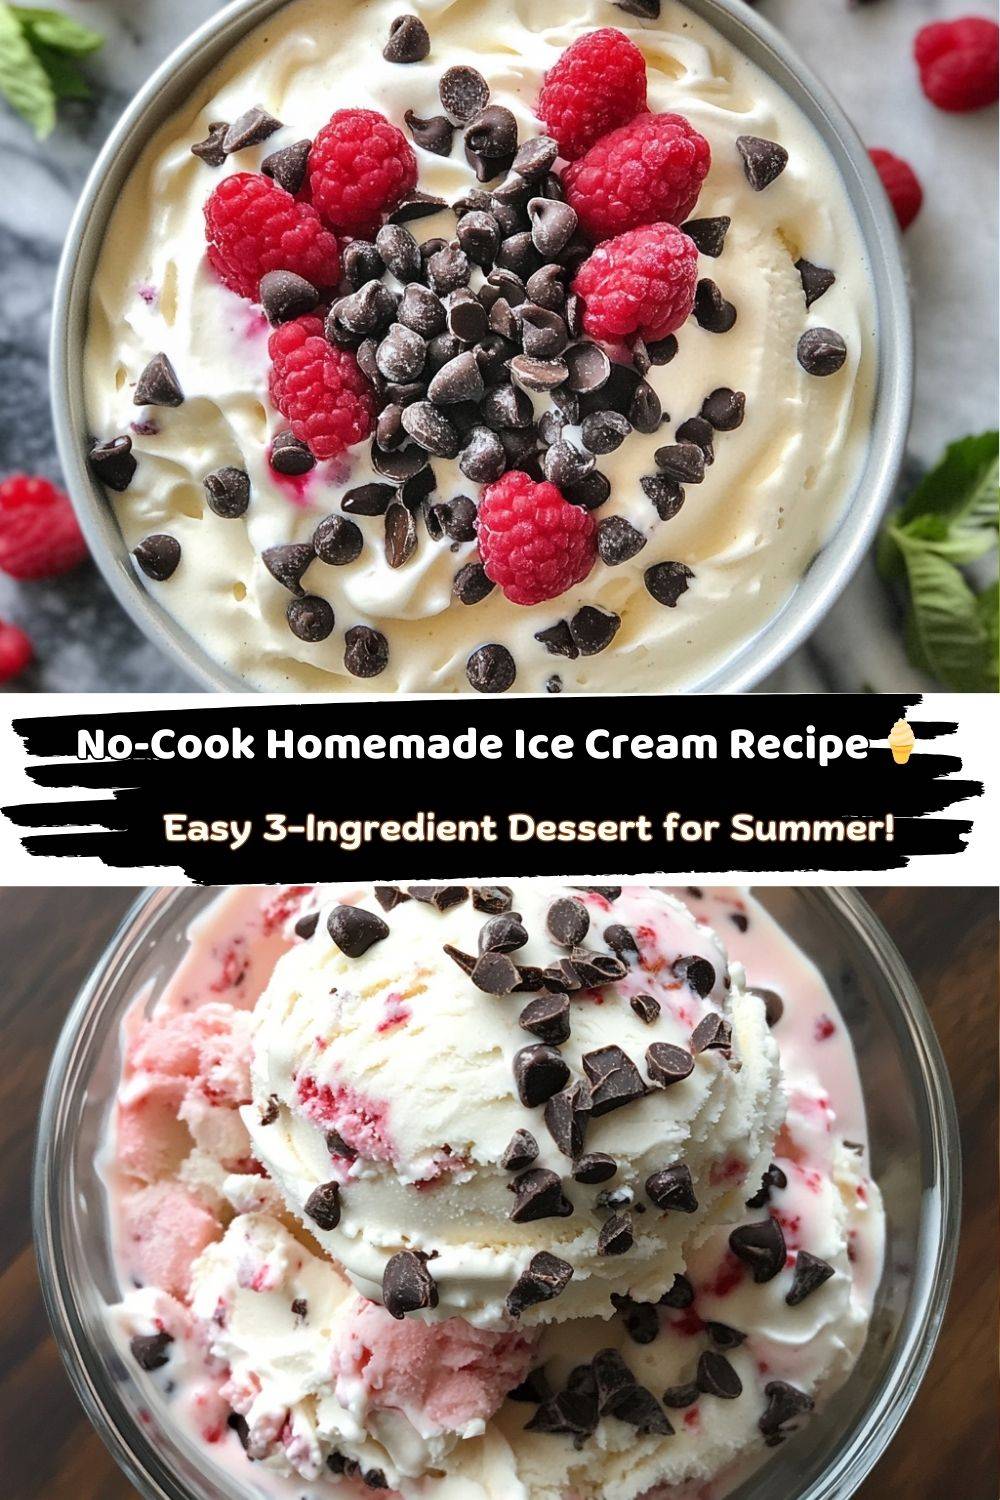
🍨 No-Cook Homemade Ice Cream: The Easiest (and Tastiest) Treat You’ll Make All Summer
Picture this: It’s 95 degrees outside, your AC is working overtime, and your sweet tooth is screaming for something cold and creamy. But turning on the oven? Standing over a stove? Hard pass. That’s where this magical no-cook homemade ice cream swoops in like a superhero in an apron. I’m talking rich, velvety goodness that’s simpler than making toast—no fancy machines, no tempering eggs, just 10 minutes of prep and a freezer nap. 🕶️
This recipe? It’s my childhood in a bowl. My Aunt Lila used to whip it up during our chaotic family lake weekends—cousins cannonballing off docks, dogs stealing burgers, the whole nine yards. She’d disappear for 5 minutes, reappear with a giant tub of vanilla-speckled heaven, and suddenly 15 hyper kids would turn into a line of polite ice cream monks. 🍦 That’s the power of this recipe: It’s not just dessert, it’s a peace treaty.
Whether you’re a busy parent, a dessert newbie, or just someone who thinks “churn” belongs in butter-making, this ice cream is your new best friend. Let’s get mixing!
👵 Aunt Lila’s Ice Cream Miracle (and the Time We Almost Lost the Recipe)
So, Aunt Lila was the kind of woman who’d wear pearl earrings to a barbecue and still win at horseshoes. Her kitchen was a no-nonsense zone—except for this ice cream. She’d let us “help” by holding the mixer (translation: she’d let us press the ON button while she did the work).
One summer, disaster struck. My cousin Jake—bless his overenthusiastic heart—decided to “improve” the recipe by adding blue food coloring and Pop Rocks. Let’s just say it looked like Smurf lava and crackled like a campfire. Aunt Lila just laughed, tossed the batch, and whispered to me: “Secret’s in the folding, kiddo. Always gentle, like tucking in a baby.”
Years later, when she handed me the recipe card (splattered with what I hope was vanilla), it hit me: This wasn’t just ice cream. It was her way of saying “I love you” without the mushy stuff. Now, I’m sharing that love—sans Pop Rocks—with you. ❤️
🥛 What You’ll Need (and Why It Works)
- Heavy cream (2 cups): The MVP that whips into fluffy clouds. Chef’s hack: Chill your bowl and beaters first—it whips faster! Out of heavy cream? Try coconut cream for a dairy-free twist.
- Sweetened condensed milk (14 oz can): The magic glue that keeps things scoopable. Fun fact: This sticky-sweet nectar is why we don’t need eggs or cooking! Can’t find it? Make your own by simmering 2 cups milk + 1 cup sugar until reduced by half.
- Vanilla extract (1 tbsp): Go real, not imitation! Or scrape a vanilla bean for those sexy little specks.
- Add-ins (1 cup): Chocolate chips, smashed Oreos, berry swirls—this is your playground. Pro tip: Freeze berries first to prevent icy chunks!
👩🍳 Let’s Make Some Magic: Step-by-Step
Step 1: Whip it real good
Pour your heavy cream into that chilled bowl. Whip on medium-high until you get stiff peaks—meaning when you lift the beaters, the cream stands at attention like a tiny mountain. Takes about 3-4 minutes. Don’t walk away! Over-whipping makes butter (ask me how I know…).
Step 2: The gentle art of folding
Drizzle in the condensed milk and vanilla. Now, channel your inner zen master: Use a spatula to fold from the bottom up, rotating the bowl. We’re keeping those air bubbles intact! Stop when just combined—a few streaks are okay.
Step 3: Mix-in madness
Add your goodies! If using delicate stuff (fresh mint, raspberries), toss them in flour first (trust me—it stops sinking!). For swirls, layer the base with Nutella or caramel sauce in the container.
Step 4: Freeze like a pro
Pour into a 9×5 loaf pan lined with parchment (or reuse that ice cream tub!). Press plastic wrap directly on the surface—this prevents ice armor from forming. Freeze 6+ hours. Patience, grasshopper.
🎉 Serving Your Masterpiece
After six hours of patient waiting (you did resist peeking, right?), it’s time to turn your no-cook homemade ice cream into a celebration-worthy dessert. Whether you’re scooping for a party or sneaking a midnight bite, here’s how to serve it like the creamy queen (or king) you are.
For the Classic Crowd-Pleaser:
Scoop big, beautiful mounds into waffle cones or vintage sundae glasses. Top with rainbow sprinkles, crushed cookies, or a drizzle of hot fudge. Add a cherry on top if you’re feeling nostalgic—go full ice cream parlor vibes and cue the ’50s playlist.
Fancy Dinner Party Vibes:
Take a warm spoon and shape quenelles (those elegant oval scoops) to serve between two espresso cookies or on top of a flourless brownie. Garnish with mint, sea salt flakes, or a chocolate shard. Your guests will think you graduated from culinary school.
DIY Ice Cream Bar:
Hosting a crowd? Set up a build-your-own sundae station. Lay out toppings in bowls—sprinkles, chopped nuts, cookie crumbles, mini marshmallows, and sauces galore. Pro move: pre-scoop your ice cream and store it in the freezer on a tray for mess-free serving.
Single-Serving Bliss:
Short on time (or energy)? Scoop it straight from the tub into your favorite mug, toss on a handful of chocolate chips, and cozy up on the couch. It’s your moment—embrace it.
Pro Tips for Perfect Scoops:
Let your ice cream sit on the counter for 5–10 minutes before scooping—it’ll glide like silk. Use a scoop dipped in hot water and wipe between each scoop for bakery-perfect results.
No matter how you serve it, just know: every bite is a love letter to summer, simplicity, and sweet, creamy joy. 🍦✨
✨ 5 Next-Level Flavor Twists
- Campfire S’mores: Fold in crushed grahams, marshmallow fluff, and chocolate chunks.
- Vegan Dream: Use coconut cream + vegan condensed milk. Add mango puree!
- Affogato Style: Pour hot espresso over vanilla scoops—adulthood achieved.
👨🍳 Chef’s Confessions
True story: I once subbed sweetened condensed milk with evaporated + sugar. The result? Icy sweet concrete. Stick to the script here, folks. Over the years, I’ve learned: 1) A splash of vodka makes it softer 2) Let it sit 10 minutes before scooping 3) Always double the batch—it disappears faster than TikTok trends.
❓ Ice Cream Emergencies: Solved!
Q: Why’s my ice cream hard as a rock?
A: Did you skip the plastic wrap? Let it thaw 10 minutes. Next time, add 1 tbsp liquor (vanilla extract works too!).
Q: Can I use milk instead of cream?
A: Milk won’t whip—it’s all about the fat! For lighter options, try half cream + half whole milk yogurt.
📊 Nutrition (Per Serving)
Calories: 290 | Fat: 20g | Carbs: 25g | Protein: 4g | Sugar: 23g
Note: Stats vary with add-ins. Vegan version lowers cholesterol!
No-Cook Homemade Ice Cream
- Total Time: 6 hours 10 minutes
- Yield: 8 1x
Ingredients
2 cups heavy cream
1 (14 oz) can sweetened condensed milk
1 tbsp vanilla extract
Optional: 1 cup of add-ins (chocolate chips, fruit, crushed cookies)
Instructions
In a large bowl, whip the heavy cream until stiff peaks form.
Gently fold in the sweetened condensed milk and vanilla extract.
Add any extras like chocolate chips or fruit and mix gently.
Pour mixture into a freezer-safe container.
Cover and freeze for at least 6 hours or overnight.
- Prep Time: 10 minutes
- Freeze Time: 6 hours
Nutrition
- Calories: 290 per serving
- Sugar: 23g per serving
- Fat: 20g per serving
- Carbohydrates: 25g per serving
- Protein: 4g per serving
🍦 Final Thoughts: A Sweet Summer Win, No Oven Required
This no-cook homemade ice cream isn’t just a dessert—it’s a lifesaver, a memory-maker, and the kind of recipe that turns ordinary days into little celebrations. It’s simple enough for beginners, flexible enough for pros, and delicious enough to disappear faster than you can say “just one more bite.”
With just a few ingredients, no heat, and endless mix-in potential, this creamy creation proves that sometimes less really is more. Whether you’re making it with kids, whipping it up for a dinner party, or sneaking a spoonful at midnight (no judgment here), you’re guaranteed smiles in every scoop.
So the next time the temperature climbs and your sweet tooth calls, skip the store-bought stuff. Grab a bowl, your favorite add-ins, and let this easy, dreamy recipe be your go-to summer treat. Because the best kind of magic? The kind that fits in your freezer. ❄️❤️🍨