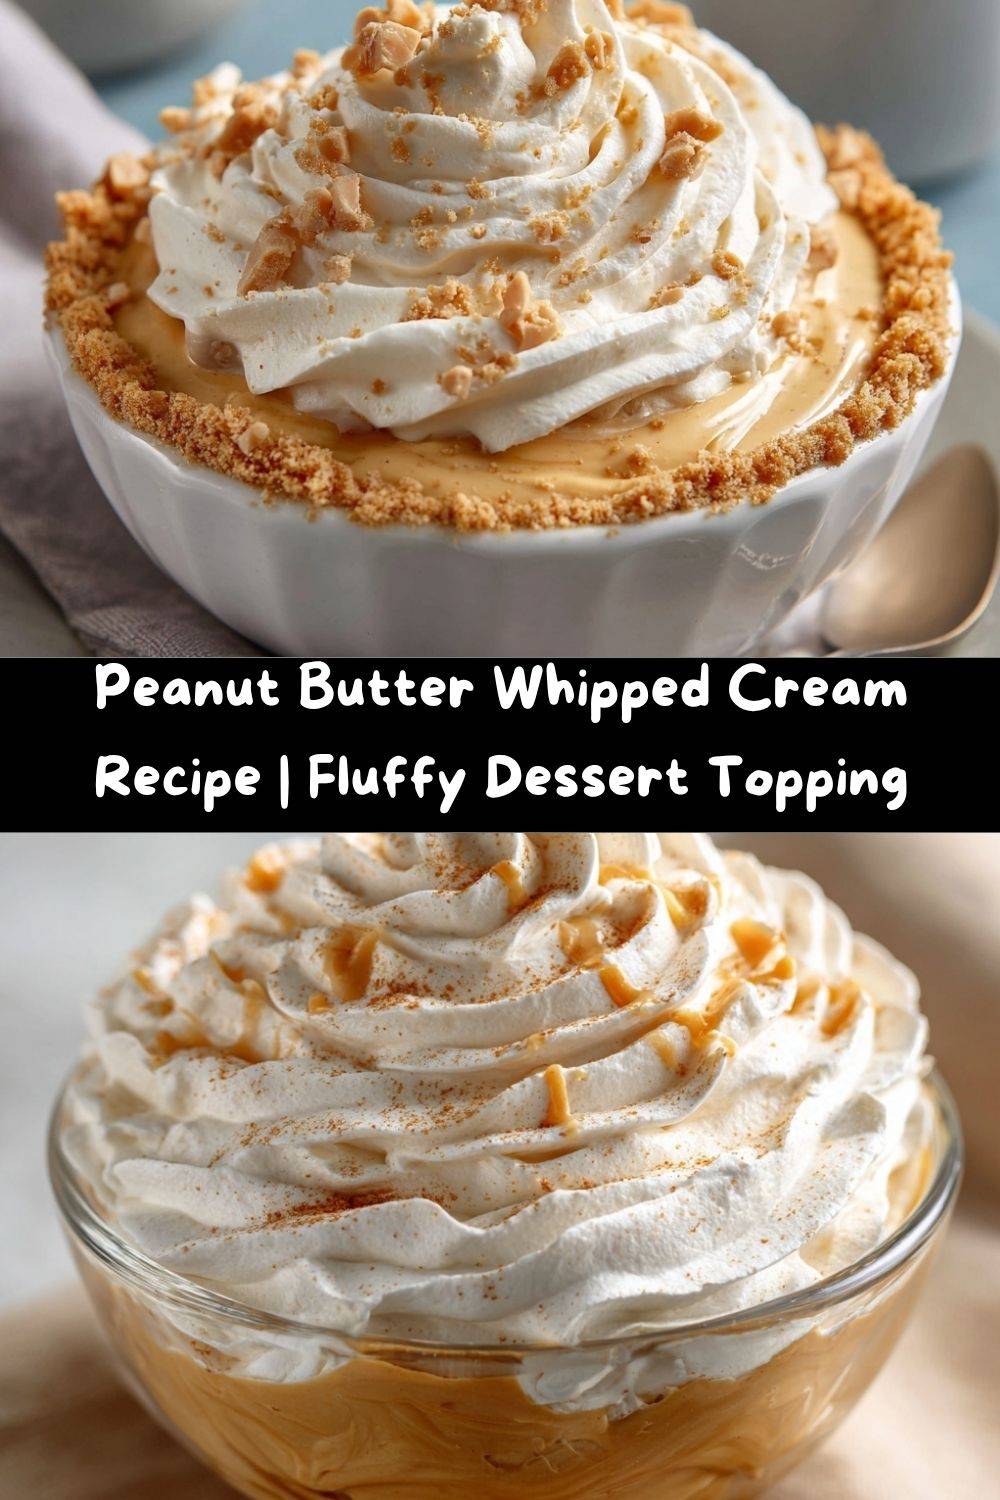
Peanut Butter Whipped Cream: Your New Secret Weapon for Dessert Magic
Hey there, my fellow flavor fanatic! Let me paint you a picture. You’ve just pulled a gorgeous, warm chocolate pie from the oven. Or maybe you’ve got a bowl of fresh, juicy strawberries waiting for their moment. They look perfect, but you know deep down they’re missing that something. That final, glorious flourish that takes them from “pretty good” to “oh-my-goodness-what-is-this-sorcery” levels of amazing.
For years, my go-to was classic whipped cream. It’s a classic for a reason! But one day, during a particularly ambitious (read: messy) baking spree, I found myself staring at a nearly empty jar of my favorite creamy peanut butter. A lightbulb went off. What if…?
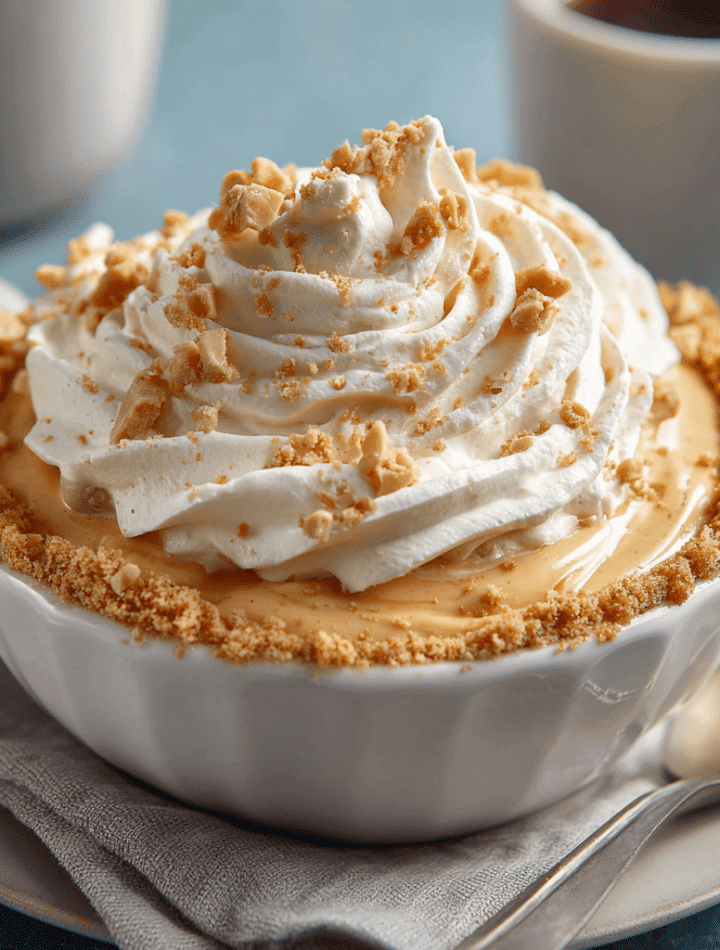
My friends, that simple “what if” changed my dessert game forever. I’m talking about this Peanut Butter Whipped Cream. This isn’t just a topping; it’s a fluffy, nutty, lightly sweet cloud of pure indulgence. It’s the kind of thing you’ll want to eat straight from the bowl with a spoon (no judgment here, I’ve done it). It holds its shape beautifully, pipes like a dream, and brings a bold, comforting peanut butter flavor that pairs with, well, just about everything.
So, if you’re ready to turn your everyday desserts into something unforgettable, grab your mixer. We’re about to whip up some serious magic.
The Day My Grandma’s Chocolate Pie Got a Glow-Up
This recipe always takes me back to my grandma’s kitchen. She made this incredible, old-fashioned chocolate pie with a mile-high meringue. It was legendary. One summer, I was tasked with recreating it for a family reunion, but a summer thunderstorm decided to roll in. If you know meringue, you know it hates humidity. My beautiful peaks slumped into a sad, weepy puddle. I was devastated.
Panic set in. The pie was naked! In a moment of pure desperation, I looked at the two constants in my kitchen: a carton of heavy cream and the giant jar of peanut butter my dad always had on hand. I whipped them together, crossed my fingers, and slathered this new, creamy concoction on top of the chocolate pie. I sprinkled a few chopped peanuts on top and served it with a nervous smile.
You guys. It was a sensation. That creamy, salty-sweet peanut butter cloud against the rich, dark chocolate filling was a combination I never knew I needed. My grandma, God rest her soul, would have approved of the kitchen hack. It was a happy accident that taught me a beautiful lesson: sometimes, the best recipes are born from a little bit of chaos and a whole lot of peanut butter.
Gathering Your Cloud-Making Ingredients
One of the best things about this recipe is its simplicity. You only need a handful of ingredients to create pure magic. Here’s the lineup:
- 2 cups Heavy Cream, very cold – This is non-negotiable, friends! The fat content in heavy cream (or double cream) is what allows it to whip up into those beautiful, stable peaks. I always pop my cream in the freezer for 15-20 minutes before I start, and I even chill my mixing bowl and whisk attachments. A cold start is the secret to quick, fluffy success.
- ½ cup Creamy Peanut Butter, room temperature – Use a standard, no-stir creamy peanut butter for the smoothest, most consistent results. The kind with a little sugar and salt already in it works perfectly. And room temp is key! If it’s too cold, it will be stiff and clumpy, and it won’t incorporate smoothly into our fluffy cream.
- 4 tbsp Powdered Sugar – I love powdered sugar (also called icing sugar) here because it dissolves instantly, giving us a silky-smooth texture without any graininess. It also contains a touch of cornstarch, which helps stabilize our whip a bit more. You can adjust this to your sweetness preference!
- 2 tsp Vanilla Extract (optional but recommended) – A splash of good vanilla adds a beautiful warmth and depth that makes the peanut butter flavor sing. It’s the “I can’t quite put my finger on it, but this is amazing” factor.
Optional Flavor Twists:
- A Pinch of Sea Salt – If you’re a fan of salty-sweet, this is a must. It intensifies the peanut butter flavor and cuts through the richness beautifully.
- A Splash of Maple Syrup – Swap out a tablespoon of the powdered sugar for real maple syrup for a cozy, autumnal vibe. It pairs incredibly well with apple or pumpkin desserts.
How to Make Peanut Butter Whipped Cream: A Step-by-Step Dance
Ready to whip it? Let’s do this! It’s a simple process, but a few chef-ly tips will ensure you get perfect results every single time.
- Chill Out. Before you do anything else, place your mixing bowl and whisk attachments in the freezer for at least 15 minutes. A cold bowl is your best friend when whipping cream. It helps the fat in the cream firm up faster, leading to more volume and a more stable whip. Chef’s Hack: If you’re in a hurry, you can quickly chill your bowl by filling it with ice water for a few minutes. Just dry it thoroughly before using!
- Whip the Cream to Soft Peaks. Pour the very cold heavy cream into your chilled bowl. Using an electric mixer (a stand mixer with the whisk attachment is easiest, but a hand mixer works great too!), beat the cream on medium-high speed. Watch it closely! It will go from liquid, to frothy, to starting to thicken. Stop when you have “soft peaks.” This means when you lift the whisk out of the cream, the peak that forms will gently curl over at the top. It should look billowy and smooth. Chef’s Tip: Don’t walk away during this stage! Over-whipping at this point can lead to butter. We’re not making butter today!
- Create the Peanut Butter Base. While the cream is whipping, grab a separate, medium-sized bowl. Add the room-temperature peanut butter, powdered sugar, and vanilla extract. Use a spatula or a whisk to mix it all together until it’s completely smooth, creamy, and lump-free. This step is crucial because it ensures the thick peanut butter will incorporate evenly into the whipped cream without deflating it.
- The Gentle Fold. Now for the magic! Take about one-third of your softly whipped cream and add it to the bowl with the peanut butter mixture. Use your spatula to gently fold it in. “Folding” means you cut through the center of the mixture, scrape along the bottom of the bowl, and fold it over the top. Turn the bowl a quarter turn and repeat. This gentle motion keeps all that beautiful air in the cream. Once that first bit is incorporated, add the peanut butter mixture back into the larger bowl of whipped cream.
- Finish Whipping to Stiff Peaks. Now, return to your mixer (or use your spatula and some elbow grease if you’re feeling strong!). Beat the mixture on medium speed for just 30-60 seconds more, until it forms “stiff peaks.” This means when you lift the whisk, the peaks stand straight up without drooping. And here’s the most important tip: DO NOT OVERMIX! Stop the second you see those stiff, beautiful peaks. You’ve just created peanut butter whipped cream perfection.
Let’s Get Serving: Where to Plop This Peanut Butter Heaven
Okay, the hard part is over (and it wasn’t even that hard, was it?). Now for the fun part: eating it! This whipped cream is incredibly versatile. Here are some of my absolute favorite ways to serve it:
- The Classic Pie Topper: It was born on a chocolate pie, and it will forever be the ultimate partner for chocolate silk pie, peanut butter pie, or even a classic banana cream pie.
- Brownie & Sundae Superstar: Take a warm, fudgy brownie, add a scoop of vanilla ice cream, and crown it with a giant dollop of this whip. Sprinkle with chopped Reese’s Cups for the full experience.
- Fruit’s Best Friend: It sounds simple, but it’s life-changing. Serve it alongside a platter of apple slices, ripe strawberries, or even banana chunks for a quick, elegant dessert.
- Breakfast & Brunch Daredevil: Who says it’s just for dessert? A generous spoonful on top of waffles, pancakes, or especially French toast will make you a breakfast hero.
- The Cozy Cocoa Cloud: Drop a big spoonful on top of your next mug of hot chocolate. As it melts, it creates a swirly, nutty, creamy layer that is just divine.
Mix It Up! 5 Fun Twists on Peanut Butter Whipped Cream
Once you’ve mastered the basic recipe, the playground is open! Here are a few of my favorite ways to mix things up and keep it exciting.
- Chocolate Peanut Butter Cup: Add 2 tablespoons of unsweetened cocoa powder and an extra tablespoon of powdered sugar to the peanut butter base. You’ve just made a whipped, spreadable Reese’s Cup.
- Maple Cinnamon Dream: Omit the vanilla and replace one tablespoon of powdered sugar with real maple syrup. Fold in ½ teaspoon of ground cinnamon at the very end. Perfect for fall desserts!
- Honey Sweetened & Salty: For a more natural sweetness, use 3 tablespoons of honey instead of powdered sugar. The flavor is incredible, and the pinch of sea salt is a must here.
- Crunchy Peanut Butter Lover’s: Use crunchy peanut butter instead of creamy! You’ll get little delightful bursts of peanut in every single bite.
- Dairy-Free Delight: You can make this vegan! Use a very well-chilled, high-fat canned coconut cream (just the solid part) and whip it as you would heavy cream. Pair it with a natural peanut butter. The flavor profile is different but equally delicious.
Chef Emily’s Kitchen Notes & Confessions
This recipe has been a staple in my kitchen for years, and it’s evolved in little ways. I used to just dump all the ingredients in the bowl at once, but I found the peanut butter wouldn’t incorporate as smoothly, leaving little tiny bits. The two-bowl method is a game-changer for that super-silky, homogeneous texture we all crave.
I also have a funny story—I once tried to make a giant quadruple batch for a friend’s wedding in my stand mixer. I got a little over-zealous and, you guessed it, I made sweetened peanut butter butter. It was still tasty, but not exactly the fluffy cloud I was going for! The moral of the story? Don’t overfill your mixer, and always, always keep an eye on it during that final whipping stage. Even us pros make messy mistakes!
Your Questions, Answered!
I’ve gotten a lot of questions about this recipe over the years. Here are the most common ones to help you troubleshoot!
Q: My whipped cream is runny/grainy. What happened?
A: This usually boils down to two things: 1) Your cream wasn’t cold enough, or 2) Your peanut butter was too cold. Warm cream won’t whip properly, and cold peanut butter won’t blend in smoothly, leaving little grainy bits. Always ensure both are at their ideal temperatures!
Q: Can I make this ahead of time?
A: Absolutely! You can make it up to 2 days in advance. Store it in a sealed container in the fridge. It might soften a little, so you can give it a quick whisk by hand or with your mixer for 15-20 seconds to bring back its fluffiness before serving.
Q: Can I use granulated sugar instead of powdered sugar?
A: I don’t recommend it. Granulated sugar doesn’t dissolve well in the cold cream, and you’ll be left with a gritty texture. Powdered sugar is the way to go for that melt-in-your-mouth smoothness.
Q: My whipped cream turned into a lumpy, thick mess. Did I over-whip it?
A> It sounds like you might be on the verge of making butter! If you see it starting to look curdled or granular, stop immediately. A quick fix is to add another tablespoon or two of cold heavy cream and fold it in gently. This can sometimes bring it back from the brink.
A Quick Peek at the Nutrition
Let’s be real—this is a treat, and a glorious one at that! It’s all about balance. While it’s not a “health food,” it’s made with simple, real ingredients. Here’s a general breakdown per ¼ cup serving (remember, this can vary based on the specific brands you use):
- Calories: ~160
- Protein: 2g
- Carbohydrates: 4g
- Fat: 15g
- Sugar: 3g
The fat comes primarily from the heavy cream and peanut butter, which helps keep you satisfied. A little goes a long way in transforming a dessert! Enjoy it mindfully as part of your delicious, joy-filled life.
Your New Go-To Topper Awaits
Well, my friend, there you have it. Your complete guide to creating the fluffiest, dreamiest, most peanut-buttery whipped cream your dessert plate has ever seen. This isn’t just a recipe; it’s a tool for creating moments of pure, unadulterated joy. It’s the secret handshake of the dessert world, and now you’re in on it.
With love and a full jar of peanut butter,
Emily