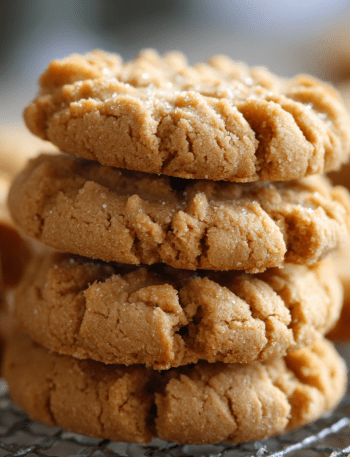
Rice Krispie Cookies – Crispy Chewy Cookies with Chocolate Chips and Coconut
Hey there, friend! Pull up a stool and let’s talk about one of life’s simple, glorious pleasures: a perfectly baked cookie. Now, I know you’ve had a classic chocolate chip cookie (and I love them, too!), but have you ever met one that’s chewy, crispy, chocolaty, and has a little tropical vacation vibe all at once? Let me introduce you to my Rice Krispie Cookies.
Imagine this: your favorite soft-baked chocolate chip cookie, but with a delightful, unexpected CRUNCH from Rice Krispies cereal. Then, add a layer of sweet, chewy coconut that toasts up ever so slightly in the oven. The result? A cookie that’s a total texture party in your mouth. It’s chewy on the inside with a light, crispy edge and a symphony of crunch in every single bite. These aren’t just cookies; they’re an experience. And the best part? They come together in one bowl in about 10 minutes flat. No fancy equipment, no chilling time—just pure, unadulterated cookie joy, ready to bake and even quicker to disappear from the cooling rack. Trust me, this is the recipe you’ll be texting your best friend about.
The Happy Accident That Started It All
This recipe holds a special place in my heart because it was born from a classic “kitchen clean-out” mission. Picture this: it’s a rainy Sunday, and my baking itch is hitting hard. I’m craving chocolate chip cookies, but as I’m gathering ingredients, I spot a nearly-empty box of Rice Krispies and a bag of coconut leftover from a tropical cake I made earlier in the week. My grandma’s voice pops into my head: “Waste not, want not, Emily.”
So, I threw caution to the wind and tossed them into my standard cookie dough. I held my breath as the first batch baked, worried I’d created a crumbly, weird-textured mess. But when I pulled them out—golden, puffed, and smelling like heaven—and took that first warm, melty bite, I knew I’d stumbled onto something magical. The Rice Krispies didn’t get soggy; they stayed wonderfully crisp, creating this incredible contrast with the gooey chocolate and sweet coconut. It was a happy accident that instantly became a staple in my recipe box, and now, I’m so thrilled to share it with you.
Gathering Your Cookie Crew: The Ingredients
Let’s gather our team! These are simple, pantry-friendly ingredients, but each one plays a star role. Here’s what you’ll need:
- ½ cup (113g) butter, softened – This is the base of our flavor and texture. Using softened butter (not melted!) is the secret to creaming it properly with the sugar, which creates those lovely air pockets for a perfect cookie structure. If you’re in a pinch, you can use a high-quality margarine, but butter gives that irreplaceable rich taste.
- 1 cup (200g) granulated sugar – This gives our cookies their sweetness and helps them spread just the right amount, creating those crispy edges we love so much.
- 1 large egg, room temperature – The binder! A room-temperature egg incorporates more evenly into the butter and sugar, giving you a smoother, more cohesive dough. If you forgot to take your egg out, just place it in a bowl of warm water for 5-10 minutes.
- 1 teaspoon pure vanilla extract – The flavor enhancer. Don’t skimp here! Pure vanilla adds a warm, complex depth that imitation vanilla just can’t match.
- 1½ cups (150g) all-purpose flour – The foundation of our cookie. I spoon and level my flour into the measuring cup to avoid packing it in, which can lead to dry, dense cookies.
- ½ teaspoon baking soda – Our leavening agent! This little powerhouse helps the cookies rise and become beautifully puffy and soft.
- ¼ teaspoon salt – The flavor hero! Salt balances the sweetness and makes all the other ingredients, especially the chocolate, pop. I use fine sea salt.
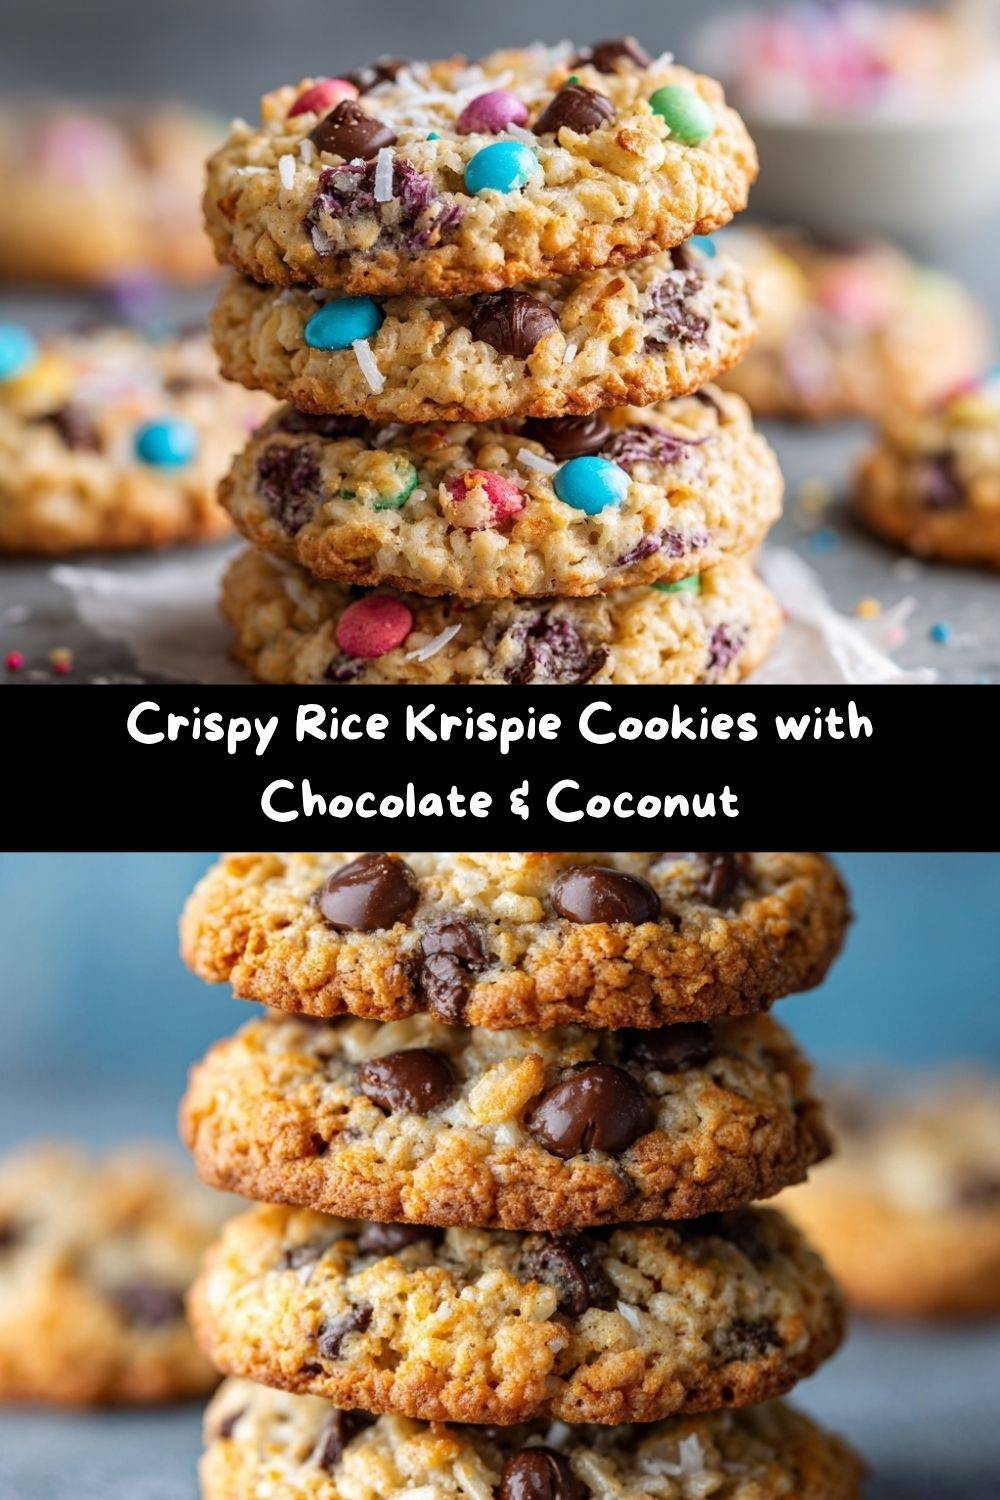
- ½ cup Rice Krispies cereal – The star of the show! This is what gives our cookie its signature crunch and a fun, nostalgic vibe. No substitutions here—this is the magic ingredient!
- ½ cup (48g) sweetened shredded coconut – This adds a wonderful chew and a subtle tropical sweetness. If you’re not a coconut fan, see my variations below for easy swaps!
- 1 cup (170g) chocolate chips – Because what’s a cookie without pockets of melty chocolate? I use semi-sweet, but milk or dark chocolate work beautifully too. Feel free to use chunks for those epic, gooey pools!
Let’s Bake! Your Step-by-Step Guide to Cookie Bliss
Okay, apron on! This is the fun part. Follow these steps, and you’ll be a cookie hero in no time.
- Preheat and Prep. First things first, preheat your oven to 350°F (180°C). This is non-negotiable for even baking! While it’s warming up, line two baking sheets with parchment paper or silicone baking mats. This little trick prevents sticking and makes cleanup an absolute dream. No scrubbing required—my kind of baking!
- Cream the Butter and Sugar. In a large mixing bowl, add your softened butter and granulated sugar. Now, using a hand mixer or a stand mixer with the paddle attachment, beat them together on medium speed for a solid 2-3 minutes. Chef’s Hack: Don’t rush this! We’re not just mixing; we’re “creaming.” This process incorporates tiny air bubbles into the fat, which will help our cookies rise and give them a lighter texture. You’ll know it’s ready when the mixture turns pale yellow and looks fluffy.
- Add the Egg and Vanilla. Crack in your room-temperature egg and pour in that glorious vanilla extract. Mix on medium speed until everything is fully incorporated and the mixture looks smooth and creamy. Scrape down the sides of the bowl with a spatula to make sure no butter-sugar mixture is left behind.
- Combine the Dry Ingredients. In a separate, smaller bowl, whisk together your flour, baking soda, and salt. Chef’s Insight: Whisking these dry ingredients first ensures the baking soda and salt are evenly distributed throughout the flour, so you get a consistent rise and flavor in every single cookie. Nobody wants a bite that’s all salt!
- Bring the Dough Together. Add the dry ingredient mixture to the wet ingredients. Now, mix on low speed *just until* the flour disappears. A few streaks are okay! Overmixing at this stage is the number one culprit for tough cookies. We want tender, not tough.
- Fold in the Goodies. This is my favorite step! Take your spatula and gently fold in the Rice Krispies, shredded coconut, and chocolate chips. Pro Tip: Folding by hand, instead of using the mixer, prevents you from crushing the delicate cereal. We want to keep all that crispy texture intact!
- Scoop and Space. Using a 1-tablespoon cookie scoop (or a regular spoon), drop rounded tablespoons of dough onto your prepared baking sheets. Make sure you leave about 2 inches between each dough ball. They need their personal space to spread out and become the beautiful, golden cookies they’re destined to be.
- Bake to Perfection. Slide those sheets into your preheated oven and bake for about 12 minutes. You’re looking for set edges and a lightly golden bottom. The centers might still look a tiny bit soft—that’s perfect! They will continue to cook on the hot baking sheet as they cool, resulting in that dreamy chewy center. Let them cool on the sheet for 5 minutes before transferring them to a wire rack to cool completely. (If you can resist eating them all warm, that is!)
How to Serve These Textural Marvels
Okay, the cookies are baked, and your kitchen smells incredible. Now, how do we serve these masterpieces?
First, and this is very important: you MUST try one (or two) while they’re still warm from the oven. The chocolate chips will be gloriously melty, and the textures are at their peak contrast. I love serving them piled high on a rustic wooden board for a casual get-together—it just feels homey and inviting.
For the ultimate indulgence, place a warm cookie in a bowl and top it with a scoop of high-quality vanilla bean ice cream. The cold, creamy ice cream against the warm, crispy-chewy cookie is a match made in dessert heaven. Drizzle with a little caramel sauce, and you’ve got a knockout dessert that’s easier than pie. They’re also the perfect companion for an afternoon cup of coffee or a cold glass of milk. Honestly, there’s no wrong way to enjoy them!
Get Creative! Fun Recipe Variations
Love the base recipe but want to mix it up? Go for it! Baking is all about making a recipe your own. Here are a few of my favorite twists:
- Triple Chocolate Bliss: Swap the semi-sweet chips for a mix of milk chocolate chips and white chocolate chips. For an extra chocolatey punch, replace 2 tablespoons of the flour with unsweetened cocoa powder.
- The Nutty Professor: Not a coconut fan? No problem! Simply replace the ½ cup of coconut with ½ cup of chopped toasted pecans or walnuts. The toasty, nutty flavor pairs amazingly with the crispy cereal.
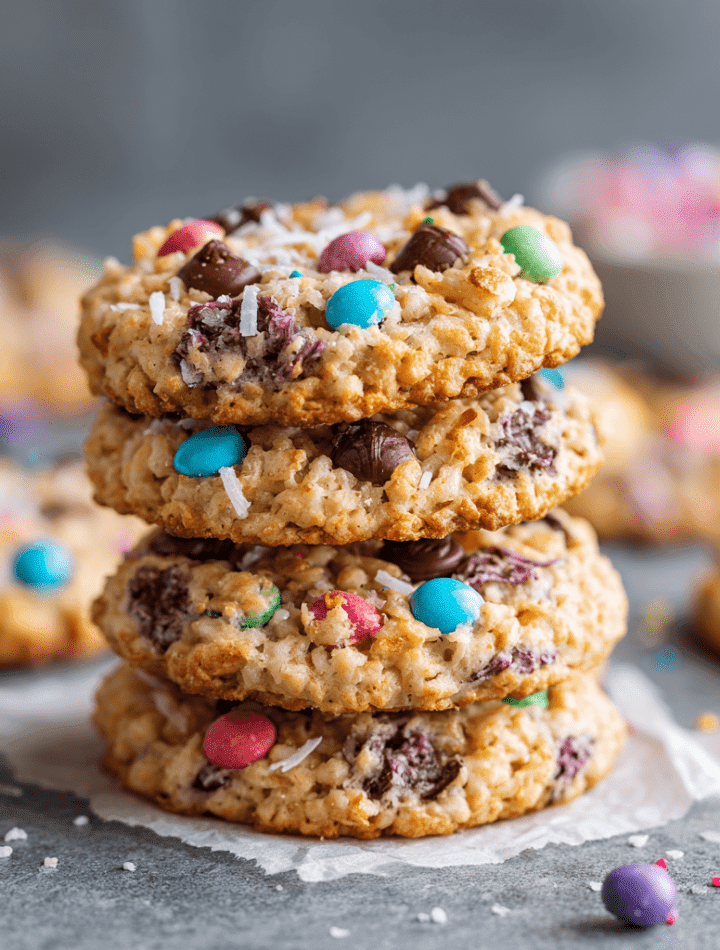
- M&M’s Funfetti: Make these for a birthday or celebration! Use ½ cup M&M’s instead of (or in addition to!) the chocolate chips. The colorful candies make these cookies instantly festive.
- Pretzel Crunch: For a sweet-and-salty sensation, fold in ½ cup of crushed pretzel pieces along with the Rice Krispies. It’s a texture and flavor explosion you won’t forget.
- Oatmeal Coconut Crisp: Add ½ cup of old-fashioned oats to the dough for a heartier, breakfast-style cookie. It’s chewy, crunchy, and absolutely delicious.
Chef Emily’s Extra-Crunchy Notes
This recipe has been a work-in-progress since that first happy accident! Over the years, I’ve learned that the key to maximizing the crunch is to work quickly once the cereal is added and to avoid over-baking. The cereal can soften if the dough sits for too long before baking, so I always preheat my oven *first* and get my sheets ready.
One of my favorite kitchen memories is of my nephew, who is a fiercely loyal classic chocolate chip cookie purist, trying one of these. He was suspicious at first, but after one bite, his eyes went wide, and he just said, “Whoa. These have secret crunch!” Now he requests them every time he comes over. It just goes to show you that sometimes, the best recipes are the ones you discover by accident, with a little bit of love and a willingness to experiment.
Your Questions, Answered!
Let’s tackle some common questions to ensure your cookie success!
Q: My cookies spread too much and became flat. What happened?
A: This is usually a butter issue! If your butter was too soft or melted, it can cause excessive spreading. Make sure it’s just softened to room temperature—you should be able to make an indent with your finger, but it shouldn’t be greasy or melted. Also, double-check that your baking soda is fresh!
Q: Can I make the dough ahead of time and chill it?
A: You can, but with a caveat! Chilling the dough will result in a thicker, puffier cookie because the butter firms up. However, the Rice Krispies will lose some of their signature crunch the longer they sit in the moist dough. For the ultimate crispy texture, I recommend baking them right away.
Q: My cereal got soggy in the baked cookies. How can I prevent that?
A> The key is gentle folding and prompt baking. Fold the cereal in *just* until combined—no more. And get them into the preheated oven as soon as the dough is scooped. The less time the cereal spends hydrating in the dough, the crunchier it will stay after baking.
Q: Can I freeze these cookies?
A> Absolutely! These cookies freeze beautifully. Once they are completely cooled, store them in a freezer-safe bag or container for up to 3 months. You can also freeze the scooped dough balls on a tray and then transfer them to a bag. Bake from frozen, adding 1-2 minutes to the baking time.
Nutritional Information (For Your Info!)
I’m all about balance—enjoying treats mindfully while savoring every single bite. Here’s a general nutritional breakdown per cookie (assuming the recipe makes 26 cookies). Remember, this is just an estimate, and values can vary based on the specific brands of ingredients you use.
- Calories: ~130 kcal
- Fat: 6g
- Carbohydrates: 17g
- Protein: 1g
These are a treat, through and through! The calories and carbs come primarily from the sugar, flour, and chocolate chips, while the fat comes from the butter. To make them a bit lighter, you could try using a butter substitute and sugar alternative that cup-for-cup replacements, though the texture may change slightly. But my personal philosophy? Life’s too short not to enjoy a really good, real-butter cookie with your loved ones.
Final Crunchy Thoughts
Well, my friend, there you have it—the story, the secrets, and the step-by-step guide to my beloved Rice Krispie Cookies. This recipe is a testament to the joy of playing in the kitchen, of listening to your gut (and your grandma), and of sharing the delicious results with the people you love.
I hope these cookies bring as much crunch, cheer, and comfort to your home as they have to mine. They’re more than just a recipe; they’re a reminder that the best creations often come from a place of fun and a little bit of fearless experimenting. So, preheat that oven, grab your favorite mixing bowl, and get ready to make something truly delicious.
With love and a fully stocked cookie jar,
Emily