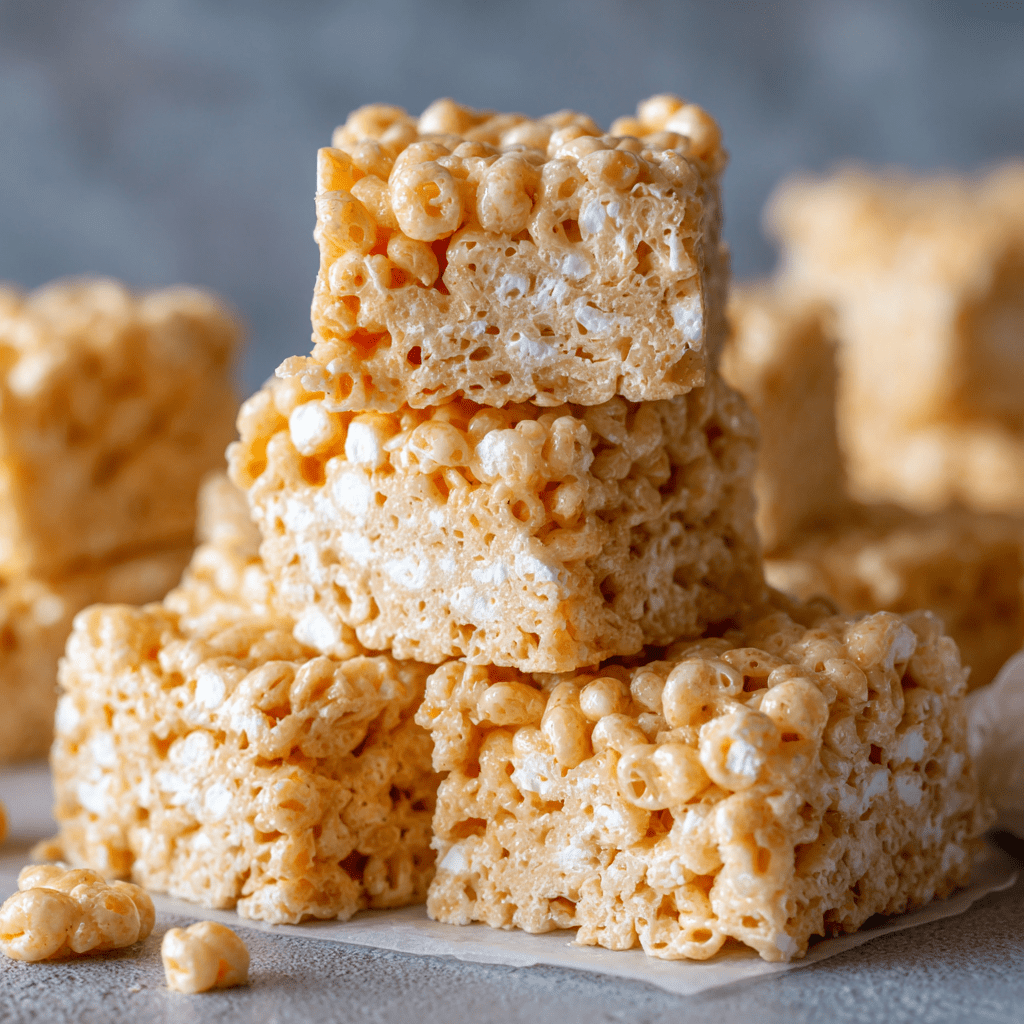
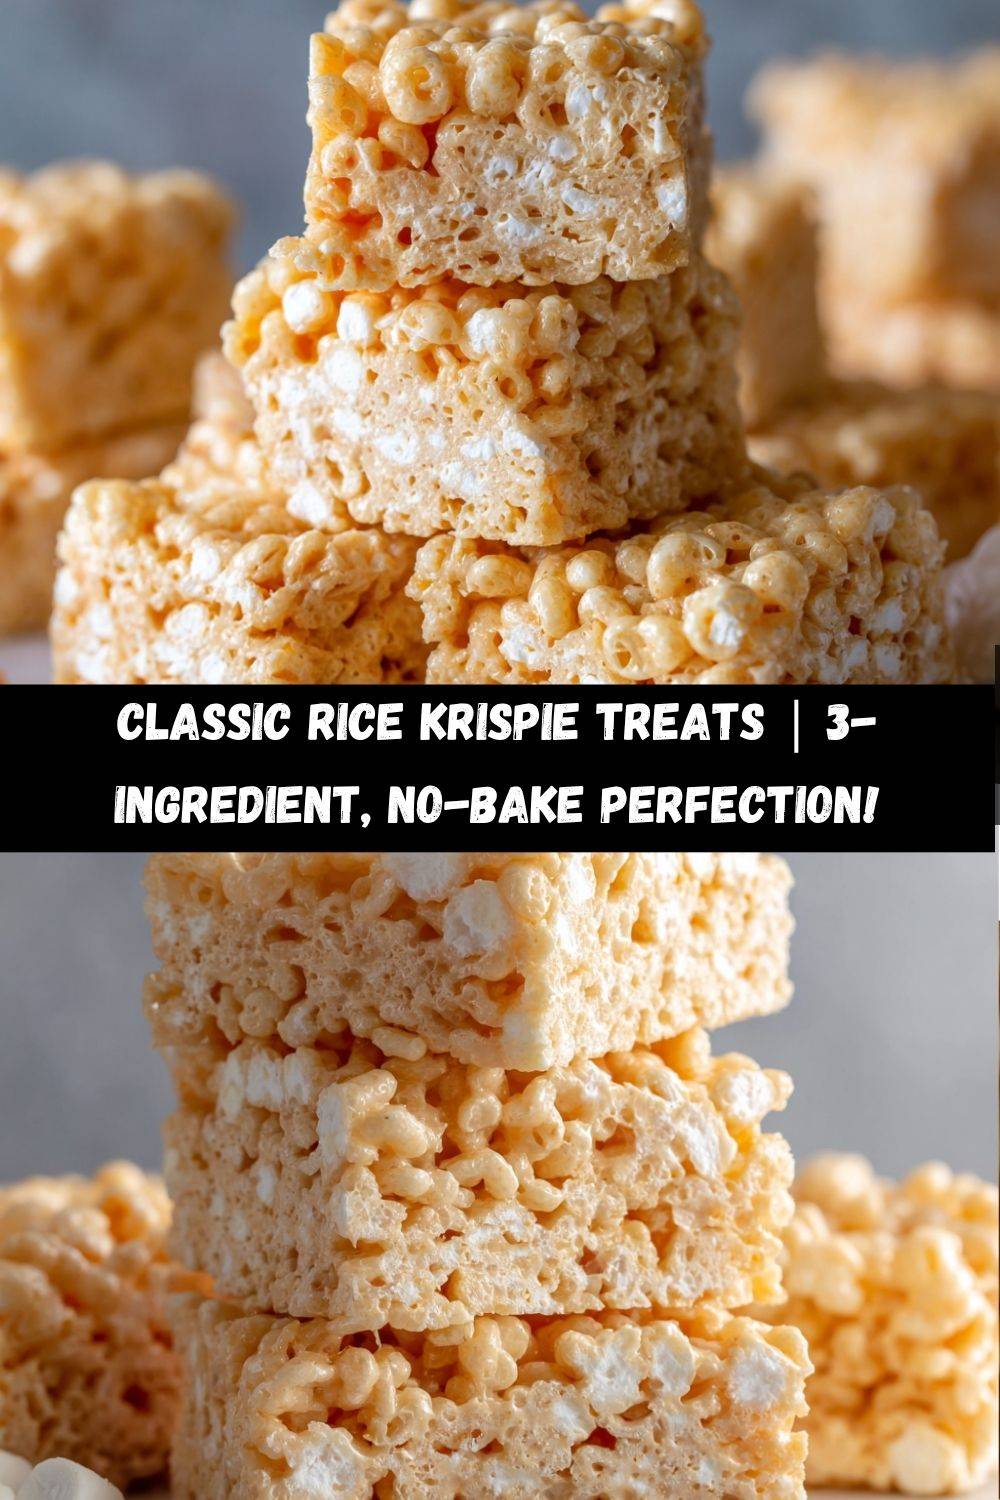
Let’s Make Some Magic: The Ultimate Rice Krispie Treats!
Hey, sweet friends! 👋 Emily here, your apron-clad partner in crime for all things deliciously nostalgic. If your heart does a little happy dance at the sound of cereal crackling in melted marshmallows, you’re absolutely in the right kitchen. Today, we’re whipping up the O.G. of feel-good snacks: Classic Rice Krispie Treats. You know the ones—golden, gooey squares that taste like childhood sleepovers and sticky fingers. No oven required, just a pot, a spatula, and zero patience (because let’s be real, waiting for these to cool is torture!). Whether you’re a busy parent, a dessert newbie, or just craving a hug in snack form, this recipe’s your golden ticket. Ready to make the kitchen smell like a happiness factory? Let’s dive in! 🥄✨
My First Kitchen Triumph (and Sticky Fiasco)
Picture this: Eight-year-old me, standing on a wobbly stool in my grandma’s farmhouse kitchen, wielding a spatula like Excalibur. She’d handed me a bag of marshmallows and whispered, “This is how we make memories, Em.” I felt like a wizard stirring that bubbling pot—until I got overzealous and flicked molten marshmallow onto the cat. (Sorry, Whiskers! 🐱) But oh, that first bite! The way the buttery sweetness gave way to crispy whispers of cereal? Pure joy. Even now, every time I make these, I’m back in that sun-drenched kitchen, covered in marshmallow fluff and beaming like I’d discovered fire. Food isn’t just fuel, friends—it’s time travel.
Your Simple, Soul-Satisfying Toolkit
Makes 12 dreamy squares – double it if you’ve got a crowd (or a serious craving)!
- 3 tbsp butter – Unsalted is my go-to (lets you control the saltiness). Vegan? Swap in plant-based butter! Pro tip: Butter’s not just for non-stick—it adds a rich, caramel-like depth.
- 1 (10 oz) bag marshmallows – Mini mallows melt faster (less arm workout!). Use fresh ones—stale marshmallows make sad, tough treats. Vegan? Grab Dandies or similar!
- 6 cups Rice Krispies cereal – Generic crispy rice works too! Must be FRESH—if it’s limp, your treats will be too. Gluten-free? Ensure your cereal’s certified GF.
Chef’s whisper: Add a pinch of sea salt with the butter? Game-changer. Balances the sweetness like a boss.
Let’s Get Gooey: Your Foolproof Roadmap
- Melt the butter in a large pot over LOW heat. Why low? Burnt butter = sad treats. Stir until it’s just melted and bubbly—don’t let it brown! (2 mins)
- Add ALL the marshmallows. Stir constantly with a silicone spatula (non-stick heaven!) until they melt into a glossy lava pool. HACK: Remove the pot from heat when ¾ melted—residual heat finishes the job without scorching! (3-4 mins)
- Dump in the cereal—FAST! Working quickly (before the marshmallow seizes!), fold gently until every piece is coated. Don’t stir aggressively! We want airy treats, not hockey pucks.
- Press with love (not force!). Transfer to a greased 9×13-inch pan. Use buttered hands or wax paper to press lightly—just enough to fill corners. SECRET: Spritz your spatula with oil to prevent sticking!
- Cool it, hot stuff. Let sit at room temp for 20 mins. NO PEEKING! Cutting warm treats = marshmallow carnage. Speed it up? Pop the pan in the fridge for 10 mins.
Watch-out: Overheating marshmallows makes treats hard. Low and slow wins the race! 🐢
Serve with a Side of Joy
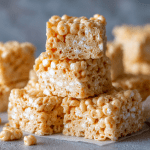
Slide a knife around the edges, flip the slab onto a cutting board, and slice into squares. Stack ’em high on a retro platter, or pack ’em in wax paper for lunchbox surprises! For next-level vibes, dip half in melted chocolate or sprinkle with edible glitter. Pro tip: Serve slightly warm with vanilla ice cream—trust me, it’s a “standing ovation” moment. 🍨✨
Shake It Up! 5 Fun Twists
- Chocolate-Bomb: Stir ¼ cup cocoa powder into melted marshmallows.
- Peanut Butter Paradise: Add ½ cup creamy PB with the butter.
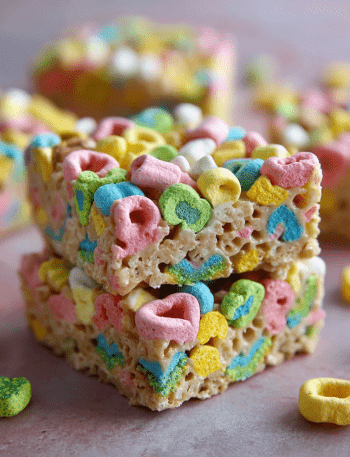
- Birthday Party: Mix in rainbow sprinkles + swap cereal for Fruity Pebbles!
- Salted Caramel Swirl: Drizzle with caramel sauce + flaky salt after pressing.
- Nutty Crunch: Fold in ⅓ cup toasted pecans or almonds.
Confessions from My Messy Apron
This recipe? It’s survived 3 generations in my family. My grandma used lard (😱), Mom switched to margarine, but I’m team real butter all the way. Over the years, I’ve learned: humidity is the enemy—on muggy days, reduce butter by 1 tbsp. Once, I subbed in bacon fat (don’t ask)… let’s just say, some experiments belong in the past. But that’s the beauty of cooking! Now, I let my kids add M&Ms to theirs—because messy hands and laughter? That’s the real secret ingredient. ❤️
Your Burning Questions, Answered!
Q: Why are my treats hard as a rock?
A: Overcooked marshmallows or over-pressing! Melt mallows just until smooth and press GENTLY.
Q: Can I freeze these?
A: YES! Layer in an airtight container with wax paper for up to 1 month. Thaw at room temp.
Q: Help! My treats are too sticky.
A: Humidity or undercooked mallows. Cook marshmallows 1 min longer, and avoid making them on rainy days.
Q: Can I use stale cereal?
A: Please don’t! Stale cereal = sad, chewy blocks. Freshness is non-negotiable.
Nutritional Nibbles (per square)
Calories: ~120 | Sugar: ~10g | Carbs: ~24g | Fat: ~3g
Note: Values vary with subs like chocolate or PB. Enjoy mindfully—or don’t, I won’t judge! 😉
Rice Krispie Treats
- Total Time: 30 MINUTES
Description
These Rice Krispie Treats are the ultimate throwback snack—gooey, buttery marshmallow goodness mixed with crispy cereal for a perfect, no-bake bite. A timeless treat for kids and adults alike, ready in minutes!
Ingredients
3 tbsp butter, melted
1 (10 oz) bag marshmallows
6 cups Rice Krispies cereal
Instructions
In a large pot, melt butter over low heat.
Add marshmallows and stir until fully melted and smooth.
Remove from heat. Quickly stir in cereal until evenly coated.
Press mixture into a greased 9×13-inch pan using a buttered spatula or wax paper.
Let cool completely, then cut into squares and enjoy!
- Prep Time: 5 minutes
- Cool Time: 20 minutes
- Cook Time: 5 minutes
Nutrition
- Calories: 120 per serving
- Sugar: 10g per serving
- Fat: 3g per serving
- Carbohydrates: 24g per serving
Final Thoughts: Sticky Hands, Full Hearts
There’s a reason Rice Krispie Treats have stood the test of time. They’re easy enough for tiny hands to help with, fast enough for busy weekdays, and magical enough to transport you straight back to sunlit kitchens and after-school snacks. Whether you’re reliving childhood or creating new memories, this recipe isn’t just about cereal and marshmallows—it’s about joy, pure and simple.
So go ahead: lick the spoon, sneak a bite while they’re still warm, and don’t stress the mess. That’s where the best stories live anyway. 🧡 Whether you stick to the classic or go rogue with peanut butter and glitter, I hope this becomes your go-to treat whenever life calls for a little sweetness.
Now grab that spatula, turn up your favorite throwback jams, and let’s get cracklin’—because some recipes aren’t just good… they’re legendary.