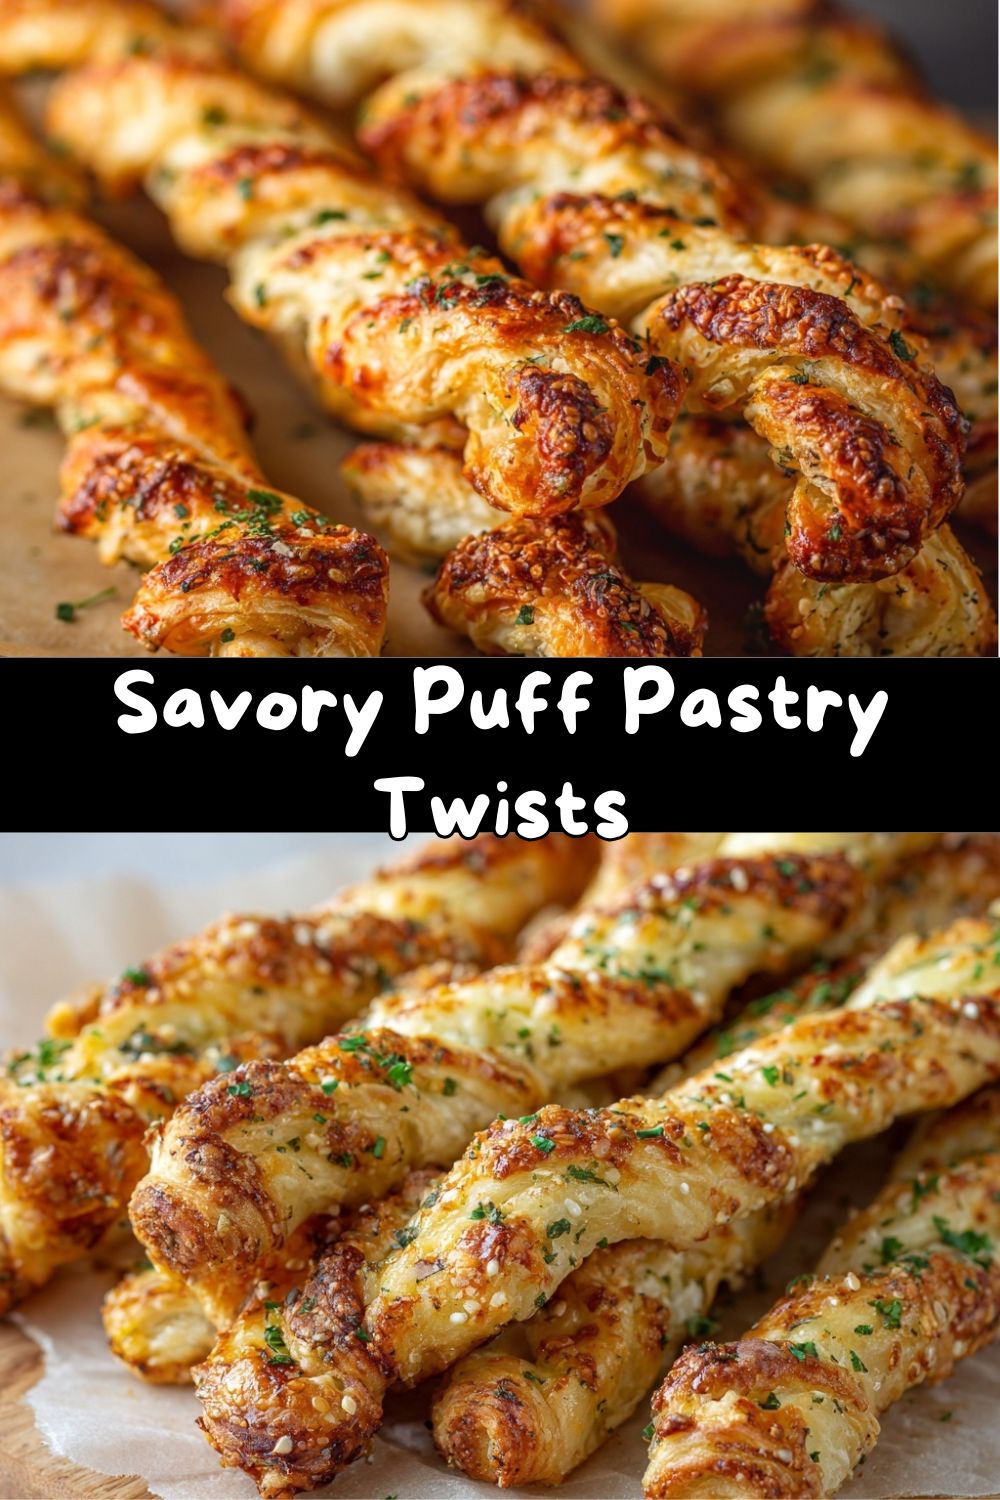
The Game Day Snack That Steals the Show Every Time
Hey there, friends! Emily here, from my perpetually flour-dusted kitchen to yours. Raise your hand if you’ve ever been in this situation: the big game is about to start, your house is suddenly full of hungry people, and you’re scrambling to find a snack that’s more exciting than a bowl of chips but less stressful than a multi-component culinary project. Sound familiar? I’ve been there more times than I can count, and that’s exactly why I’m utterly obsessed with these Savory Puff Pastry Twists.
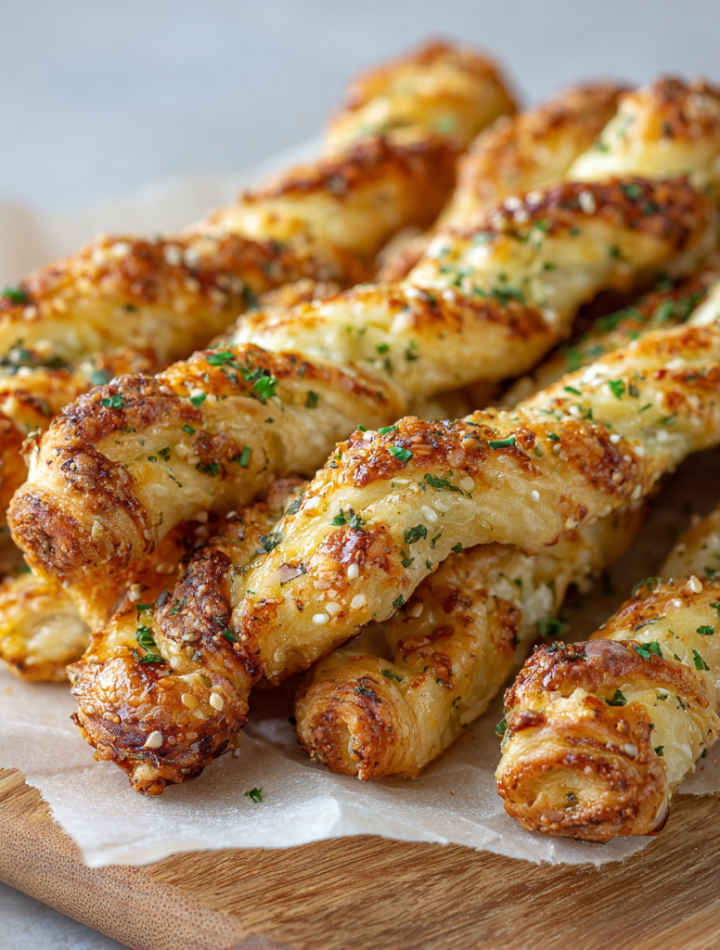
Imagine this: golden, impossibly flaky pastry, twisted into fun, bite-sized spirals. They’re bursting with savory, cheesy flavor, with a hint of garlic and herbs that makes your kitchen smell like a professional bakery. The best part? They look like you spent hours crafting them, but the secret is that they come together in less time than it takes for the pre-game show to wrap up. We’re talking about 25 minutes from fridge to table, using mostly pantry staples and the magical wonder that is store-bought puff pastry. No one needs to know how easy they are—let them think you’re a kitchen wizard! This recipe is my ultimate go-to for game days, impromptu gatherings, or just when I need a seriously satisfying savory treat. It’s reliable, endlessly customizable, and guaranteed to have everyone reaching for more. So, tie on your apron (the messy one is the best kind), and let’s make something incredibly delicious together.
Grandma’s Kitchen & The Magic of Simple Dough
This recipe always takes me right back to my grandma’s linoleum-floored kitchen. She wasn’t a fancy chef, but she was a genius with simple ingredients. She’d make these incredible “pinwheels” with leftover biscuit dough, sprinkled with whatever cheese and herbs she had in the icebox. My sister and I would jostle for a spot at the counter, watching her rough hands work the dough with a calm confidence I so admired. The anticipation as the smell of baking bread and melting cheese filled the house was pure joy.
My version, with its flaky puff pastry twists, is a little nod to her. It’s that same spirit of taking something humble and transforming it into a little bite of happiness. While Grandma didn’t use puff pastry (that was a “city ingredient” to her), she taught me the real secret: that the love and simplicity you put into food is what makes people gather around the table. Every time I pull a tray of these golden, puffed twists out of the oven, I think of her, and I know she’d approve of this faster, even flakier, game-day upgrade.
Gathering Your Flavor Toolkit
Here’s everything you need to create these flaky wonders. I’ve added my little chef-y insights so you know exactly why each ingredient is there and how you can swap things based on what’s in your fridge!
- 1 sheet puff pastry, thawed: This is our superstar. Look for it in the freezer aisle. The key is to let it thaw slowly in the fridge overnight or on the counter for about 40 minutes—just until it’s pliable but still cold. If it gets too warm and sticky, it’s harder to work with. Chef’s Tip: I always keep a box in the freezer for emergency appetizer situations!
- ½ cup grated cheese (Parmesan, cheddar, or a mix): Parmesan gives a salty, umami punch, while cheddar delivers that classic, melty goodness. A blend is my favorite! Substitution: Any hard, grate-able cheese works: Pecorino Romano, Gruyère, or even a spicy pepper jack.
- 1–2 tsp dried herbs (Italian seasoning, thyme, or rosemary): Dried herbs are perfect here because they won’t burn and their flavor concentrates beautifully. Chef’s Insight: Crush the dried rosemary between your fingers before sprinkling to wake up its oils and prevent prickly bits.
- 1 tsp garlic powder: We use powder, not fresh, for even distribution and to avoid burning. It gives that pervasive, cozy garlic flavor we all love.
- 1 egg + 1 tbsp water (for egg wash): This is our edible glue and gold paint! The egg wash helps the seasoning stick, promotes that beautiful browning, and gives the twists a gorgeous sheen. Substitution: For an egg-free version, you can use heavy cream or milk, though the color won’t be as deep.
- Optional toppings: sesame seeds, everything bagel seasoning, chili flakes: This is where you get creative! Everything bagel seasoning is a game-changer. A sprinkle of chili flakes adds a nice warmth. These are your flavor finishers.
Let’s Twist It Up! Your Step-by-Step Guide
Ready to see the magic happen? Follow these steps, and don’t skip my little hacks in the commentary—they make all the difference between good and great twists.
- Preheat & Prep: Get your oven roaring hot at 400°F (200°C). This high heat is crucial for creating that explosive steam in the pastry, which gives us maximum flakiness. Line a baking sheet with parchment paper—no sticking, and cleanup is a dream. Chef’s Hack: If you have a pizza stone or steel, place it in the oven now. Baking your twists on a preheated surface gives the bottom an extra-crispy lift.
- Unfold & Roll: Gently unfold your thawed puff pastry sheet onto a lightly floured surface. Using a rolling pin, give it a few gentle rolls to smooth out the fold lines and create an even rectangle, about 10×12 inches. Don’t go too thin—we want layers! Commentary: If the pastry cracks at the folds, don’t panic. Just pinch it back together. It’s very forgiving.
- The Egg Wash Glaze: Whisk your egg with a tablespoon of water until completely smooth. Using a pastry brush, lightly coat the entire surface of the pastry. This layer acts like primer, helping all our delicious toppings adhere. Tip: Avoid letting pools of egg wash gather at the edges.
- The Flavor Bombardment: Now for the fun part! Sprinkle your grated cheese evenly over the egg wash. Follow with the dried herbs, garlic powder, and any other dry seasonings (chili flakes, etc.). Gently press the toppings down with your hands so they embed slightly into the egg wash. Chef’s Hack: Leave a tiny ½-inch border along one of the long edges—it’ll help create a better seal in the next step.
- Fold & Seal: Carefully fold the pastry in half lengthwise, bringing the un-bordered long edge over to meet the bordered one. You should now have a long, narrow rectangle with the filling inside. Gently press the edges together, especially the open long side, to seal in the cheesy goodness. Commentary: Think of it like closing a book filled with flavor!
- Cut & Twist: Using a sharp knife or a pizza cutter, slice the long rectangle into ½-inch wide strips. You’ll get 12-14 strips. Now, pick up one strip by both ends. Gently stretch it a tiny bit, then twist it in opposite directions 3-4 times. It’s like wringing out a tiny towel! Tip: If a little filling pops out, just tuck it back in. Place each twist on your prepared baking sheet, leaving about an inch of space between them as they’ll puff up.
- Final Glaze & Topping: Give the tops of your twists another light brush with the remaining egg wash. This double layer ensures a deep golden color. Now, sprinkle on any optional toppings like sesame seeds or extra cheese. Chef’s Secret: A final tiny pinch of flaky sea salt on top before baking makes the flavor pop!
- Bake to Golden Perfection: Slide the baking sheet into your hot oven. Bake for 12-15 minutes. You’re looking for the twists to be deeply golden brown, puffed, and crisp. Watchful Eye: Ovens vary, so keep an eye on them after the 10-minute mark. That beautiful color is your best indicator.
- The (Brief) Cool Down: Once out of the oven, let the twists cool on the baking sheet for just 3-5 minutes. This allows the structure to set slightly so they don’t collapse when you move them. They are best served warm, when the pastry is at its crispiest and the cheese is at its most aromatic.
How to Serve These Flaky Beauties
Presentation is part of the fun! Don’t just dump these in a bowl (though, let’s be real, they’ll disappear even if you do). For a casual game-day spread, I love piling them high in a rustic basket or on a wooden board lined with a checkered napkin. It feels homey and inviting.
Dipping sauces are non-negotiable in my book. They take these twists from fantastic to unforgettable. Offer a couple of small bowls alongside: a cool, creamy ranch dressing or sour cream and chive dip is classic. For a kick, a quick spicy marinara or a sriracha mayo (just mix mayo with a squeeze of sriracha) is phenomenal. For a fancy touch, a warm beer cheese dip sends these right over the top. Scatter some extra fresh herbs around the platter for a pop of color, and watch them vanish!
Make It Your Own: Endless Twisting Possibilities
The true beauty of this recipe is its adaptability. Once you master the basic twist, the flavor world is your oyster! Here are a few of my favorite riffs:
- Everything Bagel Twist: Swap the herbs for 2 tablespoons of everything bagel seasoning mixed with the cheese. After the egg wash, sprinkle more on top. Instant crowd-pleaser!
- Pizza Party Twist: Use a mix of mozzarella and Parmesan. After sprinkling the cheese, add a very light scattering of finely chopped pepperoni or a drizzle of pizza sauce (use sparingly to avoid sogginess). Finish with a pinch of dried oregano.
- Ranch & Bacon Twist: Mix 1 teaspoon of dry ranch seasoning into your cheese blend. Add ¼ cup of cooked, finely crumbled bacon before folding. Serve with extra ranch for dipping, of course.
- Spicy Jalapeño Popper Twist: Use sharp cheddar cheese. Add 2 tablespoons of finely diced pickled jalapeños (pat them dry first!) and a teaspoon of smoked paprika to the filling.
- Veggie-Focused Twist (Lighter Option): Use a fine grater to grate a little zucchini or carrot. Squeeze ALL the moisture out in a towel. Mix with the cheese, some lemon zest, and dill for a fresh, garden-inspired version.
Emily’s Kitchen Confidential
This recipe has evolved from a last-minute “what do I have?” experiment into my most-requested party trick. I’ve learned a few things along the way: First, don’t be afraid to really twist those strips—a good 3-4 turns gives you the best spiral shape. Second, I once tried using fresh garlic instead of powder, and while the flavor was great, the little burnt garlic bits were not. Stick with powder for this one!
The biggest laugh came when I made a double batch for a party and, in my hurry, forgot to add the cheese. I baked up a batch of beautifully golden… seasoned breadsticks. My friends were very polite, but the disappointment was palpable! Now, I always double-check my “cheese step” like it’s a pre-flight checklist. Lesson learned: the cheese is non-negotiable. It’s the soul of the twist!
Your Questions, Answered!
Q: Can I make these ahead of time?
A: Absolutely! You can assemble the twists up through step 6 (twisting them and placing them on the baking sheet). Instead of baking, cover the sheet tightly with plastic wrap and refrigerate for up to 4 hours, or freeze solid and then transfer to a bag for up to a month. Bake straight from the fridge or freezer, adding a couple extra minutes to the baking time if frozen.
Q: My twists didn’t puff up very much. What happened?
A: The most common culprit is the pastry getting too warm before baking. The butter layers in the pastry need to stay distinct to create steam. Ensure your pastry is cold when it goes into the hot oven. Also, avoid over-twisting or stretching the strips too thin, which can compact the layers.
Q: Can I use phyllo dough instead?
A: I wouldn’t recommend it for this specific method. Phyllo dough is much more delicate and doesn’t have the same laminated, buttery structure as puff pastry. It won’t puff and twist in the same satisfying way. Stick with puff pastry for the best results.
Q: What’s the best way to store leftovers?
A: They are truly best the day they’re made. However, you can store cooled leftovers in an airtight container at room temp for a day. Re-crisp them in a 350°F oven for 5-8 minutes. The microwave will make them soft and chewy.
Nutritional Info (Because We’re Curious!)
Okay, let’s keep it real: this is a celebratory, indulgent appetizer. It’s not a salad, and that’s perfectly okay! Food is about joy and community, especially on game day. That said, here’s a general breakdown per twist (assuming the recipe yields 12 twists, with a mix of Parmesan and cheddar). Remember, these are estimates and can vary based on the specific brands of pastry and cheese you use.
Each twist provides a satisfying combo of carbs, fat, and a little protein from the cheese. The puff pastry contributes to the fat and carb content, while the cheese adds protein, calcium, and flavor. If you’re looking for a lighter tweak, you can use a reduced-fat cheese blend and brush with milk instead of egg wash, though the texture will differ slightly. My philosophy? Enjoy a few of these delicious twists mindfully as part of the fun, and balance it out with some fresh veggies and dip on the side!
Your New Go-To Party Hero
And there you have it, my friends! Your secret weapon for effortless, impressive entertaining. These Savory Puff Pastry Twists are more than just a recipe; they’re a promise of good times, full bellies, and that wonderful feeling of serving something you’re genuinely proud of. They prove that incredible food doesn’t have to be complicated.
I hope you make these, customize them, and fill your home with that incredible baking aroma. Most of all, I hope you share them with people who make you laugh. That’s what Tasty Chow is all about. Now, go forth and twist! And be sure to tag me @TastyChow if you share a photo—I love seeing your kitchen creations.
With love and a fully stocked freezer of puff pastry,
Emily