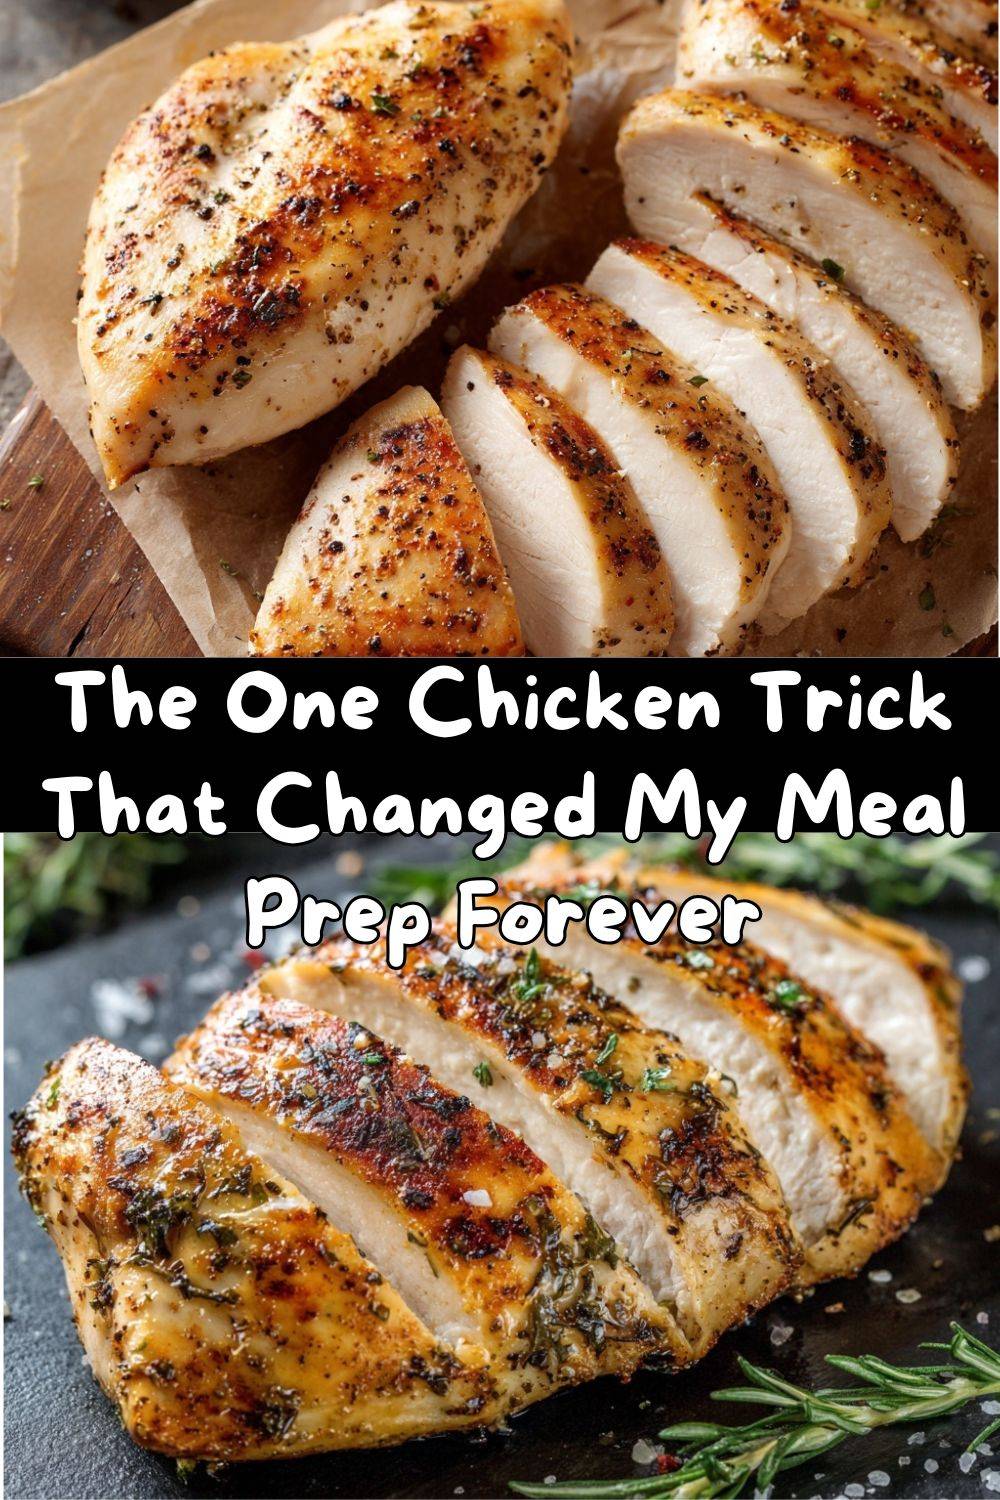
The One Chicken Trick That Changed My Meal Prep Forever (No More Dry Breast!)
Hey friends, Emily here! Let me paint a picture I know you’ve seen before: You cook up some beautiful chicken breasts for Monday’s dinner. They’re perfect—golden, juicy, flavorful. You’re feeling like a kitchen rockstar. Fast forward to Tuesday lunch. You open the container, full of hope for that delicious leftover chicken salad… only to be met with pale, sad, sawdust-dry chunks. The moisture is gone. The joy is gone. You sigh and reach for the mayo, hoping to mask the texture.
Sound familiar? I’ve been there more times than I’d like to admit, both in my home kitchen and even during my early culinary school days. We all have. For years, I accepted it as fate: “Leftover chicken breast is just destined to be dry.” It was a law of the universe, right up there with gravity and the fact that you will always drop the smallest, shiniest piece of garlic on the floor.
But what if I told you it doesn’t have to be that way? What if I shared a tiny, almost-too-simple-to-be-true shift in your routine that locks in those precious juices, not just for dinner, but for days afterward? The secret isn’t a fancy brine (though those are great) or a special piece of equipment. It’s all in the slice. Or more accurately, in when you slice.
By keeping your chicken breast gloriously, triumphantly WHOLE during cooking and storage, and only slicing it when you’re moments away from eating, you create a moisture barrier that defies the leftovers gods. This method is my absolute non-negotiable for meal prep, salads, sandwiches, and bowls. It’s the difference between “tolerable” leftovers and “I-can’t-wait-for-lunch-tomorrow” leftovers. So, grab your favorite skillet, and let’s make some chicken that stays juicy, now and later.
Grandma’s Spoon & The “Aha!” Moment
This whole “slice-later” philosophy? I owe it to my grandma, though she probably never called it a “moisture barrier.” In her small, always-warm kitchen, she’d roast a chicken every Sunday. And without fail, she’d guard that resting bird on the counter with her life, waving away any wandering hands (especially mine!) with her trusty wooden spoon. “You let the juices settle, Em,” she’d say. “It’s not ready until it’s ready.”
Years later, in culinary school, I finally understood the science behind her spoon-waving: resting meat allows the frantic, heat-expanded juices to redistribute evenly throughout the muscle. Cut it too soon, and all those juices flood right out onto your cutting board. It was a lesson in patience for a whole roast, but it wasn’t until I was prepping lunch for a week of 12-hour kitchen shifts that the penny dropped for individual breasts.
I’d meal-prepped my usual diced chicken and watched it turn to cardboard by Wednesday. In a moment of exhaustion-fueled rebellion, I just tossed two whole, seasoned breasts into the oven, let them rest, and stashed them whole in the fridge. The next day, slicing into one for a salad, I was stunned. It was… moist. It was tender. It was a revelation born from grandma’s wisdom and a tired cook’s desperation. That “aha!” moment is now the cornerstone of my approach to lean proteins, and I get giddy every time I pass it on.
Your Simple Toolkit for Juicy Chicken
Here’s the beautiful part: you don’t need much. This is about technique, not a laundry list of ingredients. Think of this as your master blueprint.
- 2 boneless, skinless chicken breasts (about 6-8 oz each): Size matters here! Try to get breasts that are similar in thickness for even cooking. If one is a real monster, you can gently pound the thicker end to an even ¾-inch. Chef’s Insight: Air-chilled breasts often have better texture and less excess water.
- Kosher salt & freshly ground black pepper: The dynamic duo. Don’t be shy! Salt is your primary flavor agent and helps the chicken retain moisture from the inside. Pepper adds its warm, pungent kick. Pro Tip: Season at least 15 minutes before cooking if you can, or right before. It makes a difference.
- 1 tbsp olive oil or butter: Olive oil is my go-to for its high smoke point and clean flavor. Butter adds incredible richness and helps create a gorgeous golden-brown sear (hello, flavor!). You can’t go wrong. Substitution: Avocado oil works wonderfully for high-heat searing.
- Optional Flavor Boosters: This is your playground!
- Garlic powder: Doesn’t burn like fresh garlic, giving a consistent, mellow garlic flavor.
- Smoked paprika: A pinch adds a hint of sweetness and deep, smoky aroma—zero heat, all flavor.
- Lemon zest: Bright, sunny, and aromatic. Add it with your salt and pepper for a fresh lift.
- Dried herbs: Thyme, oregano, or a Italian blend are classics.
Step-by-Step: The Path to Juicy Chicken Glory
Follow these steps, and you’ll never look at a chicken breast the same way again. I’m talking each step with you like you’re right here at my counter!
- Prep & Season: First, pat those chicken breasts completely dry with a paper towel. This is non-negotiable! Wet chicken steams instead of sears. Place them on a plate and season all over generously with salt, pepper, and any of your chosen dry spices. Drizzle or rub with the oil. Chef’s Hack: Lift up the tenderloin (that little extra piece) and get seasoning underneath it too. Every surface deserves love!
- Choose Your Cooking Method:
- For Pan-Searing (My Weeknight Favorite): Heat your skillet (cast iron or stainless steel are kings here) over medium-high heat until it’s nice and hot. Add the chicken. You should hear a confident sizzle! Don’t touch it. Let it cook, undisturbed, for 5-7 minutes, until you can easily lift it and it has a beautiful golden-brown crust. Flip, reduce heat to medium, and cook for another 5-7 minutes. Tip: The chicken will start to feel firm to the touch when it’s done.
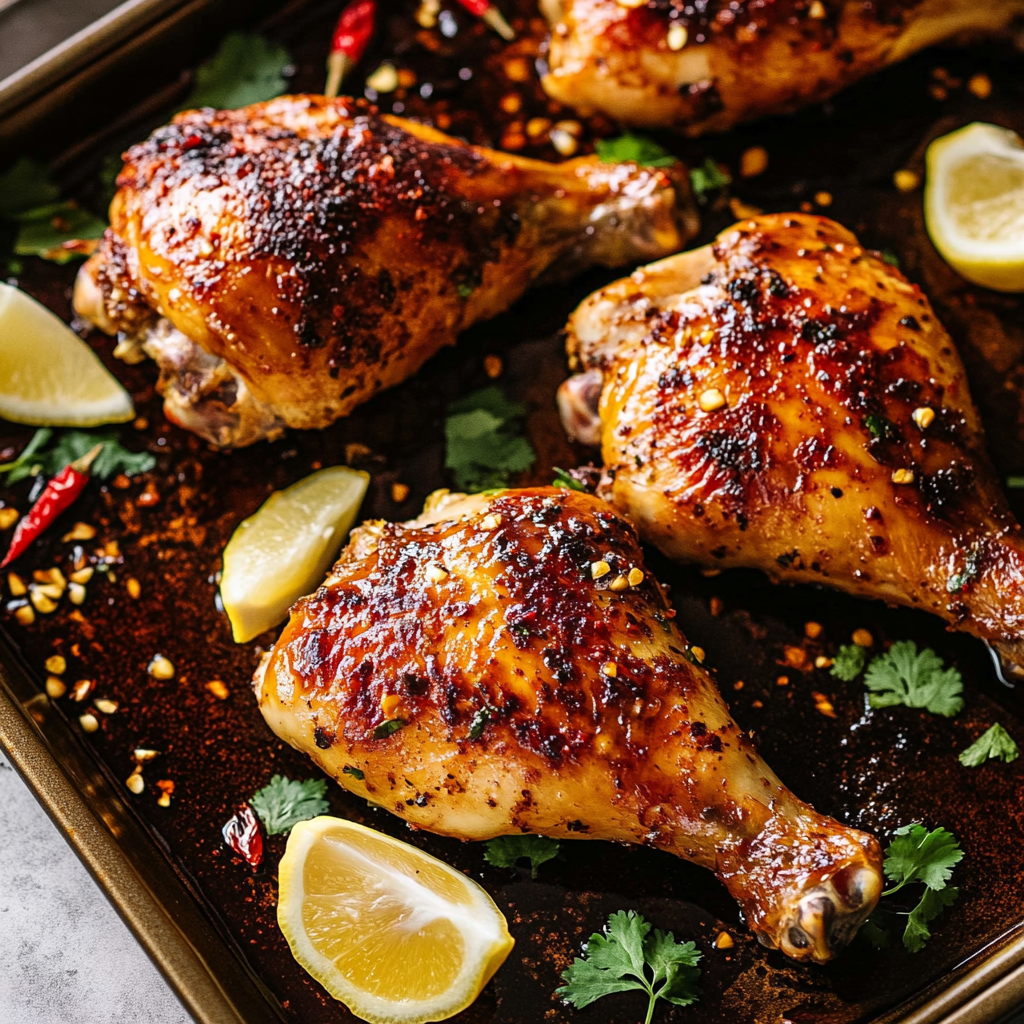
- For Baking (Great for Multiple Breasts): Preheat your oven to 400°F (200°C). Place the seasoned breasts on a parchment-lined baking sheet. Roast for 18-25 minutes. Time varies wildly based on thickness, so a thermometer is your best friend here! Chef’s Trick: For extra juiciness, you can bake them in a shallow broth or sauce, but for versatile meal prep, dry heat is perfect.
- The Most Important Step: Rest WHOLE! When your chicken is cooked through (aim for 165°F / 74°C at the thickest part using an instant-read thermometer), take it off the heat. Now, transfer it to a clean plate or cutting board and… walk away. Let it sit, whole and uncut, for a full 5-10 minutes. This is when grandma’s magic happens internally. The juices relax and redistribute. Commentary: I use this time to wash the skillet, make a quick pan sauce, or whip up the salad dressing. Multitasking for the win!
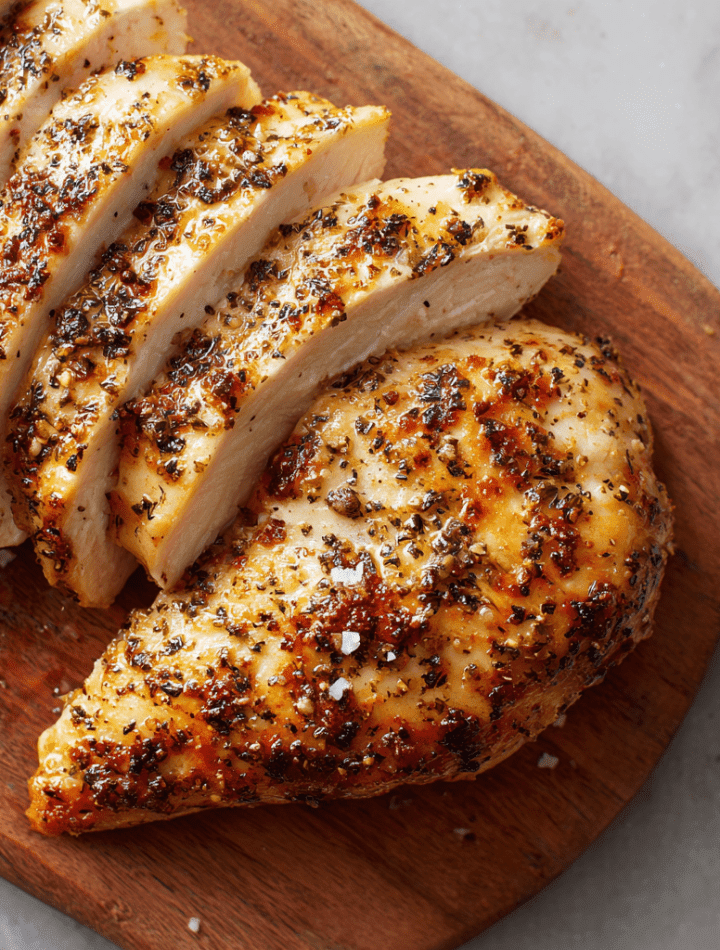
- The Grand Finale: Slice Only When Ready! This is the secret! If you’re eating right away, now you slice it against the grain into beautiful strips or chunks. If you’re storing it for later, let it cool completely whole, then pop the entire, untouched breast into an airtight container in the fridge. Do not slice it until you are literally assembling your lunch, salad, or sandwich. Biggest Hack: Slicing against the grain (across the long muscle fibers) guarantees the most tender bite every single time.
How to Serve Your Juicy Masterpiece
Now for the fun part—eating! This chicken is your blank canvas. Here’s how I love to use it:
- The Classic Salad: Slice a cold breast over a huge bed of greens, veggies, nuts, and cheese. The chicken stays succulent, even straight from the fridge.
- The Ultimate Sandwich/Wrap: Pile warm or cold slices on crusty bread, a brioche bun, or in a tortilla with avocado, bacon, lettuce, tomato, and your favorite sauce. The texture holds up beautifully.
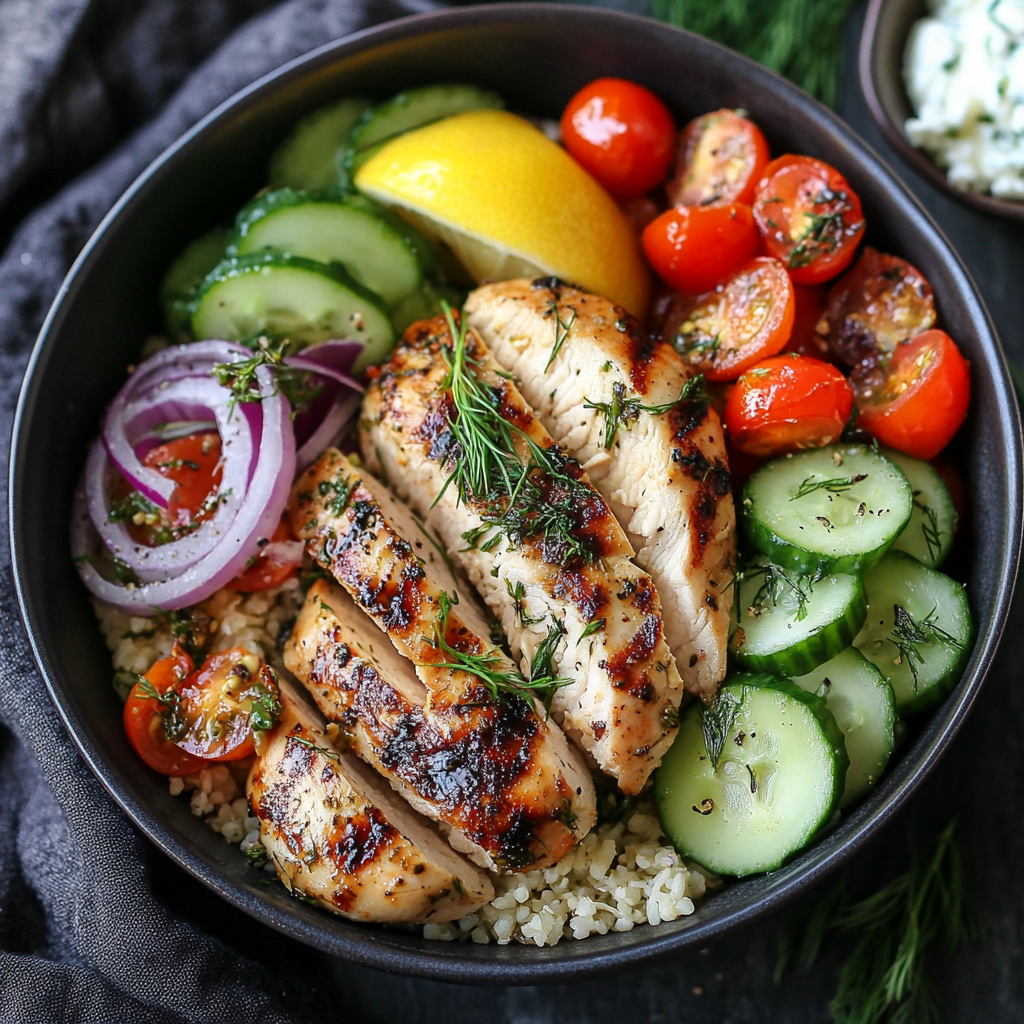
- Bowl Bliss: Create a nourishing bowl with grains (quinoa, rice), roasted veggies, a dollop of hummus or tzatziki, and your sliced chicken on top.
- Pasta & Grain Salads: Cube or slice and fold into pesto pasta, Greek orzo salad, or a farro bowl. It absorbs dressings without becoming mushy.
- Simple & Elegant Dinner: Serve a whole, warm breast alongside roasted potatoes and green beans. Slice at the table for a dramatic (and juicy) reveal!
5 Tasty Twists to Keep It Exciting
Once you’ve mastered the basic method, the world is your flavor-packed oyster!
- Mediterranean Magic: Season with salt, pepper, dried oregano, and lemon zest. After cooking, while it rests, drizzle with a little extra virgin olive oil and a squeeze of fresh lemon juice. Perfect for Greek salads.
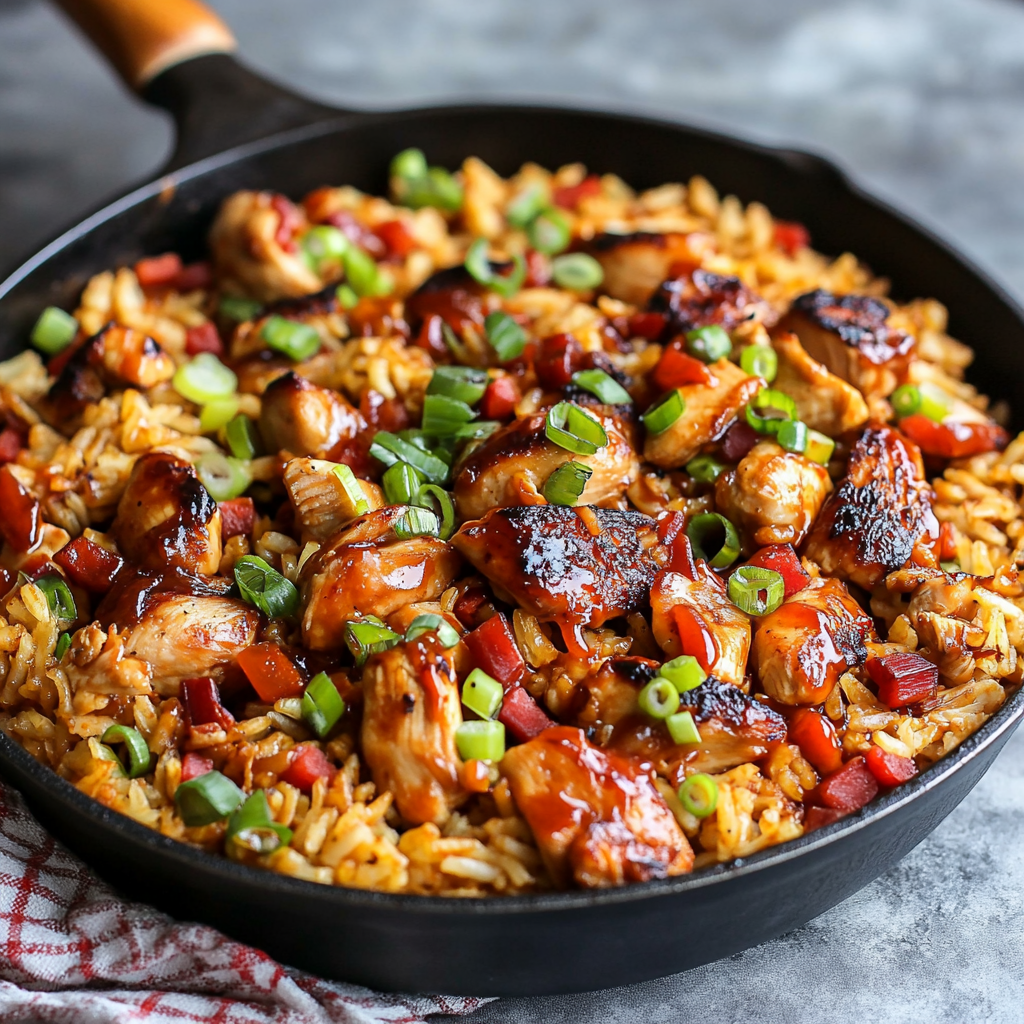
- Sweet & Smoky BBQ Vibe: Rub with smoked paprika, garlic powder, onion powder, and a touch of brown sugar before cooking. Slice and toss with a tiny bit of your favorite BBQ sauce just before serving.
- Creamy Herb Dream: After pan-searing, remove the chicken and add ½ cup of broth, a splash of white wine, and 2 tbsp of cream cheese or heavy cream to the skillet. Whisk into a quick sauce and pour over the whole, sliced breast.
- For Our Veggie Friends: This method works wonders on extra-firm tofu (press it well first) or chickpea patties! The same principle applies—keep it whole to lock in moisture.
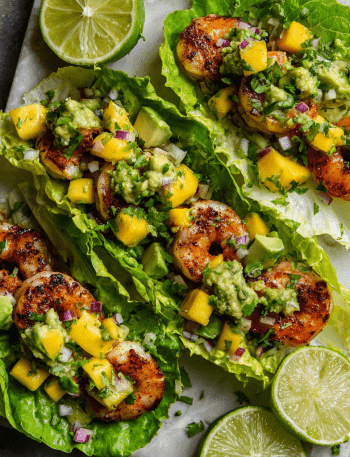
- Lean Fish Swap: Try it with a thick fillet of cod or salmon. Cook until just flaky, let it rest whole, and then gently break into large chunks for tacos or bowls.
Chef Emily’s Notebook Scribbles
This recipe has evolved from a “desperation meal prep hack” to my number one piece of chicken advice. I’ve taught it to countless friends, and the text I love getting most is: “OMG, the chicken was still good on Thursday!” Mission accomplished.
A funny story: I once was so adamant about not slicing early for a dinner party that I brought the whole, resting chicken breasts to the table on a platter with the carving knife. My friends thought it was a fancy chef move. Little did they know it was just me fiercely protecting their juicy experience! They raved about the chicken, and I just smiled, thinking of grandma and her wooden spoon. Some lessons are timeless.
Your Questions, Answered!
Q: I’m worried about overcooking. How do I get it right?
A: The instant-read thermometer is your guardian angel! Pull the chicken at 160-162°F (71-72°C). As it rests, the temperature will carry over to a safe 165°F+ while the juices settle. No guesswork, no dryness.
Q: How long can I store the whole cooked breasts?
A: In an airtight container in the fridge, they’ll be perfect for 3-4 days. You can also freeze them whole for up to 3 months. Thaw in the fridge before slicing.
Q: How do I reheat it without drying it out?
A: My favorite method is gentle steaming. Place the whole breast on a microwave-safe plate, add a teaspoon of water or broth, and cover loosely with a damp paper towel. Heat in short 30-second bursts until just warm. Or, slice it cold and add it to a hot sauce or soup at the end just to warm through.
Q: Does slicing thickness matter?
A: For maximum tenderness, always slice against the grain (you’ll see lines running one way—cut perpendicular to them). Thickness is personal preference, but ½-inch slices are great for salads, while thinner shavings are perfect for sandwiches.
Nourishment Information (A Rough Guide!)
Remember, I’m a cook first, not a dietitian! These are estimates based on standard ingredients (using olive oil) and can vary. The beauty of cooking from scratch is knowing exactly what’s in your food.
- Prep Time: 5 minutes
- Cook Time: 20-25 minutes
- Servings: 2
- Calories per serving: ~230 kcal
- Macros (per serving): Protein: ~30g | Fat: ~10g | Carbohydrates: 0g.
This is a fantastic, high-protein, low-carb base for so many meals.