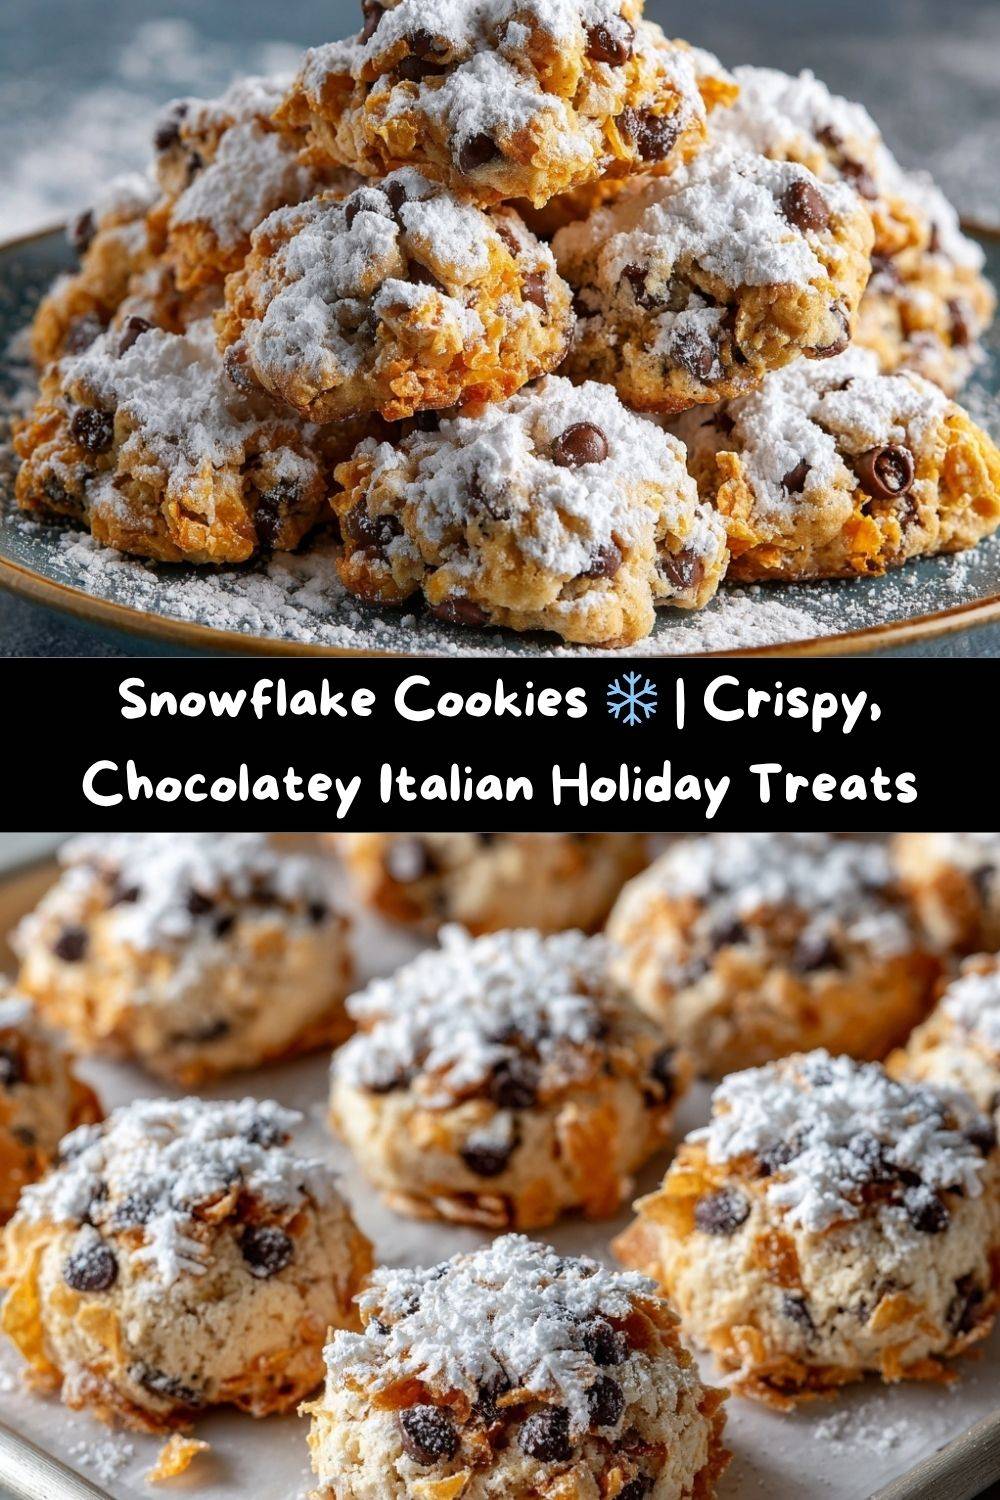
Snowflake Cookies: Your New Favorite Holiday Bite!
Hey there, fellow food lover! Is there anything better than the smell of cookies baking on a chilly day? I’m talking about that warm, buttery, sugary aroma that wraps around your kitchen like the coziest blanket. It’s pure magic. And if you’re anything like me, you’re always on the hunt for that one standout cookie that steals the show on every holiday tray.
Well, my friend, get ready to meet your new baking obsession: Snowflake Cookies.
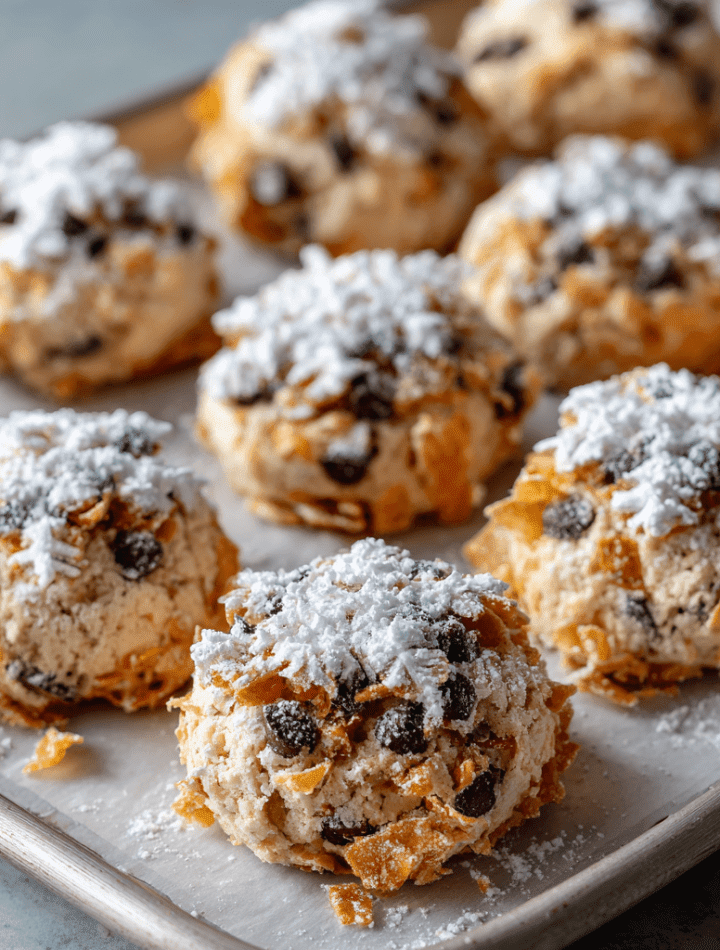
Imagine this: a soft, tender cookie, rich with almond flour and studded with pockets of melty chocolate chips. Now, picture that delightful little mound rolled in crushed cornflakes, giving it this incredible, crispy-crunchy shell. And just when you think it can’t get any better, we shower it with a blizzard of powdered sugar, creating a beautiful, snow-kissed finish that’s just begging to be photographed.
These aren’t just cookies; they’re a whole experience. They’re a beloved Italian treat, straight from the heart of Umbria, and they bring such a unique texture and flavor to the table. They’re fun to make, absolutely gorgeous, and I promise, they’ll have everyone asking, “What are these?!” So, tie on your favorite apron (the messy one is always the best), and let’s create some kitchen magic together.
A Taste of Italy in My Grandma’s Kitchen
My love for these cookies started long before I ever set foot in Italy. It was actually in my Grandma Ruth’s kitchen, a place that always smelled like yeast and wisdom. She had a friend, Mrs. Rossi, who would bring over these mysterious, lumpy, sugar-dusted cookies every Christmas. To my kid eyes, they looked a little… different. But one bite, and I was a believer.
That crunch from the cornflakes! It was a sound I associated with breakfast, not dessert. And then, the soft, almost cake-like interior would give way to a burst of chocolate. It was a textural symphony. Grandma Ruth would always laugh at the look of pure shock and delight on my face. “It’s the cornflakes, honey,” she’d say with a wink. “They make the magic.” Mrs. Rossi called them ‘Dolci di Neve’ – Snow Sweets. We’d sit at the formica table, crumbs everywhere, and I’d feel like I’d been let in on the world’s best-kept secret. Now, every time I make them, that memory comes flooding back—a perfect little reminder that the most magical recipes often come wrapped in the most unexpected packages.
Gathering Your Snowflake Cookie Ingredients
Let’s gather our cast of characters! This recipe makes a big batch—perfect for gifting or freezing for later. Don’t be intimidated by the list; it’s mostly pantry staples coming together to create something extraordinary.
- 4 cups all-purpose flour: Our trusty base. It gives the cookies their structure. For a slightly more tender cookie, you can swap one cup for pastry flour.
- 2 2/3 cups almond flour: This is the secret weapon! It adds a beautiful, rich flavor and a soft, melt-in-your-mouth texture that’s just divine. Don’t skip it!
- 4 tsp baking powder: This is what gives our snowflakes their lovely lift and soft interior. Make sure yours is fresh for the best rise.
- 1 tsp salt: The flavor enhancer. It balances all the sweetness and makes the chocolate taste even more chocolatey.
- 2 cups granulated sugar & 1 1/3 cups brown sugar: We’re using a dynamic duo! The white sugar gives sweetness and spread, while the brown sugar adds a hint of molasses and chewy moisture.
- 20 tbsp (2½ sticks) unsalted butter, softened: The heart of any great cookie. Pro Chef Tip: “Softened” means you can press your finger into it easily, but it’s not melting or greasy. This is key for creaming!
- 2 tsp vanilla extract: Pure vanilla, if you have it, for that warm, classic cookie flavor.
- 6 whole eggs + 4 egg yolks: The extra yolks are a little trick from my culinary school days—they add incredible richness and tenderness to the dough.
- 16 cups cornflakes, divided: Yes, 16 cups! But don’t worry, it’s not all for the dough. We’ll crush them slightly. They give that iconic crunch and “snowflake” texture.
- 2 cups mini chocolate chips: I prefer minis here because they distribute the chocolate more evenly throughout the cookie. Regular-sized chips will work, too!
- Confectioners’ sugar, for dusting: This is our “snow”! You’ll want a good, thick layer for that picture-perfect finish.
- Optional twist: 1 tsp orange zest or almond extract: Feeling fancy? A bit of orange zest brightens everything up, or a dash of almond extract doubles down on that nutty, cozy flavor.
Let’s Bake! Your Step-by-Step Guide to Perfect Snowflakes
Ready to get your hands a little dusty? This process is so much fun, and I’ve got some little hacks along the way to make it foolproof.
- Preheat and Prep: First things first, get that oven heating to a cozy 350°F (175°C). Line your baking sheets with parchment paper. Trust me, this is a non-negotiable for easy cleanup and no-stick cookies! Chef’s Hack: If you don’t have parchment, a light coating of baking spray will work in a pinch.
- Whisk the Dry Team: In a large bowl, whisk together your all-purpose flour, almond flour, baking powder, and salt. You want to make sure the baking powder and salt are evenly distributed throughout the flours—this ensures every cookie bakes up perfectly. Give it a good 30-second whisk and set it aside.
- Cream the Butter & Sugars: In your stand mixer (or a large bowl with a hand mixer), cream together the softened butter, granulated sugar, and brown sugar. We’re not just mixing here; we’re creaming. Beat it on medium-high speed for a good 2-3 minutes until it becomes pale, fluffy, and wonderfully smooth. This step incorporates air, which is part of what gives our cookies their lovely texture.
- Add the Wet Ingredients: Now, with the mixer on low, add the vanilla extract. Then, add the eggs and egg yolks one at a time, beating well after each addition. Let each egg fully incorporate before adding the next. This might feel fussy, but it prevents the mixture from curdling and gives us a smooth, emulsified dough. Scrape down the sides of the bowl as needed.
- Bring It All Together: Gradually add your dry ingredient mixture to the wet ingredients. Mix on low speed just until the flour disappears. A few streaks are okay—we’re about to mix more! Do not overmix at this stage! Overmixing can lead to tough cookies.
- Fold in the Goodies: Now, by hand with a sturdy spatula, fold in the mini chocolate chips and half (8 cups) of the slightly crushed cornflakes. Folding by hand prevents you from breaking down the cornflakes too much and ensures everything is evenly mixed without overworking the dough.
- The Fun Part: Shaping & Coating! Pour the remaining 8 cups of crushed cornflakes into a shallow bowl. Scoop out about 1 tablespoon of dough and roll it gently between your palms to form a ball. Then, roll it generously in the crushed cornflakes, pressing lightly so they adhere. You want a good, solid coat—this is what creates that fantastic crunch!
- Bake to Golden Perfection: Place your coated dough balls about 2 inches apart on your prepared baking sheets. They won’t spread a ton, but they need their space! Bake for 14-16 minutes. You’re looking for the edges to be lightly golden and the tops to feel set and slightly firm to the touch. They might still look a tiny bit soft in the center—that’s perfect! They’ll continue to firm up as they cool.
- Cool and Create the Blizzard! Let the cookies cool on the baking sheet for 5 minutes before transferring them to a wire rack to cool completely. This is crucial! If you try to move them too soon, they might break. Once they are completely cool, grab a fine-mesh sieve, fill it with powdered sugar, and give it a generous tap-tap-tap over the cookies for that beautiful, snowy finish.
How to Serve These Snowy Delights
Presentation is part of the fun with these cookies! They already look like a winter wonderland, so let’s play that up.
I love stacking them high on a rustic wooden board or a vintage cake stand. The contrast between the rough wood and the delicate, sugar-dusted cookies is just gorgeous. For a real showstopper, arrange them in a spiral pattern on a large platter, maybe with a few sprigs of fresh rosemary or cranberries scattered around for a pop of color.
These are the ultimate cookie swap candidate—they’re unique, travel well, and look incredibly impressive. Pack them in cellophane bags tied with a festive ribbon, or layer them in a gift tin with parchment paper between the layers. And of course, they’re non-negotiable on any holiday cookie tray. Pair them with a classic chocolate chip cookie and a gingerbread man for a trio that covers all the bases of deliciousness.
Get Creative! Fun Snowflake Cookie Variations
Once you’ve mastered the classic, feel free to get playful and make these cookies your own! Here are a few of my favorite twists:
- Citrus Sunshine: Add the zest of one large orange or two clementines to the dough along with the vanilla. The bright, sunny citrus cuts through the richness beautifully.
- Double Nutty Crunch: Replace half of the mini chocolate chips with an equal amount of finely chopped toasted almonds or hazelnuts. It amplifies the nutty flavor from the almond flour.
- Peppermint Patty: Swap the chocolate chips for white chocolate chips and add ½ teaspoon of peppermint extract to the dough. For an extra festive touch, crush some candy canes and roll the cookies in them along with the cornflakes.
- Gluten-Free Friendly: You can easily make these gluten-free! Use a 1:1 gluten-free all-purpose flour blend and ensure your cornflakes are a certified gluten-free brand. The almond flour is naturally GF, so you’re good to go!
- Cranberry Orange Bliss: Omit the chocolate chips and fold in 1 ½ cups of dried cranberries along with the orange zest. It’s a tangy, festive, and absolutely delicious combination.
Chef Emily’s Kitchen Notes
Oh, the stories this dough could tell! The first time I tested this recipe, I was so excited I completely forgot to divide the cornflakes. I mixed them all into the dough, and when I went to coat the balls… I had nothing left! Let’s just say we had a very, very crunchy batch of cookies that day. A delicious mistake, but it taught me the importance of mise en place—having everything measured and ready to go.
This recipe has evolved in my kitchen, too. I started with just whole eggs, but found that adding those extra yolks made the texture so much more luxurious. And the orange zest? That was a happy accident after making orange scones right before a batch of these. Don’t be afraid to play and make it your own—that’s where the best kitchen memories are made.
Your Snowflake Cookie Questions, Answered!
Q: Can I make the dough ahead of time?
A: Absolutely! You can cover the bowl of dough and refrigerate it for up to 2 days. Let it sit at room temperature for 15-20 minutes before scooping and rolling, as it will firm up in the fridge.
Q: My cookies spread too much/flattened out. What happened?
A> This usually points to the butter being too warm. Make sure your butter is softened, not melted. Also, double-check that your baking powder isn’t expired. Chilling the shaped dough balls for 15 minutes before baking can also help prevent excess spread.
Q: Can I freeze these cookies?
A> They freeze like a dream! You have two options: 1) Freeze the un-baked, coated dough balls on a sheet pan, then transfer to a freezer bag. Bake straight from frozen, adding 1-2 minutes to the bake time. Or, 2) Freeze the fully baked and cooled cookies. Just note that you’ll need to re-dust them with powdered sugar after they thaw, as it can dissolve into the cookie.
Q: The powdered sugar seems to melt/disappear. Help!
A> The number one rule is to make sure the cookies are completely cool before you dust them. Any residual heat will melt the sugar. If you’re serving them in a humid environment, dust them as close to serving time as possible.
Nutritional Information (For Your Info!)
I’m a firm believer that holiday cookies are meant to be enjoyed soul-first! But I know some of you like to keep track, so here’s a general breakdown. Remember, this is per cookie (and this recipe makes about 72!).
Per Cookie: Calories: 110 | Carbohydrates: 15g | Fat: 5g | Sugar: 7g | Protein: 2g
These cookies get their rich, tender texture from the almond flour and butter, and the cornflakes add that satisfying crunch. While they are a treat, using almond flour does provide a bit of healthy fat and protein compared to cookies made with only all-purpose flour. As always, enjoy them mindfully as part of your festive celebrations!
Final Thoughts from My Kitchen to Yours
And there you have it! Your guide to creating these utterly magical, crunchy, chocolatey, snow-dusted bites of joy. I hope this recipe brings as much warmth and happiness to your kitchen as it has to mine.
Baking, for me, has always been about connection. It’s about sharing a story, a memory, and a whole lot of love, one cookie at a time. So when you make these, know that you’re not just following a recipe—you’re creating a new tradition. You’re making someone’s day a little sweeter.
I’d love to see your creations! Tag me on social @TastyChow with #TastyChow so I can see your beautiful snowflake cookies and share in the fun. Now, go preheat that oven and get ready for your house to smell absolutely incredible. Happy baking, my friend!
— Emily 🧑🍳❤️