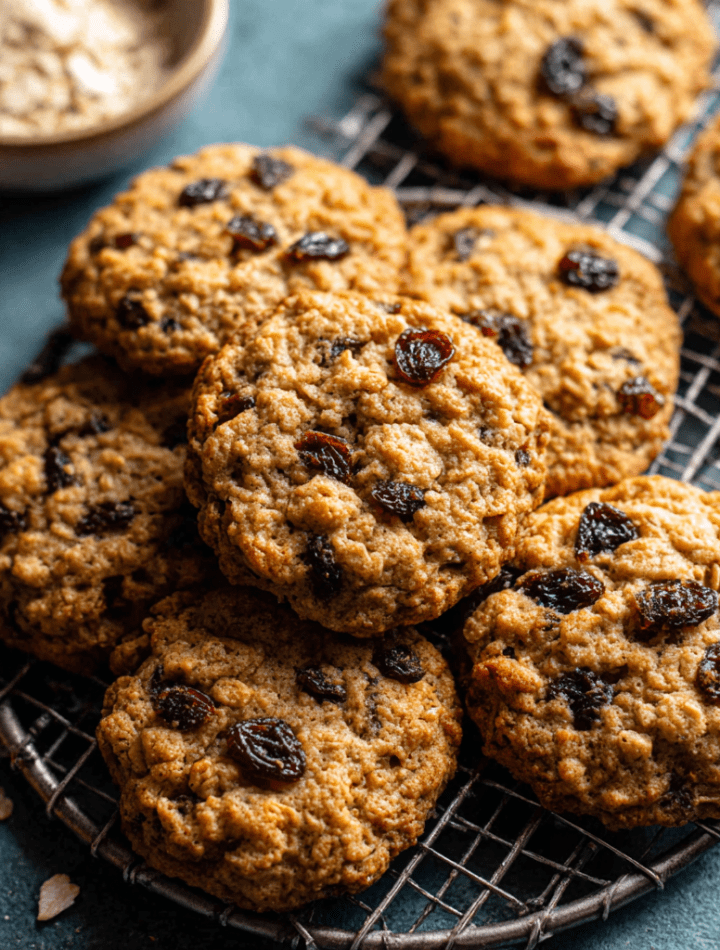
Soft & Chewy Oatmeal Raisin Cookies: Your New Comfort Food Hug
Hey there, friend! Come on in, pull up a stool, and let’s talk about one of life’s simplest, most soul-satisfying pleasures: a perfect oatmeal raisin cookie. I’m not talking about a dry, crumbly afterthought. I’m talking about a warm, soft, gloriously chewy masterpiece with a hint of crispy edge, loaded with plump raisins and the cozy whisper of cinnamon. The kind of cookie that makes you close your eyes and hum after the first bite.
If your brain just went, “Yes, THAT’S the one!” then we’re already on the same page. This recipe is my absolute go-to, my kitchen workhorse, the cookie I make when I need a taste of home or a guaranteed win for book club, bake sales, or a 3 pm slump. It’s built from pantry staples, comes together in one bowl (pretty much!), and requires zero fancy skills. Just a hungry heart and a love for that classic, homemade flavor.
So many people tell me they’re intimidated by baking, but I promise you, cookies are your best friend. They’re forgiving, they’re fast, and the reward is instant. Today, we’re banishing cardboard-like cookies forever and baking up a batch that’s pure, unadulterated comfort. Let’s make your kitchen smell incredible.

The Cookie That Built My Confidence
My love affair with these cookies started with a near-disaster. Picture a much younger Emily, home from culinary school, determined to impress my family with some complicated, five-layer dessert. It was a flop. A sweet, messy, expensive flop. Feeling defeated, I wandered into my grandma’s kitchen. She didn’t say a word, just handed me her big yellow mixing bowl, a bag of oats, and the jar of raisins she always kept on the counter.
“Start simple,” she said, patting my flour-dusted shoulder. “Make something you know you love to eat.” As we creamed the butter and sugar by hand, the rhythm of it calmed me down. The scent of cinnamon and baking oats filled her sunny kitchen, and that familiar, *right* smell brought me straight back to childhood. When we pulled the tray out, with those cookies perfectly puffed and golden, it wasn’t about technique or presentation. It was about the joy of creating something good and sharing it. That batch of humble oatmeal raisin cookies taught me more about the heart of cooking than any fancy recipe ever could. They’re my edible reset button.
Gathering Your Cookie Crew: Ingredients & Insights
Here’s the dream team! These are all pantry heroes, but I’ve got some notes to make sure your cookies are superstar-level.
- 1/2 cup (1 stick) unsalted butter, softened – This is non-negotiable for flavor. “Softened” means it should give easily when you press it but not be greasy or melted. Pro tip: If you forget to take it out, cube a cold stick and beat it alone for 30 seconds before adding sugars.
- 1/2 cup brown sugar, packed – The molasses in brown sugar is the secret to that moist, chewy texture and deep caramel flavor. Pack it firmly into your measuring cup!
- 1/4 cup granulated sugar – Our friend for spread and crisp edges. Using a mix of sugars gives you the perfect cookie texture.
- 1 large egg – Bring it to room temp if you can! It blends into the dough more smoothly, creating a better structure.
- 1/2 teaspoon vanilla extract – The flavor booster. Use the real stuff if you have it—it makes a difference.
- 3/4 cup all-purpose flour – The foundation. For a slightly more tender cookie, you can swap in 2 tablespoons of cornstarch for 2 tablespoons of the flour.
- 1/2 teaspoon baking soda – Our leavening agent, making the cookies rise beautifully. Check the date on your box for maximum power!
- 1/2 teaspoon ground cinnamon – The warm, cozy hug in spice form. Feel free to add a tiny pinch of nutmeg or allspice if you’re feeling adventurous.
- 1/4 teaspoon salt – Crucial! It balances the sweetness and makes all the other flavors pop.
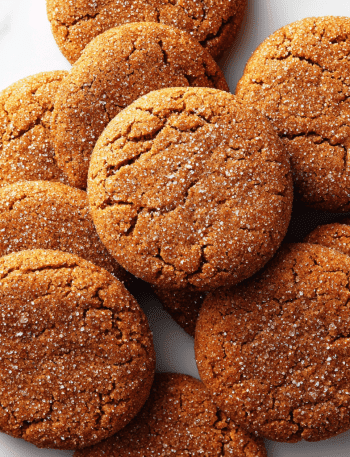
- 1 1/2 cups old-fashioned oats – Also called rolled oats. They give the cookies their iconic hearty texture. Don’t use quick oats or steel-cut—they’ll give you a different result.
- 3/4 cup raisins – My little trick? Plump them up first! Soak them in very hot water (or even better, hot tea or orange juice!) for 10 minutes, then drain and pat dry. This prevents them from becoming little rocks in your cookies.
Let’s Bake! Step-by-Step to Cookie Perfection
Ready? Aprons on! This is the fun part. I’ll walk you through each step with all my favorite kitchen hacks.
- Preheat & Prep: Crank that oven to 350°F (175°C). This is step one for a reason—your oven needs time to get to the right, steady temperature. Line your baking sheet with parchment paper. Not only does it prevent sticking, but it also makes cleanup a dream and helps the cookies bake more evenly.
- Cream the Butter & Sugars: In a large bowl, beat together the softened butter, packed brown sugar, and granulated sugar. Use a hand mixer or stand mixer on medium speed for about 1-2 minutes. You want it to become noticeably lighter in color and fluffy. This step incorporates air, which is key for texture! Chef’s Hack: Scrape down the sides of the bowl halfway through to make sure everything is getting friendly.
- Add the Egg & Vanilla: Crack in the egg and add the vanilla. Beat on medium until everything is completely combined and the mixture looks smooth and creamy. Another quick scrape of the bowl ensures no hidden pockets of butter.
- Combine the Dry Ingredients: In a separate bowl, whisk together the flour, baking soda, cinnamon, and salt. Whisking is important here—it evenly distributes the baking soda and cinnamon so every bite is perfect. Why mix separately? It prevents over-mixing the flour later, which can lead to tough cookies.
- Bring It All Together: With your mixer on low, gradually add the flour mixture to the wet ingredients. Mix just until no dry flour streaks remain. Now, switch to a sturdy spatula or wooden spoon. Fold in the oats and the (plumped!) raisins. This gives you control so you don’t overwork the dough.
- Scoop & Space: Using a tablespoon cookie scoop or a rounded tablespoon, portion out the dough onto your prepared sheet. Leave about 2 inches between each mound—they will spread! For extra-thick, bakery-style cookies, you can roll the scoops into tall balls instead of leaving them as mounds.
- Bake to Golden Perfection: Bake for 10-12 minutes. Here’s the biggest secret for chewy cookies: TAKE THEM OUT WHEN THE EDGES ARE GOLDEN BUT THE CENTERS STILL LOOK SLIGHTLY SOFT AND UNDERDONE. They will continue to cook on the hot baking sheet. If you wait for the centers to look fully set, they’ll be overdone and crisp once cooled.
- The Cool Down: Let the cookies cool on the baking sheet for a full 5 minutes. This allows them to set up so they don’t fall apart when you move them. Then, gently transfer them to a wire rack to cool completely. Try to let them cool at least 10 minutes before diving in… I know, it’s hard!
Serving Your Masterpiece
How you serve these is half the joy! Of course, a tall glass of cold milk is the classic, non-negotiable partner. But let’s get creative:
For a next-level dessert, warm a cookie for 10 seconds in the microwave and plop a scoop of vanilla bean ice cream on top. Drizzle with a little caramel sauce and call it a “Cookie Sundae.” Want to wow guests? Arrange a platter of cookies with a bowl of freshly whipped cream and some extra raisins for a DIY cookie sandwich station. For the ultimate cozy moment, crumble a cookie over a bowl of warm apple crisp or vanilla yogurt. And honestly? Standing over the cooling rack, nibbling the warm, crumbly edges while no one is looking is a perfectly valid serving method. I won’t tell.
Mix It Up! 5 Delicious Twists on the Classic
Once you’ve mastered the base, the cookie canvas is yours to paint! Here are some of my favorite riffs:
- Oatmeal Chocolate Chip Craze: Swap the raisins for 3/4 cup of semi-sweet or dark chocolate chips. Maybe add a handful of chopped walnuts too. Instant crowd-pleaser.
- “Everything but the Kitchen Sink” Cookies: Reduce raisins to 1/2 cup. Add 1/4 cup each of dried cranberries, white chocolate chips, and chopped pecans. It’s a texture and flavor party!
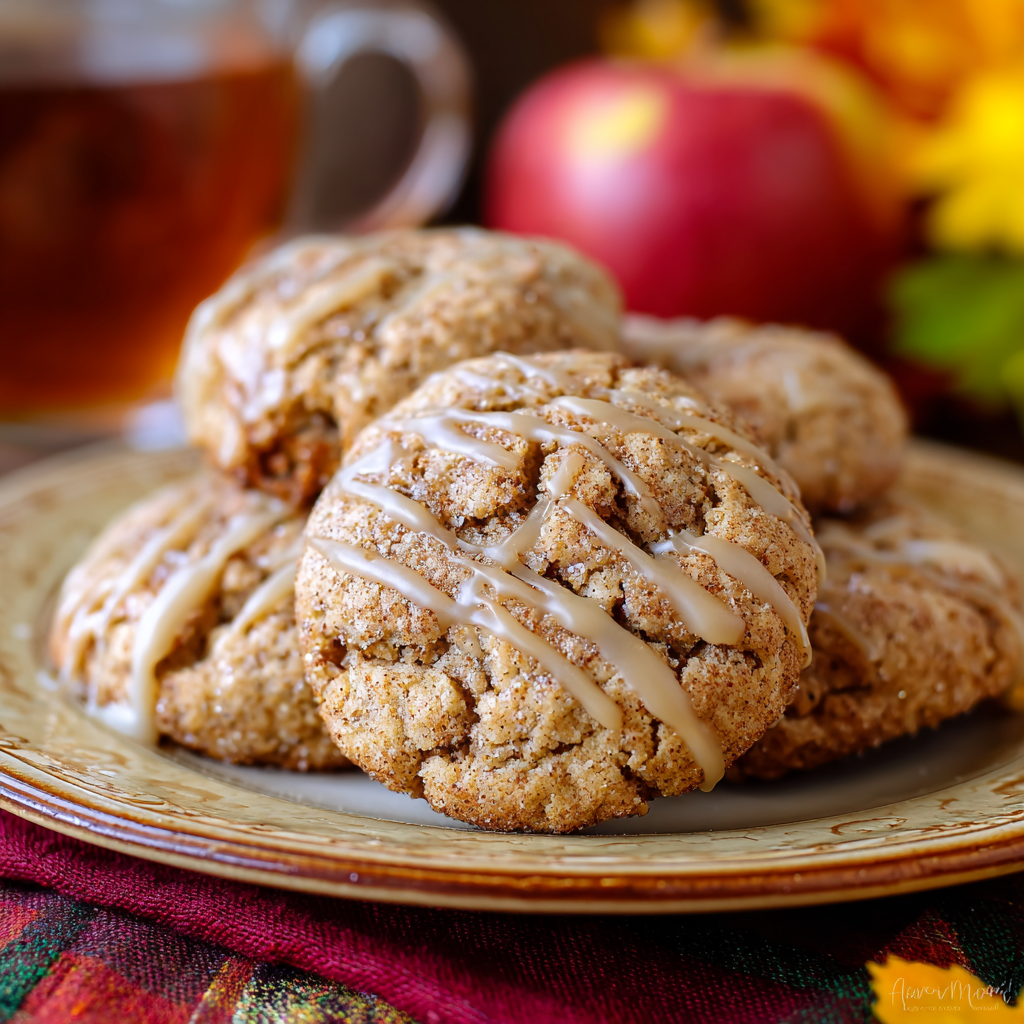
- Apple Cinnamon Oatmeal Cookies: Fold in 1/2 cup of finely chopped, peeled apple (like Granny Smith) and an extra 1/4 teaspoon of cinnamon. The apple keeps them incredibly moist.
- Gluten-Free & Dairy-Free Friendly: Use a 1-to-1 gluten-free flour blend and certified GF oats. Swap the butter for a plant-based stick butter (like Earth Balance). They work like a charm!
- Salty-Sweet Sensation: After scooping the dough, gently press a few flakes of sea salt (like Maldon) on top of each cookie before baking. It’s a simple trick that makes the flavors sing.
Chef Emily’s Notebook Scribbles
This recipe has been my steady kitchen companion for years, and it’s evolved in little ways. I used to be militant about creaming the butter and sugar for exactly 3 minutes. Now? I go by look and feel. I’ve learned that a 15-minute chill of the dough in the fridge before baking (if I have the patience) gives an even chewier, thicker cookie. I’ve also been known to double the batch and freeze half the scooped dough balls on a tray before bagging them. That way, I can bake off just two or three fresh cookies anytime a craving strikes—a dangerous and wonderful life hack. Remember, your kitchen, your rules. Baking is love made edible.
Your Questions, Answered
Q: My cookies spread too much and got flat. What happened?
A: This usually means your butter was too warm or melted. Next time, ensure it’s just softened. Also, check that your baking soda is fresh and that you measured your flour correctly (spoon it into the cup, don’t scoop!). Chilling the dough for 20-30 minutes before baking can also help prevent excess spread.
Q: My cookies are dry or cakey. How do I fix it?
A: Over-measuring the flour is the most common culprit. Use the “spoon and level” method. Also, be careful not to over-bake. Pull them out when they look slightly underdone in the center. Using fresh, plump raisins (soaked!) also adds moisture.
Q: Can I use quick oats instead of old-fashioned?
A: You can, but the texture will be different. Quick oats are cut smaller, so they absorb more moisture and can make the cookies denser and less chewy. I highly recommend old-fashioned for the best texture.
Q: How do I store these to keep them soft?
A: Once completely cool, store them in an airtight container at room temperature with a single slice of bread thrown in. The cookies will absorb moisture from the bread and stay soft for days! Just replace the bread slice if it gets hard.
A Note on Nourishment
While we’re all here for the joy and comfort (and let’s be real, the sugar!), I believe in mindful eating. These cookies have some wholesome elements! The oats provide fiber, which is great for keeping you full, and raisins offer natural sweetness and a little iron. Of course, this is a treat to be enjoyed as part of a balanced life. I’ve included the estimated nutrition per cookie (based on a batch of 18) as a helpful guide. My philosophy? Bake with love, share generously, and savor every delicious, chewy bite without an ounce of guilt.
Estimated Nutrition (per cookie): Calories: 130 kcal | Fat: 5g | Saturated Fat: 3g | Carbohydrates: 20g | Sugars: 11g | Fiber: 1g | Protein: 2g | Sodium: 80mg
Go Forth and Bake!
Well, my friend, there you have it—my heart in cookie form. This recipe is my love letter to simple, joyful baking. It’s proof that you don’t need fancy equipment or obscure ingredients to create something truly wonderful that fills your home with warmth and your people with happiness.
I hope you bake these Soft & Chewy Oatmeal Raisin Cookies, get a little flour on your nose, and create your own delicious memories. Tag me @TastyChow if you share them online—I love seeing your kitchen creations! Now, go preheat that oven. Your cookie hug is waiting.
With a full heart and a sweet tooth,
— Emily 🍪