Your New Favorite Pizza Night Starts Right Here
Hey there, friend! Let me paint you a picture. It’s Friday night. The workweek is finally, officially, over. You’re craving something truly delicious, something that feels like a celebratory feast but doesn’t require a culinary degree or a full day of prep. The answer, my friend, is always homemade pizza.
But not just any homemade pizza. I’m talking about a crust that’s a total game-changer. A crust that’s magically crisp on the bottom, delightfully chewy in the middle, and has that subtle, tangy depth of flavor that makes you close your eyes and go, “Mmm.” The secret weapon? That jar of sourdough discard sitting in your fridge, just waiting for its moment to shine.
If you’ve ever felt a little pang of guilt pouring that bubbly, active sourdough starter down the drain during a feeding, I’m here to tell you: those days are over! This Sourdough Discard Pizza Dough is your golden ticket to a zero-waste, maximum-flavor pizza night. It’s incredibly forgiving, doesn’t require a long rise (though a little patience gives you bonus flavor!), and is the perfect canvas for all your wildest topping dreams. So, tie on your favorite apron—the one with the flour stains that tell a thousand kitchen stories—and let’s transform that discard into the most memorable pizza crust you’ve ever made.

A Crust Born from Happy Accidents
This recipe has its roots in what I lovingly call a “beautiful kitchen disaster.” It was a snowy Sunday, and my sourdough starter, Felix, was overflowing. I’d just fed him and was about to toss the discard when my then-boyfriend (now husband) looked at me with those puppy-dog eyes and said, “Is it pizza night?” The problem? We had no yeast in the pantry. Not a speck.
I stared at the jar of discard. It was bubbly, alive, and full of potential. “What if…?” I thought. I threw caution to the wind, whisked it with flour, water, and a glug of olive oil, and hoped for the best. An hour later, we stretched that dough, topped it with whatever we could find in the fridge, and slid it into a blisteringly hot oven.
The result was nothing short of magic. The crust puffed up with these gorgeous, airy bubbles and came out with a crispness that sang when you bit into it. It was a happy accident that became a weekly tradition. It reminds me that some of the best things in life—and in the kitchen—aren’t perfectly planned. They’re a little messy, a lot fun, and always, always made with love.
Gathering Your Pizza-Making Posse
Here’s your shopping list for a double batch of dough—because one pizza is never enough, and this freezes like a dream! I’ve included some little chef insights and swaps so you can make this recipe your own.
- 3 cups Lukewarm Water: Think baby-bottle warm, not hot. Hot water can harm the wild yeasts in your discard. If it feels comfortable on your wrist, it’s perfect for encouraging a happy, relaxed dough.
- 1 cup Sourdough Discard: This is the star of the show! It can be fresh from a feeding or straight from the fridge. The beauty of discard is its versatility. It doesn’t need to be at peak activity to work its magic here, imparting that signature tang and tender chew.
- 4 tablespoons Olive Oil: A good glug of extra virgin olive oil adds richness, helps create a tender crumb, and prevents the dough from sticking. It’s your insurance policy for a perfect texture.
- 9 cups All-Purpose Flour: I use reliable, unbleached all-purpose flour for a consistent, chewy crust. For a bit more protein and chew, you can swap in one or two cups of bread flour. The dough will be a bit stronger, so it’s great if you’re going for a thicker crust.
- 4 teaspoons Salt: Don’t be shy with the salt! It’s essential for balancing the tangy flavor of the sourdough and strengthening the gluten structure. I prefer fine sea salt for even distribution.
Let’s Make Some Dough! (Step-by-Step)
Ready to get your hands dirty? This process is as therapeutic as it is delicious. Follow these steps, and you’ll be a pizza pro in no time.
- The Mix-Up: In a large bowl (trust me, you’ll need the space!), whisk together the lukewarm water, sourdough discard, and olive oil. It might look a little separated and messy—that’s totally normal! Now, dump in the flour and salt.Chef’s Hack: I like to mix the salt in with the flour first to ensure it doesn’t all hit one spot in the water. Using a sturdy wooden spoon or your Danish dough whisk, stir until a shaggy, rough dough forms and no dry streaks of flour remain.
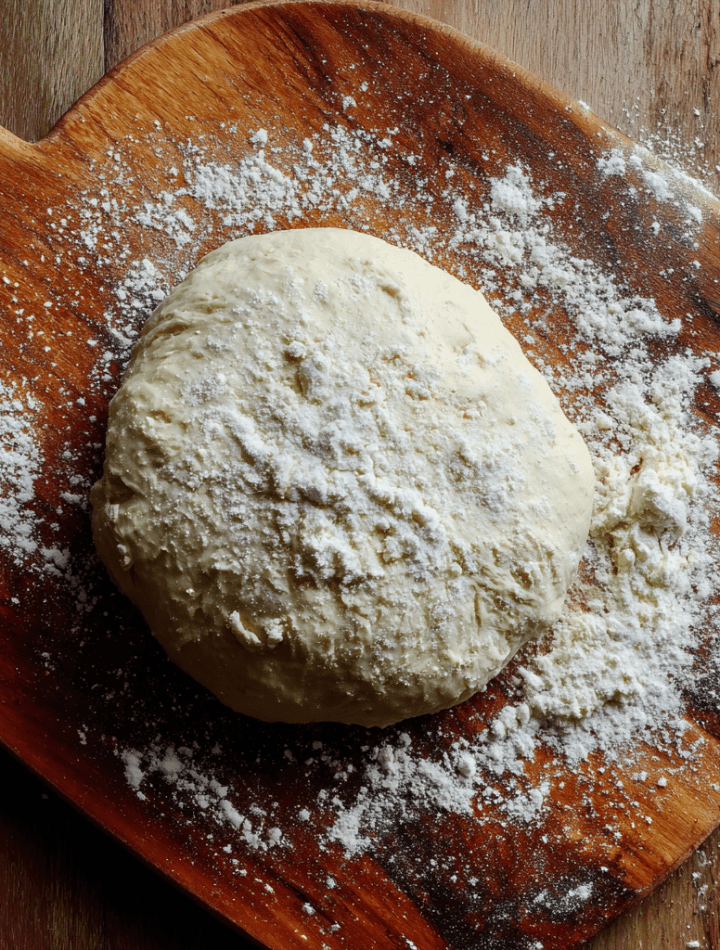
- The Knead for Speed: Turn the dough out onto a lightly floured surface. Here’s where you can work out any lingering weekday stress! Knead the dough for a solid 8-10 minutes. You’re looking for a smooth, slightly elastic, and soft dough. If it’s sticking to your hands, add a tiny bit more flour, but resist the urge to add too much—a slightly tacky dough is better than a dry one.Chef’s Hack: No time for a hand workout? A stand mixer with a dough hook is your best friend. Let it run on medium speed for about 5-7 minutes until the dough is smooth and pulls away from the sides of the bowl.
- The Power of the Pause (The Rest): Form the dough into a smooth ball, place it back in the oiled bowl, and cover it with a damp kitchen towel or plastic wrap. Let it rest at room temperature for at least 1 hour.Chef’s Insight: This isn’t a dramatic rise like a yeasted bread. It’s a rest period where the gluten relaxes, making it easier to stretch later, and the flavor begins to develop. For a deeper, more complex sourdough tang, you can do a “cold ferment.” Pop the covered bowl in the fridge for up to 24 hours. The flavor upgrade is absolutely worth the wait!
- Divide and Conquer: Once rested, turn the dough out onto your surface. It should feel soft and airy. Using a sharp knife or a bench scraper, divide it into 2 equal portions for large, family-style pizzas, or 4 portions for more manageable, personal-sized pies.Chef’s Hack: If you’re not using all the dough, this is the perfect time to freeze some for a future pizza emergency! Shape each portion into a tight ball, place on a parchment-lined baking sheet to freeze solid, then transfer to a freezer bag. Thaw in the fridge overnight when ready to use.
- Shape with Love (No Tossing Required!): On a lightly floured surface, gently press one dough ball into a disc. Using your knuckles and a gentle stretching motion, work from the center outwards to form your crust. Don’t worry about getting a perfect circle! Rustic, free-form pizzas have so much character. Let the dough guide you.Chef’s Hack: If the dough keeps snapping back, it’s telling you the gluten is still too tight. Just walk away for 5 minutes, let it relax, and then come back to it. Patience is the secret ingredient.
- Bake to Perfection: Preheat your oven to a screaming hot 475°F (245°C). If you have a pizza stone or steel, get it in there now—it needs a good 30-45 minutes to heat up properly. If not, a inverted baking sheet works great too! Transfer your stretched dough to a piece of parchment paper, add your toppings, and slide it onto the hot surface.Chef’s Insight: The high heat is non-negotiable. It’s what creates that instant “oven spring,” puffing up the crust and giving you those gorgeous, crispy, blistered edges. Bake for 10-12 minutes, rotating halfway through, until the crust is golden brown and the cheese is bubbly and spotted.
Let’s Get This Party on a Plate
You’ve done the hard part! Now for the fun. A pizza this good deserves a little presentation flair.
I love sliding the finished pizza onto a large wooden cutting board—it just feels so rustic and inviting. Use a pizza wheel or a large chef’s knife to slice it up. For that final, *chef’s kiss* touch, finish your masterpiece with a drizzle of high-quality olive oil, a sprinkle of flaky sea salt, or a handful of fresh basil or arugula tossed on top right after it comes out of the oven.
What to serve with it? A simple, bright salad with a lemony vinaigrette is the perfect contrast to the rich, cheesy pizza. Think arugula, shaved Parmesan, and a squeeze of lemon. And don’t forget the drinks! A cold, hoppy IPA or a glass of Chianti are classic pairings, but for a family-friendly vibe, a sparkling lemonade with fresh mint is always a winner.
Mix It Up! Your Crust, Your Rules
Once you’ve mastered the base recipe, the world is your oyster pizza! Here are a few of my favorite ways to play with the dough itself.
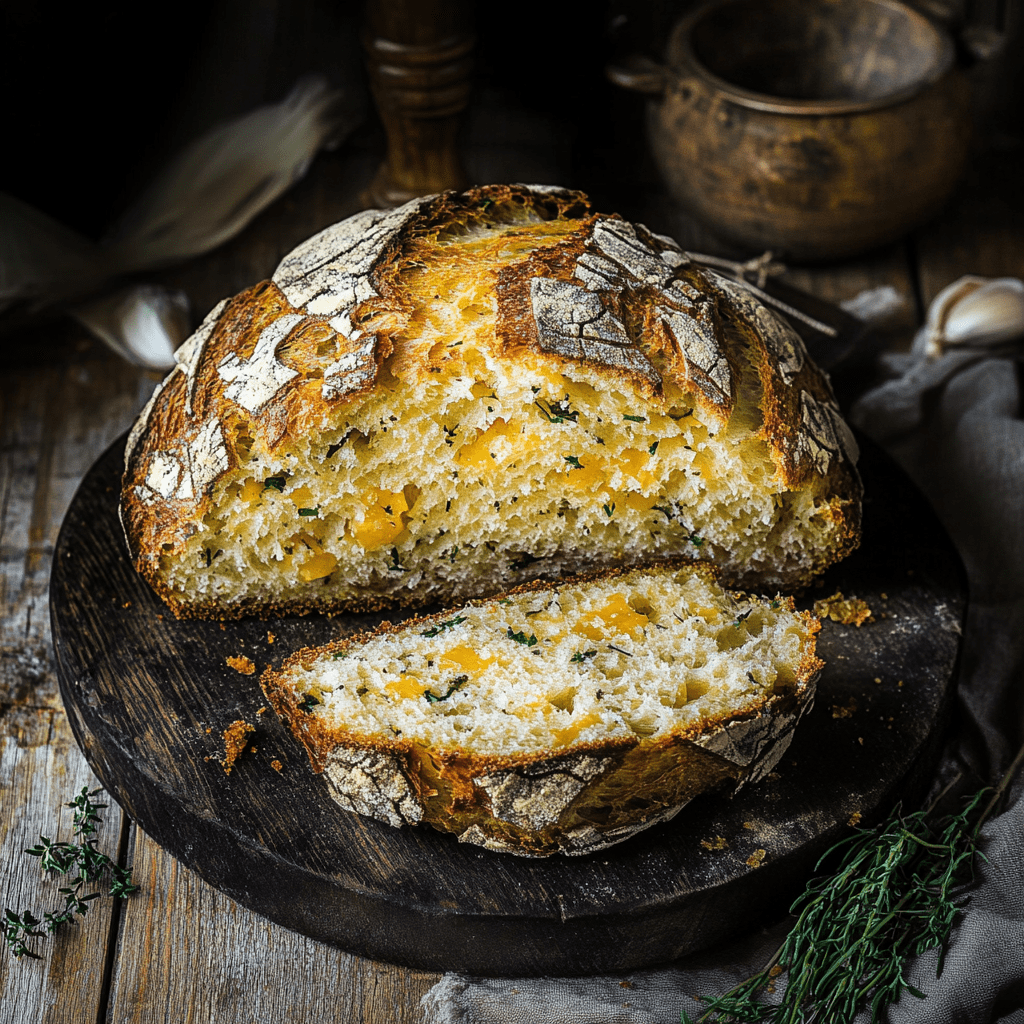
- The Herby Garlic Twist: When you’re mixing the dough, add 1 teaspoon of garlic powder and 1 teaspoon of dried Italian herbs (or a combo of dried oregano, basil, and thyme). It bakes the flavor right into the crust!
- The “Everything Bagel” Pizza: Before baking, brush the naked crust edges with a little water or olive oil and generously sprinkle with everything bagel seasoning. Trust me on this one.
- For a Crispier Bottom: Swap out 1 cup of the all-purpose flour for semolina flour. This gives the crust an incredible texture and a lovely golden color. Also, sprinkling a little cornmeal or semolina on your pizza peel or baking sheet before placing the dough creates a non-stick barrier and adds a delightful crunch.
- The Cheesy Edge: Add 1/2 cup of finely grated Parmesan or Pecorino Romano cheese directly into the dough during the mixing stage. This adds a wonderful umami depth and a slightly richer color.
- Spice It Up: For a little kick, mix 1-2 teaspoons of red pepper flakes into the dry ingredients. Or, after baking, brush the hot crust edges with a infused chili oil for a aromatic heat.
From My Messy Apron to Yours
This recipe has evolved so much since that first “yeast-less” experiment. I’ve learned that the dough is incredibly forgiving. Too sticky? A little more flour. Too dry? A splash more water. It wants to work with you, I promise.
One of my favorite kitchen memories involves my niece, who was convinced she didn’t like “sour-dough” anything. We made this pizza together, and she loaded her half with just cheese and pepperoni. After one bite, her eyes went wide. “This is the BEST pizza crust ever, Auntie Em!” she declared, now a sourdough convert. It’s these little moments that make cooking so special. This dough isn’t just about making pizza; it’s about making memories around the table.
Your Pizza Questions, Answered!
Let’s tackle a few common questions to make sure your pizza night is flawless.
Q: My dough is really sticky and hard to handle. What did I do wrong?
A: You likely didn’t do anything wrong! Sourdough dough can be a bit tackier. The key is to use a light hand with flour on your work surface and hands. Wet your hands slightly instead of adding more flour. If it’s unmanageably sticky, add flour one tablespoon at a time until it’s just workable. Remember, a wetter dough often leads to a more open, airy crumb.
Q: Can I make this dough ahead of time?
A> Absolutely! This is the perfect make-ahead dough. After the 1-hour room temp rest, you can punch it down, portion it, place the balls in airtight containers, and refrigerate for up to 3 days. The flavor just gets better! Let it sit at room temp for about 30-60 minutes before stretching. You can also freeze it for up to 3 months.
Q: Why didn’t my crust get crispy?
A> The number one culprit is usually oven temperature. Make sure your oven is fully preheated to 475°F. Using a preheated pizza stone or steel is a game-changer for bottom crispiness. Also, avoid overloading your pizza with wet toppings, as the excess moisture can steam the crust.
Q: My discard is really old/thin. Will it still work?
A> Probably! This recipe is very forgiving of discard in various states. Even an old, boozy-smelling discard will work and will just impart a stronger tang. If it’s very liquidy, you might need to reduce the water in the recipe by a few tablespoons. The goal is a shaggy, manageable dough, so adjust as you mix.
A Quick Peek at the Nutrition
I’m a big believer that food is about joy and connection first, but it’s always helpful to know what you’re enjoying! This nutritional information is an estimate for one slice (based on 16 slices from the double batch, without toppings).
Est. per slice: ~220 calories | 6g fat | 35g carbs | 6g protein
Remember, this is just for the naked crust! The beauty of homemade pizza is that you control the toppings, so you can make it as light or as indulgent as you like. Load it up with veggies for fiber and vitamins, or go for that extra cheese because… well, because it’s cheese. It’s all about balance and what makes you feel good.
You’ve Got This!
And there you have it! Your complete guide to turning that humble jar of sourdough discard into a pizza crust that will have your family and friends begging for the recipe. This isn’t just about saving discard; it’s about unlocking a new level of flavor and fun in your kitchen.
Don’t be afraid to get a little flour on your nose and make this recipe your own. The best meals are the ones made with a dash of adventure and a whole lot of heart. I am so incredibly proud of you for giving it a try.
Now, I’d love to see your creations! Tag me on social @TastyChow with #SourdoughDiscardPizza so I can see your beautiful, bubbly, cheesy masterpieces. Happy baking, my friend!
With a full heart and a flour-dusted apron,
Emily