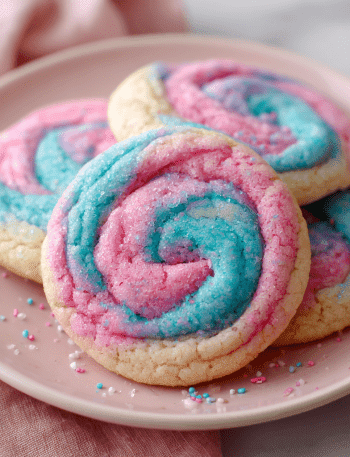
Let’s Bake Some Holiday Magic!
Hey there, my festive friend! Can you smell that? That’s the scent of melted butter, sugary vanilla, and pure, unadulterated holiday joy wafting from the oven. There’s something truly magical about Christmas baking, isn’t there? It’s not just about the treats themselves; it’s about the warmth that fills your kitchen, the laughter that echoes off the walls, and the love you knead into every single batch. And if there’s one cookie that screams “CELEBRATION!” in every colorful, crunchy, buttery bite, it’s these Sprinkle-Studded Christmas Cookies.
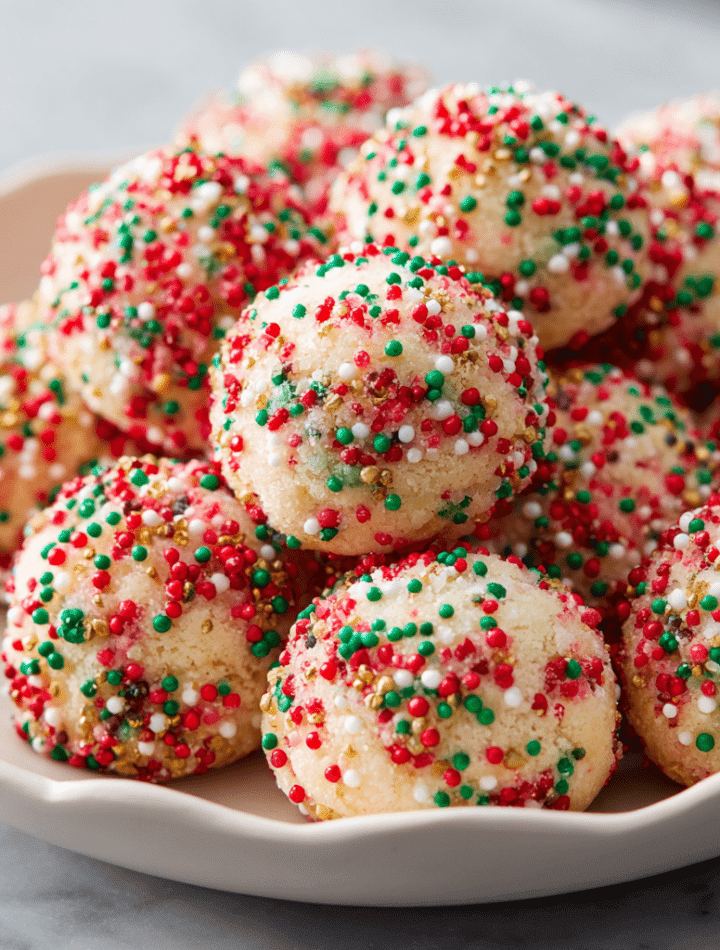
Picture this: a soft, tender cookie with edges that are just barely golden, hugging a center that stays wonderfully chewy. Now, imagine that same cookie, rolled in a vibrant, crackly coat of holiday sprinkles that sparkle like tiny edible ornaments. These aren’t just cookies; they’re little bites of Christmas morning, wrapped-up gifts, and carols by the fire all rolled into one. They’re shockingly easy to make, absolutely foolproof, and guaranteed to be the star of your cookie tray, your holiday party, or your late-night snack session (no judgment here!). So, tie on your favorite apron—the one with the flour smudges that tell a thousand kitchen stories—and let’s make something deliciously merry and bright together.
A Sprinkle of Nostalgia
My love affair with these cookies started long before I ever put on a chef’s coat. It began in my grandma’s kitchen, a place that always smelled like cinnamon and unconditional love. Every December, she’d clear the big wooden table, and my cousins and I would become her official “sprinkle squad.” Our little hands, covered in sticky dough, would meticulously roll each ball, dunking them into a pie plate overflowing with what seemed like a million rainbow sprinkles. We’d argue over who got to use the red and green ones and who was stuck with the “ boring” white ones.
Grandma would just smile, her eyes twinkling, and say, “The magic isn’t in the color, my dears, it’s in the making.” She was right, of course. The magic was in the mess, the laughter, the anticipation as we peered through the oven door, watching those sprinkle jewels set into a perfect, crunchy shell. To this day, the sound of sprinkles hitting a stainless steel bowl instantly transports me back to that warm, flour-dusted kitchen. It’s a feeling I’ve tried to bake into every single one of these cookies for you—a heaping tablespoon of nostalgia and a whole lot of heart.
Gathering Your Cookie Crew (The Ingredients!)
Here’s the beautiful part: this recipe uses simple, pantry-staple ingredients. No fancy equipment or hard-to-find items here! This is all about letting those classic flavors and festive colors shine.
- 1 cup (2 sticks) unsalted butter, softened: This is the backbone of our cookie, providing that rich, melt-in-your-mouth texture. Chef’s Tip: “Softened” means cool to the touch but able to hold a slight indentation when you press it. Don’t melt it! If you forget to take it out of the fridge, you can quickly cube it and let it sit for 15-20 minutes.
- 1 cup granulated sugar: Sweetness and structure! Creaming it with the butter is what helps create that slightly crisp edge and tender interior.
- 1 large egg: Our binding agent, bringing everything together and adding moisture. Make sure it’s at room temperature to prevent the dough from seizing up.
- 2 teaspoons vanilla extract: The flavor enhancer! Don’t be shy with it. A good quality vanilla makes a world of difference, adding a warm, aromatic depth.
- 2½ cups all-purpose flour: The main structure of our cookie. Substitution Tip: For a slightly softer cookie, you can replace ¼ cup of the all-purpose flour with cornstarch.
- ½ teaspoon baking soda: Our leavening agent, giving the cookies just the right amount of lift and spread.
- ½ teaspoon salt: The secret weapon! Salt balances the sweetness and makes all the other flavors pop. Never skip it.
- ¾ to 1 cup holiday sprinkles (jimmies or nonpareils work best): The star of the show! Chef’s Insight: I highly recommend “jimmies” (the longer, rod-shaped sprinkles) as they hold their color better in the oven. Nonpareils (the tiny balls) also work, but can sometimes bleed color more easily.
Let’s Get Rolling: Your Step-by-Step Guide
Ready to create some magic? Follow these steps, and you’ll have perfect cookies every single time. I’ve packed this section with all my favorite kitchen hacks to make the process a breeze.
- Preheat and Prep: Fire up that oven to 350°F (175°C). This is step one for a reason—you want that oven nice and hot and ready for your cookie dough! Line your baking sheets with parchment paper. Trust me, this is a non-negotiable for easy cleanup and preventing any sticking. Chef’s Hack: Don’t have parchment? A silicone baking mat works wonders too!
- Cream the Good Stuff: In a large bowl, beat together the softened butter and granulated sugar. Now, don’t just mix it until it’s combined—we’re going for “light and fluffy.” This means 2-3 minutes with an electric mixer on medium speed. You’ll see the color pale, and the texture will become almost whipped. This step incorporates air, which is key for that perfect texture.
- Bring in the Wet Team: Beat in the egg and vanilla extract. Scrape down the sides of the bowl with a spatula to make sure everything is evenly incorporated. The mixture might look a little curdled at this point—that’s totally normal! It’ll all come together once we add the dry ingredients.
- Whisk the Dry Team: In a separate bowl, whisk together your flour, baking soda, and salt. Whisking is important here—it evenly distributes the baking soda and salt so you don’t get a bitter bite in one cookie and a bland one in another.
- Combine with Care: Gradually add the dry ingredients to the wet ingredients, mixing on low speed until *just* combined. The second you stop seeing dry flour, STOP MIXING. Overmixing is the enemy of a tender cookie, as it develops the gluten in the flour and can make them tough.
- The Fun Part—The Sprinkle Bath! Pour your sprinkles into a shallow bowl or plate. Use a tablespoon-sized cookie scoop (or a regular spoon) to portion out the dough. Roll each portion between your palms to form a smooth ball. Now, roll that ball generously in the sprinkles, pressing gently to make sure they adhere on all sides. Chef’s Hack: If the sprinkles aren’t sticking, you can very lightly dampen your hands before rolling the dough balls. This gives the sprinkles something to grip onto!
- Bake to Perfection: Place the sprinkle-coated dough balls on your prepared baking sheets, spacing them about 2 inches apart. They will spread a little! Bake for 10-12 minutes. They’re done when the edges look set and are just starting to turn a light golden brown. The centers will still look soft—that’s what we want! They will continue to set as they cool.
- The Patient Wait (The Hardest Part!): Let the cookies cool on the hot baking sheet for 2-3 minutes. This allows them to firm up enough to move without breaking. Then, use a spatula to transfer them to a wire rack to cool completely. I know it’s tempting, but try to let them cool for at least 10 minutes—that’s when the texture truly sets into chewy perfection.
How to Serve These Holiday Gems
Okay, the cookies are cooled, and your kitchen smells incredible. Now, how do we make them look as good as they taste? Presentation is part of the fun!
For a classic Christmas cookie platter, pile these colorful beauties high on a rustic wooden board or a festive holiday plate. I love to mix them in with some chocolate crinkles and gingerbread men for a variety of textures and colors. They’re the perfect treat to leave out for Santa (with a glass of cold milk, of course!) or to package up in cute cellophane bags tied with a ribbon for heartfelt, homemade gifts for neighbors, teachers, or your mail carrier.
Want to take them to the next level? Set up a little DIY cookie decorating station with a bowl of these cookies, some vanilla icing, and extra sprinkles. Let your guests (big and small!) add their own personal flair. They’re also absolutely divine slightly warmed for about 10 seconds in the microwave and served alongside a scoop of vanilla ice cream for the ultimate holiday dessert.
Mix It Up! Fun Flavor Twists
Once you’ve mastered the classic, the kitchen playground is yours to explore! Here are a few of my favorite ways to riff on this fantastic base recipe.
- Chocolate Chip Sprinkle: Fold in ¾ cup of semi-sweet or milk chocolate chips into the dough after you mix the dry ingredients. The combination of chocolate and colorful sprinkles is a total crowd-pleaser.
- Funfetti Cake Batter: Add ½ teaspoon of almond extract along with the vanilla for that classic “cake batter” flavor. You can also replace 2 tablespoons of the flour with a box of store-bought dry funfetti cake mix for an extra burst of flavor and color inside the cookie!
- Peppermint Sparkle: Add ½ teaspoon of peppermint extract instead of vanilla. After baking, while the cookies are still warm, drizzle them with a simple powdered sugar glaze and crush some candy canes on top for a refreshing, festive twist.
- Lemon Zest & Poppy Seed: For a brighter, less sweet option, add the zest of one large lemon and 2 tablespoons of poppy seeds to the dough. Roll them in white nonpareils or sanding sugar for an elegant, sparkling finish.
- Gluten-Free & Dairy-Free: Use a 1:1 gluten-free all-purpose flour blend and replace the butter with a high-quality vegan butter stick (like Miyoko’s or Earth Balance). The results are fantastic!
Chef Emily’s Notes from My Kitchen to Yours
This recipe has been my holiday ride-or-die for years, but it’s had its share of kitchen adventures! One year, my then-toddler niece “helped” me by dumping an entire container of blue and silver snowflake sprinkles into the dough instead of just rolling them. We ended up with what we called “Smurf Cookies”—they were intensely blue inside and out, and they became a hilarious new tradition!
The recipe is wonderfully forgiving. If your dough feels a bit too soft after mixing, just pop it in the fridge for 20-30 minutes to firm up, making it easier to roll. And remember, the bake time is a guide. All ovens are different, so keep an eye on them after the 9-minute mark. Your nose will often tell you when they’re done before the timer does!
Your Questions, Answered!
Q: My cookies spread too much and became flat. What happened?
A: This is usually caused by butter that was too warm or over-creaming. Make sure your butter is softened but still cool. Also, double-check that your baking soda is fresh! If it’s expired, it won’t provide the necessary lift.
Q: My sprinkles melted and bled their color in the oven. How can I prevent that?
A: This is a common issue with certain types of sprinkles. For the best results, use “jimmies” instead of “nonpareils.” Jimmies are more heat-stable and hold their shape and color beautifully. Also, avoid the super cheap, oily sprinkles you sometimes find at dollar stores.
Q: Can I make the dough ahead of time?
A: Absolutely! You can scoop and roll the dough balls, place them on a baking sheet, and freeze them solid. Then, transfer them to a freezer bag. You can bake them straight from the freezer—just add 1-2 minutes to the baking time. No need to thaw!
Q: Why are my cookies cakey or puffy instead of flat and chewy?
A: This typically means there was too much flour. The next time, try fluffing your flour with a spoon, spooning it into your measuring cup, and leveling it off with a knife instead of dunking the measuring cup directly into the bag. This prevents over-packing.
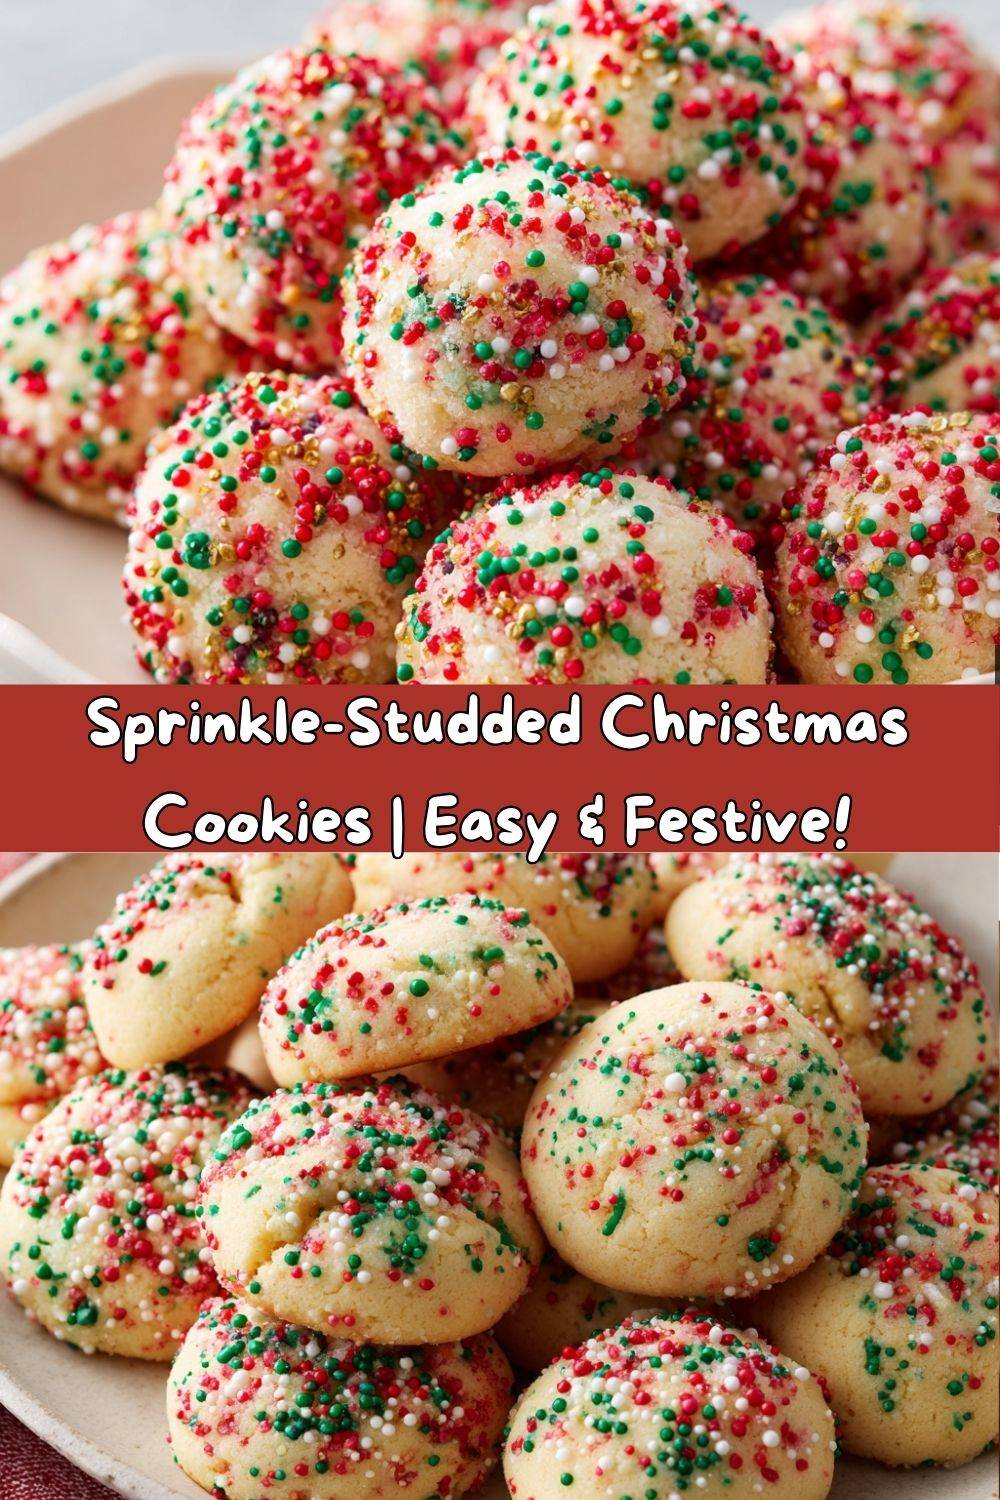
Sprinkle-Studded Christmas Cookies
- Total Time: 30 minutes
- Yield: 30 cookies 1x
Description
These Sprinkle-Studded Christmas Cookies are as festive as they are delicious—soft, buttery, and rolled in a blanket of colorful holiday sprinkles before baking. They’re the kind of cookies that light up a dessert table and bring instant cheer to anyone who takes a bite. Perfect for kids, parties, cookie swaps, or just celebrating the season in the sweetest way.
Ingredients
1 cup unsalted butter, softened
1 cup granulated sugar
1 large egg
2 teaspoons vanilla extract
2½ cups all-purpose flour
½ teaspoon baking soda
½ teaspoon salt
¾ to 1 cup holiday sprinkles (jimmies or nonpareils work best)
Instructions
Preheat oven to 350°F (175°C). Line baking sheets with parchment paper.
In a large bowl, cream butter and sugar until light and fluffy.
Beat in egg and vanilla extract until smooth.
In a separate bowl, whisk together flour, baking soda, and salt. Gradually mix into the wet ingredients until just combined.
Scoop dough into tablespoon-sized balls and roll each in holiday sprinkles to fully coat.
Place on prepared baking sheets, spaced 2 inches apart.
Bake for 10–12 minutes, or until edges are set and bottoms are lightly golden.
Cool on baking sheet for 2–3 minutes, then transfer to wire racks to finish cooling.
- Prep Time: 15 minutes
- Cook Time: 10–12 minutes
Nutrition
- Calories: 140 / Cookie
- Sugar: 9g / Cookie
- Fat: 7g / Cookie
- Carbohydrates: 18g / Cookie
- Protein: 9g / Cookie
Nutritional Information*
Alright, my health-conscious friends, let’s break it down. Remember, it’s the holidays—a time for joy and indulgence! But it’s always good to know what you’re enjoying.
Yield: About 30 cookies
Serving Size: 1 cookie
Approx. per cookie:
Calories: 140 | Total Fat: 7g | Saturated Fat: 4g | Trans Fat: 0g | Cholesterol: 25mg | Sodium: 60mg | Total Carbohydrates: 18g | Dietary Fiber: 0g | Sugars: 9g | Protein: 1g
*Please note: This is an approximate estimate calculated using an online nutrition calculator. Values can vary significantly based on the specific brands of ingredients you use and the actual size of your cookies.
Final Sweet Thoughts
And there you have it! Your guide to creating the most festive, joyful, and downright delicious Sprinkle-Studded Christmas Cookies this side of the North Pole. But more than just a recipe, I hope I’ve given you a reason to create some new memories in your own kitchen. Baking is about so much more than the final product; it’s about the music you play while you mix, the flour you get on your nose, and the people you share the warm, just-out-of-the-oven results with.
So from my messy, sprinkle-covered kitchen to yours, I wish you the merriest of holidays filled with love, laughter, and plenty of sweet treats. Now, go preheat that oven and get your sprinkle on! I can’t wait to hear how your cookies turn out. Tag me on social @TastyChow so I can see all your beautiful creations!
Happy Baking!
— Emily 🎄✨