Let’s Make a Pie That Tastes Like Sunshine
Hey there, friend! Chef Emily here, waving from my flour-dusted kitchen. Is there anything that screams “happy summer” more than a perfectly ripe strawberry? I’m talking about those ruby-red jewels that are so sweet, you could swear they were dusted with sugar by sunshine itself. Today, we’re harnessing that joy in a dessert that requires exactly zero oven time—because when it’s hot outside, the last thing you want to do is crank up the heat.
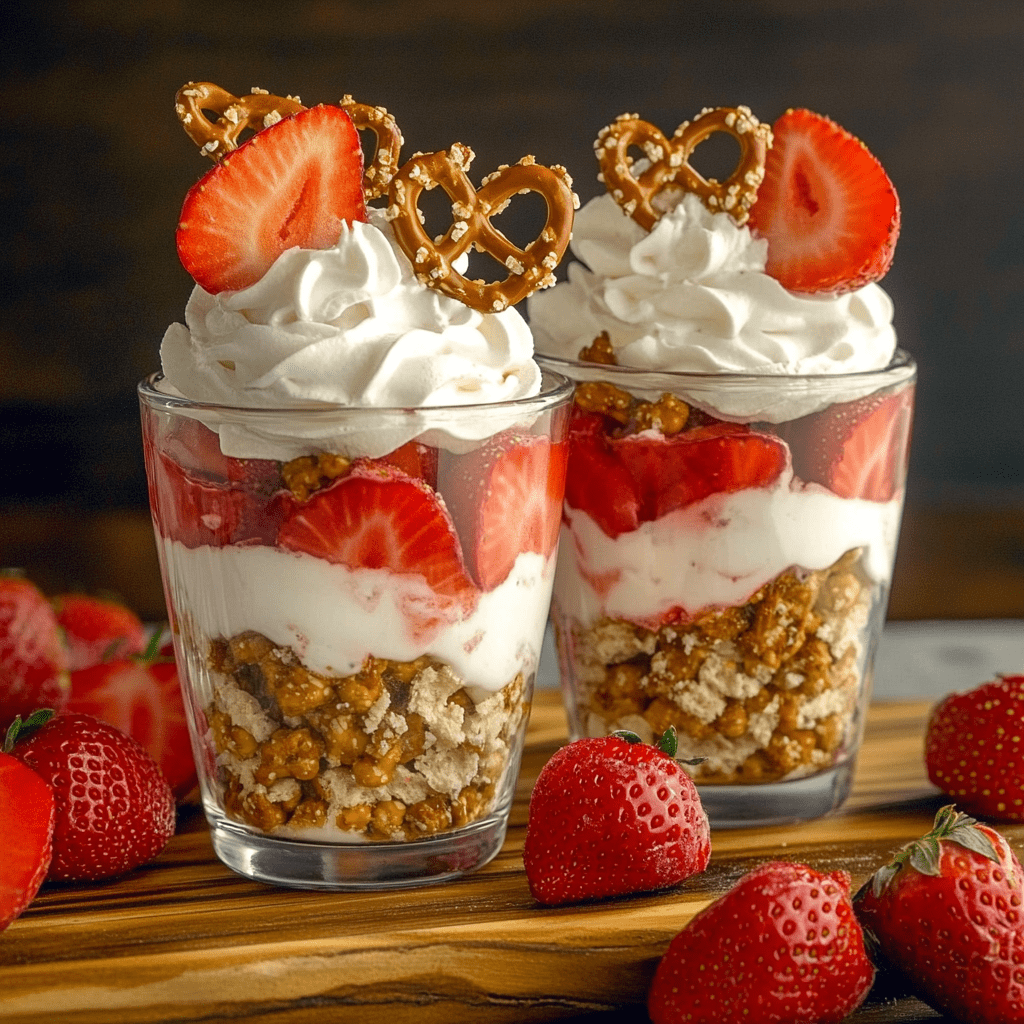
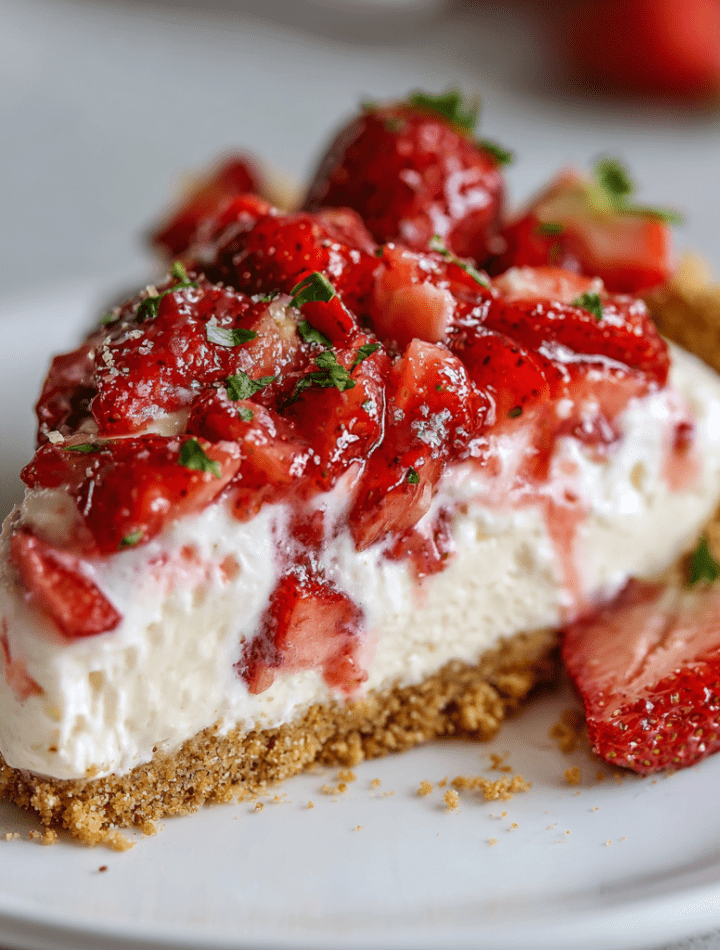
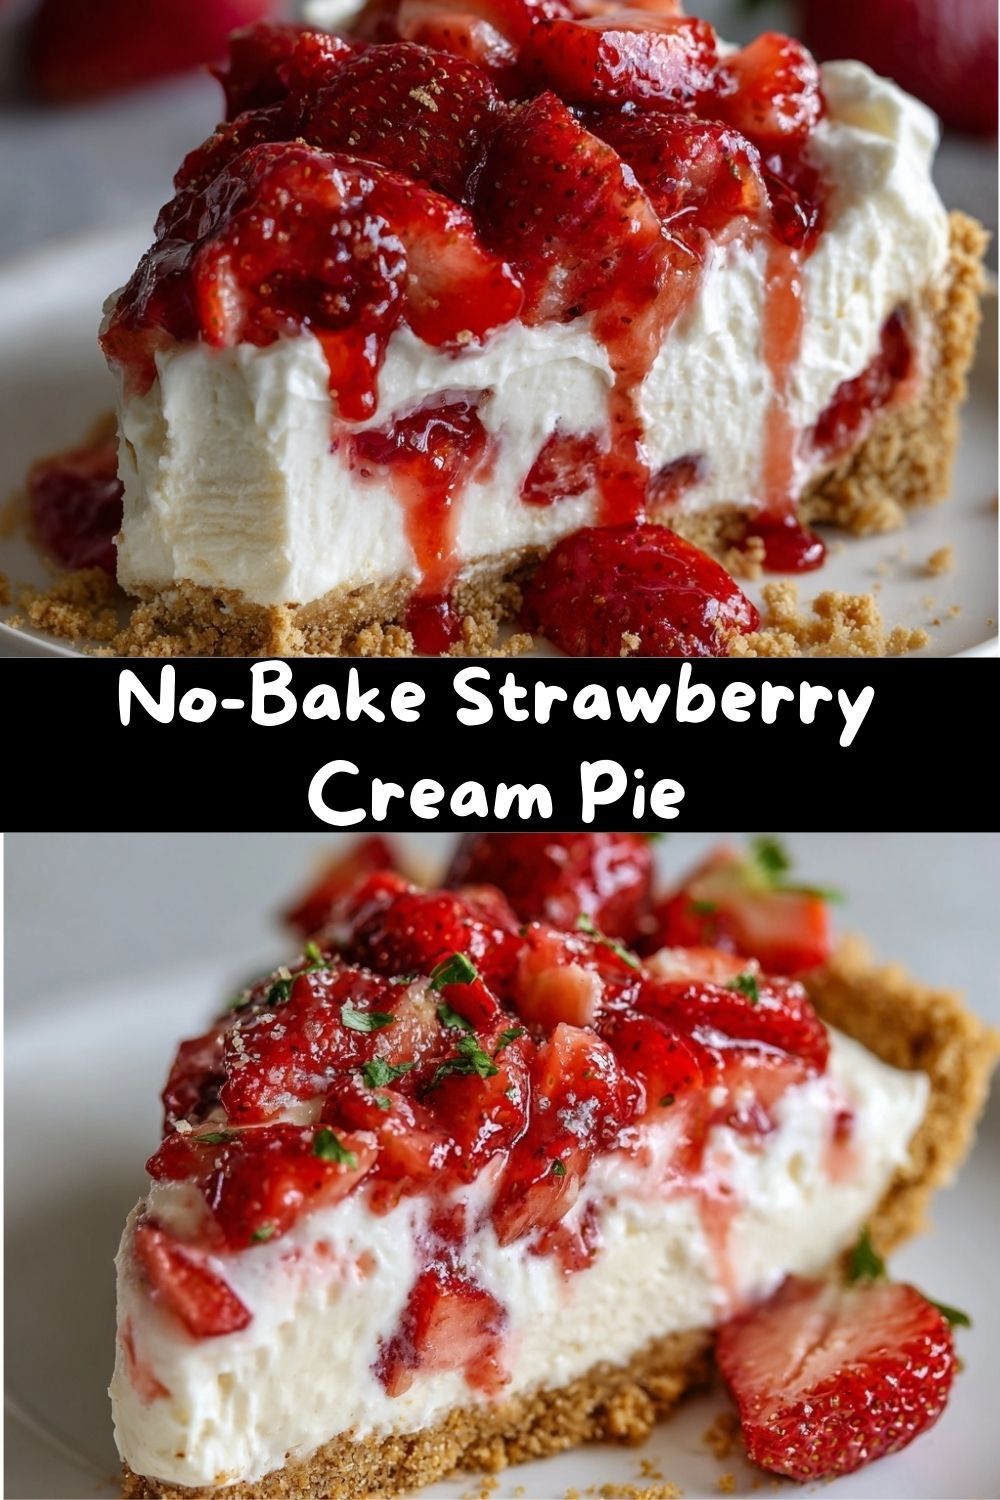
This Strawberry Cream Pie is my warm-weather love letter to easy entertaining. It’s a triple threat of textures: a buttery, crunchy graham cracker crust that gives way to a cloud-like, lusciously creamy filling, all topped with a glossy crown of fresh berries. It’s light enough that you won’t feel weighed down on a sunny afternoon, yet decadent enough to feel like a true celebration. The best part? You probably have most of the ingredients in your kitchen right now, and the “hardest” step is waiting for it to chill (which, trust me, is the ultimate test of willpower). So, tie on your favorite apron—the cute one with the cherries on it—and let’s make a dessert that will have everyone asking for the recipe before they’ve even finished their first slice.
The Pie That Started It All: A Grandma’s Secret
This pie always takes me back to my Grandma Ruth’s linoleum-floored kitchen. She wasn’t a fancy baker, but she was a smart one. One sweltering July day, when the thought of her fruit pie was tempting but the oven was unthinkable, she looked at a pint of strawberries and a box of graham crackers and had a revelation. What she whipped up was a rough-around-the-edges, gloriously messy cream pie. We ate it straight from the pan with two forks, the sweet cream smudged on our cheeks, and I remember thinking it was the most sophisticated, magical thing I’d ever tasted. My version is a slightly polished tribute to hers—a bit more stable, a touch silkier—but the soul is the same. It’s the taste of a kitchen hug, of simplicity, and of realizing that sometimes, the best creations come from not wanting to turn on the oven.
Gathering Your Sunshine: Ingredients & Why They Matter
Here’s everything you need to build this no-bake masterpiece. I’ve included my little chef insights and swaps so you can make this pie your own.
- For the Crust:
- 1½ cups graham cracker crumbs: The sweet, toasty base. Chef’s Tip: You can buy crumbs, but crushing whole crackers (about 10-12 full sheets) in a bag with a rolling pin is weirdly therapeutic. For a twist, try ginger snaps or vanilla wafers!
- ⅓ cup granulated sugar: This sweetens and helps bind the crust. For a deeper flavor, swap in light brown sugar.
- 6 tablespoons unsalted butter, melted: The magic glue. Using unsalted lets you control the saltiness. Make sure it’s properly melted for an even, crisp crust.
- For the Cream Filling (The Cloud Layer):
- 1 package (8 oz) full-fat cream cheese, softened: This is the backbone of our filling, providing tangy richness and structure. Full-fat is non-negotiable for the right texture. Let it sit on the counter for a good 30-60 minutes until it’s truly soft to avoid lumps.
- 1 cup powdered sugar: It sweetens and dissolves beautifully without graininess. Sift it if you have time to avoid little sugar pockets.
- 1 teaspoon pure vanilla extract: The flavor enhancer. It rounds out all the other tastes. A scrape of vanilla bean paste would be glorious here too.
- 1½ cups heavy whipping cream (cold, cold, cold!): This is what gives us that dreamy, airy lift. Ensure it’s very cold and your bowl is chillable for the best, fluffiest peaks.
- For the Topping (The Jeweled Crown):
- 2 cups fresh strawberries, hulled and sliced: Seek out the reddest, sweetest berries you can find. Their flavor is the star. Slice them evenly for a beautiful presentation.
- 2 tablespoons strawberry jam (optional, for glaze): This little trick gives the berries a gorgeous, professional-looking shine and intensifies the strawberry flavor. Apricot jam works great too!
Building the Dream: Step-by-Step with Chef Emily
Don’t let the layers fool you—this process is as easy as pie. Actually, easier than most pies! Follow along, and I’ll guide you through every simple step.
- Craft the Crust: In a medium bowl, mix the graham cracker crumbs and sugar together. Pour in the melted butter and stir with a fork until every crumb is evenly damp and looks like wet sand. Chef’s Hack: Dump the mixture into your 9-inch pie dish. Use the bottom of a flat measuring cup or glass to press it firmly and evenly into the bottom and up the sides. This compacting is key to a crust that holds together. Pop it in the fridge for at least 30 minutes to set. This chills the butter, making the crust solid.
- Whip Up the Cloud Filling: In a large bowl, beat the softened cream cheese with a hand mixer or stand mixer fitted with the paddle attachment on medium speed for about 1-2 minutes, until it’s completely smooth and lump-free. Scrape down the sides. Add the powdered sugar and vanilla, and beat again until fully combined and creamy.
- Master the Cream: Important! In a separate, clean, cold bowl, pour in your icy cold heavy cream. Using a whisk attachment (or a whisk and some serious elbow grease), beat the cream on medium-high until stiff peaks form. This means when you lift the beaters, the cream stands straight up and doesn’t droop. Chef’s Secret: Chill your metal bowl and beaters in the freezer for 10 minutes beforehand. It makes whipping faster and the peaks more stable.
- Marry the Creams: Now, gently does it! Add about one-third of the whipped cream to the cream cheese mixture. Use a rubber spatula to fold it in—this means cutting down through the center, scraping along the bottom, and folding it over on top. Rotate the bowl as you go. This lightens the dense cream cheese. Once incorporated, gently fold in the remaining whipped cream until no white streaks remain. You want a billowy, uniform, fluffy filling.
- Assemble the Layers: Pull your chilled crust from the fridge. Scoop all of the cream filling into the center and spread it out gently with your spatula into a smooth, even layer. Make decorative swirls if you like!
- Top with Berries & Glaze (The Fun Part): Artfully arrange your sliced strawberries over the entire surface of the cream filling. For the optional glossy finish, heat the jam in a small microwave-safe bowl for 15-20 seconds until it’s liquid. Use a pastry brush to lightly dab or brush it over the strawberries. This seals them and makes them sparkle.
- The Ultimate Test: The Chill: This is the most critical step! Cover the pie loosely with plastic wrap and refrigerate for at least 4 hours, but overnight is truly best. This firming-up time allows the flavors to meld and the filling to set perfectly, so you get clean slices. I know, the wait is torture!
How to Serve Your Masterpiece
When it’s finally time to serve, run a thin knife under hot water, dry it, and slide it between the pie and the dish to loosen. Slice with your warmed knife for the cleanest cuts. I love serving this on simple white plates to let the vibrant red berries pop. A little extra dollop of whipped cream on the side never hurt anybody, and a fresh mint leaf adds a lovely touch of color and freshness. This pie is fantastic on its own, but for a real treat, pair it with a glass of sparkling rosé or a cup of iced coffee. It’s the perfect finale to a backyard BBQ, a bright addition to a potluck, or just a fabulous Tuesday night victory.
Make It Your Own: Flavor Twists & Swaps
Got a different berry craving or a dietary need? No problem! This recipe is a fantastic canvas.
- Mixed Berry Bliss: Swap the strawberries for a mix of raspberries, blueberries, and blackberries. Use a mixed berry jam for the glaze.
- Lemon Berry Sparkle: Add the zest of one lemon to the cream cheese filling for a bright, citrusy kick that cuts the richness beautifully.
- Chocolate Graham Crust: Mix 2 tablespoons of cocoa powder into your graham cracker crumbs for a chocolatey base. It’s divine with the berries and cream.
- Dairy-Free Delight: Use vegan butter in the crust, a high-quality dairy-free cream cheese, and coconut cream (chilled, the solid part only) whipped in place of heavy cream. Check your jam to ensure it’s vegan.
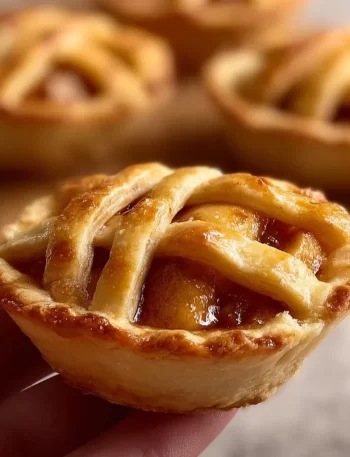
- Mini Pie Party: Press the crust into a muffin tin lined with cupcake liners to make adorable individual no-bake pies. Perfect for portion control (or not!).
From My Kitchen to Yours: A Few Parting Thoughts
This recipe has been a constant in my summer rotation for years. The biggest evolution? My patience level. I used to try to slice it after two hours, resulting in a delicious but soupy mess. Trust me, the overnight chill is worth it. I’ve also learned that the quality of your vanilla and your berries makes a world of difference—splurge on the good stuff when you can. One funny fail? I once tried to “healthify” it with low-fat cream cheese. Friends, it was a weepy, grainy disaster. Some things, like full-fat cream cheese and real whipped cream, are just non-negotiable for that perfect, silky bite. This pie is about joy, not compromise!
Your Questions, Answered
Q: My filling is a bit runny/soft. What happened?
A: This usually boils down to three things: 1) The cream wasn’t whipped to truly stiff peaks, 2) The cream cheese wasn’t fully softened, causing lumps that broke the structure, or 3) It didn’t chill long enough. The fix for next time? Ensure your cream and bowl are ice-cold, whip until very stiff, and let the cream cheese soften completely. For now, just enjoy it with a spoon—it’ll still taste amazing!
Q: Can I use frozen strawberries?
A: I don’t recommend it for the fresh topping, as they’ll release too much water and get mushy. However, you can absolutely use thawed and well-drained frozen berries to make a cooked strawberry compote to swirl into the filling before adding the fresh berry topping on top!
Q: My crust is crumbling when I cut the pie!
A: This means it wasn’t pressed firmly enough into the pan. Next time, really use some muscle with that measuring cup. For now, just scoop and serve—it’s all going to the same happy place!
Q: How far in advance can I make this?
A> You can make the crust 1 day ahead. The fully assembled pie is best within 24 hours but will hold up beautifully in the fridge, covered, for 2-3 days. The berries may soften slightly, but the flavor will still be incredible.
Nutritional Information*
*Please note: This is an estimate for informational purposes, based on a standard recipe calculator. Values can vary based on specific brands and measurements used.
Per slice (1/8th of pie):
Calories: ~370 | Total Fat: 26g | Saturated Fat: 15g | Cholesterol: 75mg | Sodium: 180mg | Total Carbohydrates: 29g | Dietary Fiber: 1g | Sugars: 20g | Protein: 4g
Remember, this is a celebratory dessert meant to be enjoyed in the context of a balanced diet. Its richness means a little goes a long way in terms of satisfaction!
Go Forth and Pie!
And there you have it—my all-time favorite, no-fuss, show-stopping Strawberry Cream Pie. It’s more than just a dessert; it’s a reminder that the best things in life (and in the kitchen) don’t have to be complicated. They just have to be made with a little bit of love and a lot of fresh berries. I hope this recipe finds its way to your table, becomes part of your own family’s story, and brings you as many smiles as it has brought me.
If you make it (and I really hope you do!), tag me @TastyChow so I can see your beautiful creation. Now, go grab that fork and get ready for a seriously tasty chow-down. Until next time, happy cooking (or in this case, happy no-cooking)!
— Emily 🍓