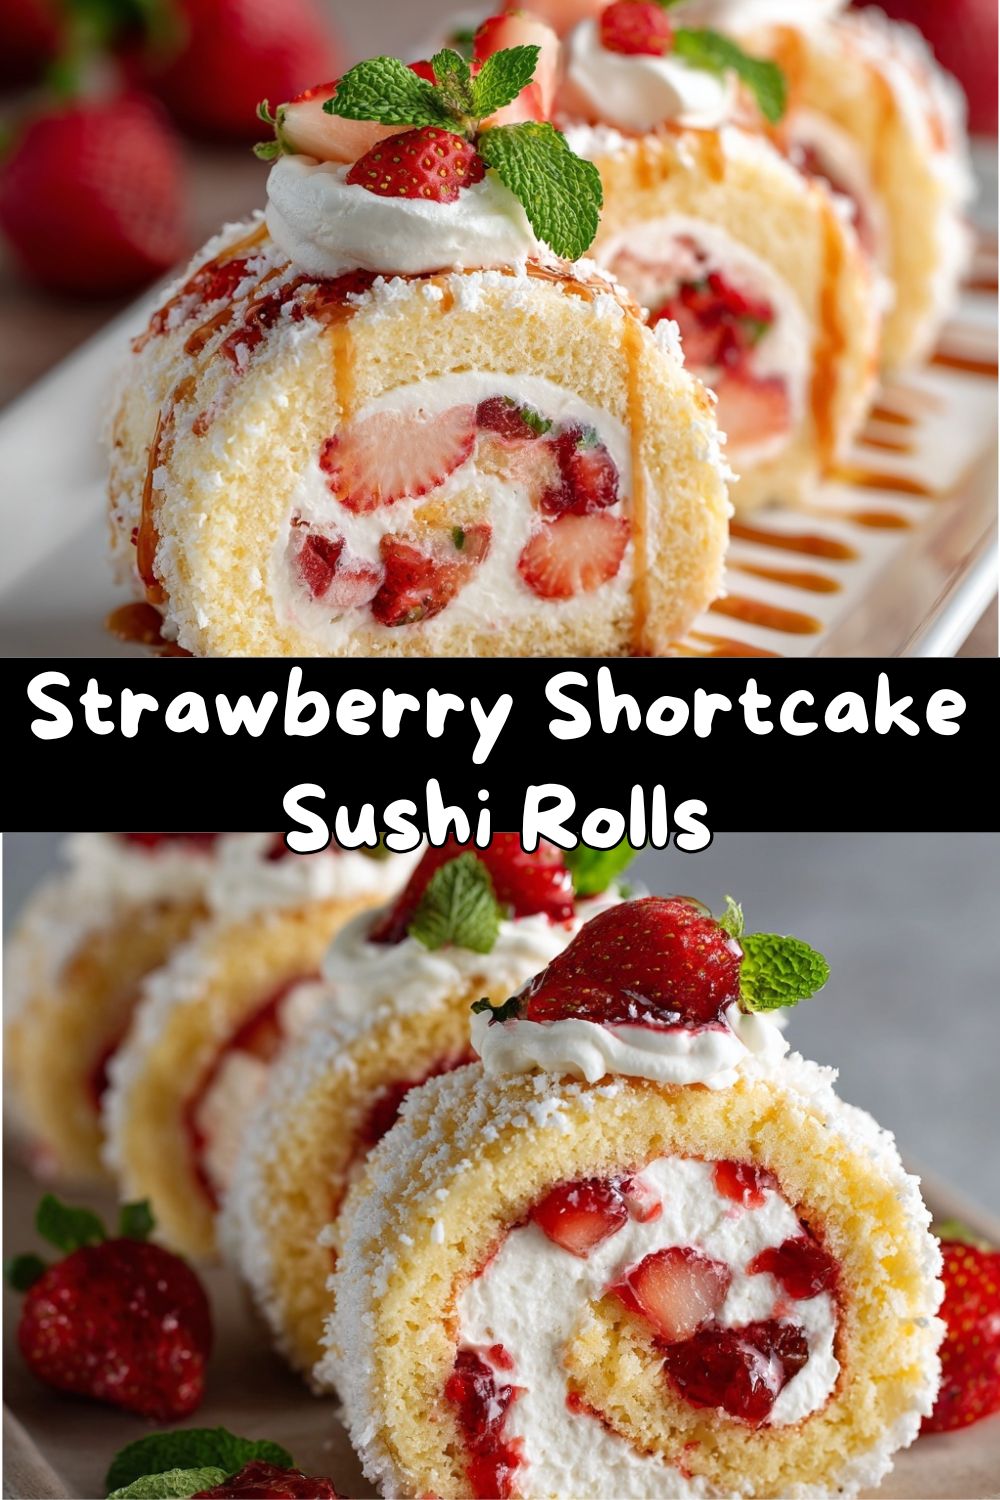
Strawberry Shortcake Sushi Rolls: Your New Favorite No-Bake Dessert!
Hey there, friend! Pull up a chair and let me pour you an imaginary cup of coffee (or tea, or let’s be real—a glass of chilled rosé). I have something absolutely delightful to share with you today that’s been the star of my last three gatherings. We’re talking about a dessert that makes people’s eyes light up, their phones come out for pictures, and their forks dive in with zero hesitation. I’m so excited to introduce you to my Strawberry Shortcake Sushi Rolls.
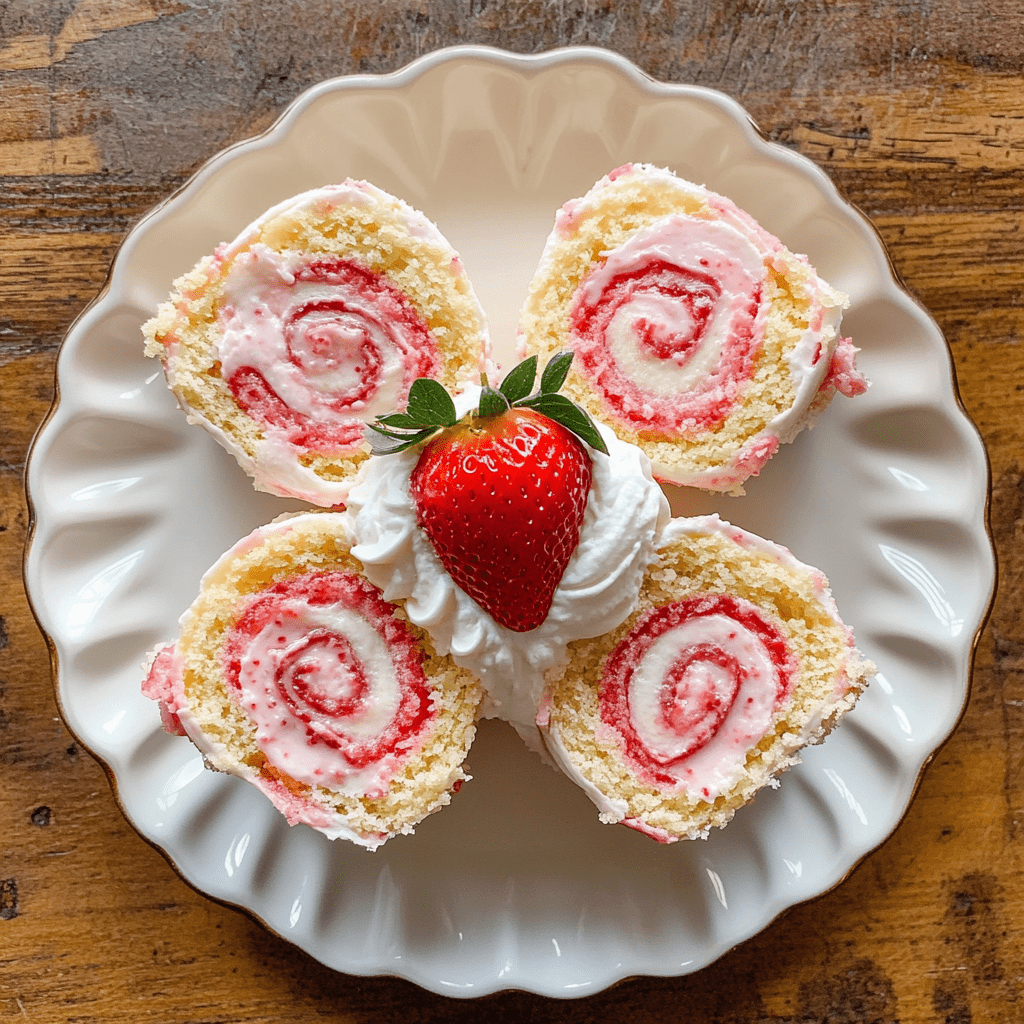
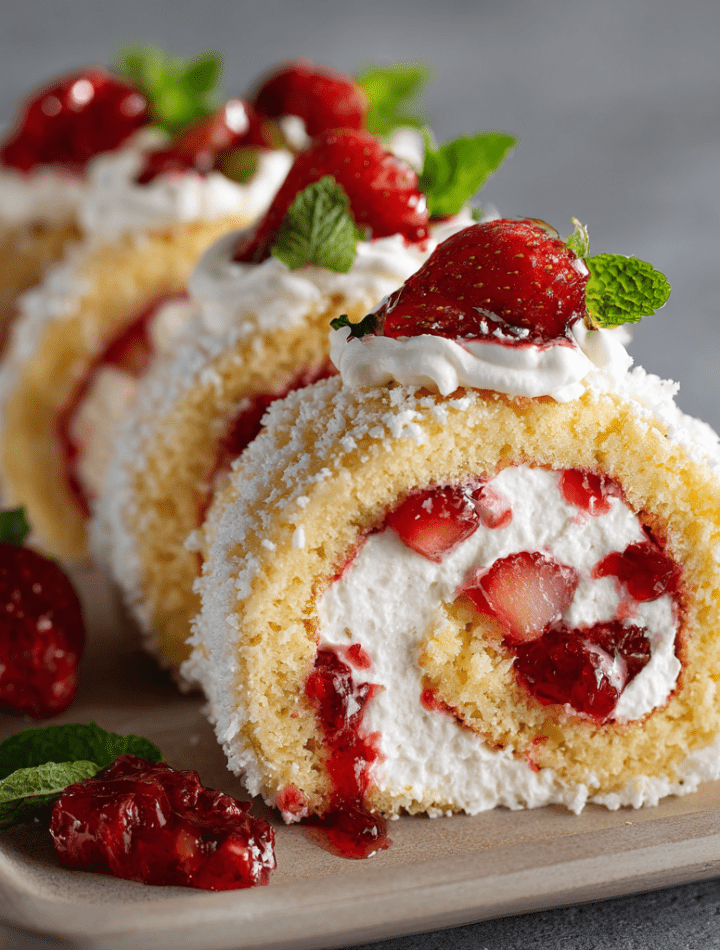
Now, before you think this involves raw fish or seaweed, let me stop you right there! This is a playful, no-bake twist on the classic strawberry shortcake we all know and love. Imagine all the components—the tender cake, the fluffy cream, the sweet-tart berries—but rolled up into elegant, sliceable pinwheels that look just like a beautiful platter of sushi. It’s fun, it’s stunning, and the best part? You don’t even need to turn on your oven.
I created these for a last-minute baby shower, scrambling for a dessert that was both impressive and easy. The result was a total showstopper. These rolls are the perfect marriage of nostalgic flavor and modern, Instagram-worthy style. They’re ideal for parties, summer picnics, bridal showers, or just when you want to treat yourself to something special that feels fancy without the fuss. So, tie on your favorite apron (the cute one with the pockets, obviously), and let’s make something delicious, beautiful, and wildly fun together.
A Roll of Fate: How Strawberry Shortcake Met Sushi
This recipe, like so many of my favorites, was born from a happy accident and a deep love for my grandma’s kitchen. See, my grandma’s strawberry shortcake was legendary. She’d make these tender, sweet biscuits, split them warm, and pile them high with macerated berries and clouds of real whipped cream. It was pure, simple joy on a plate.
Fast forward to culinary school, where I fell head-over-heels for the precision and artistry of pastry work. I spent hours learning to roll perfect Swiss rolls and bake delicate sponge sheets. One day, while prepping a classic roulade, I looked at the sheet of golden sponge cake and had a flashback to Grandma’s shortcake. A lightbulb moment! What if I used that sponge as a base, slathered it with cream and berries, and rolled it all up? The first test was… messy. The filling oozed, the roll cracked. But the taste? It was my childhood in a single, elegant bite.
After a few more experiments (and a lot of taste-testing), I nailed it. The “sushi” name came later, when my best friend saw the sliced rolls on a platter and squealed, “It looks like dessert sushi! It’s too pretty to eat!” (She ate three pieces, don’t worry). That’s the spirit of this recipe: taking the warm, fuzzy feeling of Grandma’s classic and giving it a playful, shareable new form. It’s a tribute to the past, made for making new memories.
Gathering Your Sweet Supplies
Here’s everything you need to create this magic. I’ve included my best chef insights and swaps so you can make this recipe work with what you have!
- 1 sponge cake sheet (approx. 10×15 inches): This is your “sushi nori”! You can buy a plain jelly roll sheet from the bakery section, or make your own if you’re feeling baker-extra. Chef’s Tip: A store-bought angel food cake, gently sliced and pressed into a rectangle, can work in a pinch!
- 8 oz (225 g) cream cheese, softened: The rich, tangy anchor of our filling. Full-fat is best here for structure and flavor. For a lighter version, Neufchâtel works. Just make sure it’s truly soft—leave it on the counter for an hour—to avoid lumpy filling.
- ½ cup (60 g) powdered sugar: Sweetens without grittiness. If you’re out, you can blitz regular granulated sugar in a blender until powdery.
- 1 tsp (5 ml) pure vanilla extract: The flavor booster. Don’t skip it! A little almond extract (¼ tsp) added in is also divine.
- 1 cup (240 ml) heavy whipping cream, whipped to stiff peaks, OR pre-made whipped topping: For the fluffiest filling, I always whip my own cream with a tablespoon of that powdered sugar. But on a busy day, a quality store-bought whipped cream or stabilized whipped topping is a fantastic shortcut.
- 1 cup (225 g) fresh strawberries, diced: The star of the show! Use ripe, fragrant berries. Pat them dry after dicing to keep the roll from getting soggy.
- 3 tbsp (45 g) strawberry preserves or jam: This acts as our “flavor glue,” adding intense berry sweetness and helping the roll hold together. Seedless is easier to spread, but seeded has a lovely rustic look.
Optional Garnish Crew: Melted white chocolate for drizzling, extra whipped cream for dolloping, and fresh mint leaves for that pop of green. They’re the finishing touches that take it from great to “WOW!”
Let’s Roll! Your Step-by-Step Guide to Sushi Success
Ready to create? Follow these steps and my little kitchen hacks for a perfect roll every single time.
- Prep Your Station: Lay out your sponge cake sheet on a large piece of parchment paper or a clean silicone baking mat. If the edges are crusty, you can gently trim them for a neater roll. Chef Hack: Lightly score a line about 1-inch from the short edge you’ll start rolling from—this creates a “seam” that helps you get a tight, initial turn.
- Whip Up the Dreamy Filling: In a large bowl, beat the softened cream cheese, powdered sugar, and vanilla extract with a hand mixer or stand mixer until it’s completely smooth and creamy. No lumps allowed! In a separate bowl, whip the cold heavy cream to stiff peaks. Now, here’s the key: fold the whipped cream into the cream cheese mixture. Use a spatula and gentle, sweeping motions from the bottom up to keep all that air in. You should have a light, fluffy, cloud-like filling.
- The Art of Assembly: Spread the strawberry preserves evenly over the entire surface of the cake sheet, going right to the edges. Next, scoop your creamy filling on top and spread it into an even layer over the jam. Sprinkle the diced strawberries evenly across the cream. Try to keep them in a single layer so they distribute nicely.
- The Big Roll: This is the fun part! Starting from the short end you scored earlier, use the parchment paper underneath to help you lift and tightly roll the cake over onto itself. Tuck and roll, just like a yoga mat or a sleeping bag. The parchment paper is your best friend here—it prevents sticking and gives you leverage. Once rolled, keep it wrapped in the parchment.
- Chill Out: Place the parchment-wrapped roll seam-side down on a tray or plate and pop it in the fridge for at least 20-30 minutes. This chill time is non-negotiable. It firms up the filling, sets the shape, and makes slicing clean and beautiful. I sometimes make it a day ahead and let it chill overnight!
- Slice & Shine: Unwrap your beautiful log. Using a sharp, serrated knife (like a bread knife), gently saw off the very ends to reveal the pinwheel. Then, slice the roll into 1-inch thick pieces. Pro tip: wipe the knife clean between slices for picture-perfect edges. Arrange your “sushi rolls” on a serving platter.
- Garnish & Glam: Drizzle with melted white chocolate, add tiny dollops of extra whipped cream, and tuck in fresh mint leaves. This is where you get to be an artist!
How to Serve These Sweet Sensations
Presentation is half the fun with this dessert! For a true sushi bar experience, arrange the slices on a large rectangular platter or a wooden board. Place little piles of extra diced strawberries, whipped cream “wasabi,” and even some chocolate sauce “soy sauce” in small dipping bowls on the side. It’s an instant conversation starter!
For a more elegant touch, place each slice on a individual dessert plate with a dusting of powdered sugar and a single perfect strawberry. These are also fantastic as part of a dessert charcuterie board—pair them with some dark chocolate chunks, almonds, and lemon cookies for a full sweet spread. No matter how you serve them, be ready to pass out the recipe. Everyone will ask for it!
Get Creative: Flavor Twists & Swaps
Love the concept? Let’s play! Here are some delicious ways to mix it up.
- Mixed Berry Bliss: Swap the strawberries for a mix of raspberries, blueberries, and blackberries. Use seedless raspberry jam as your base layer.
- Tropical Vacation Roll: Use diced mango and passionfruit curd instead of strawberries and jam. Add a tablespoon of toasted coconut to the filling for extra flair.
- Chocolate-Strawberry Dream: Add 2 tablespoons of unsweetened cocoa powder to the cream cheese filling. Use a chocolate sponge cake if you can find it!
- Lemon-Blueberry Refresher: Spread lemon curd on the cake, use blueberries in the filling, and add a bit of lemon zest to the cream cheese mixture.
- Dairy-Free & Gluten-Friendly: Use your favorite gluten-free sponge cake or angel food cake. For the filling, use a high-quality dairy-free cream cheese and coconut whipped cream. The jam and fruit are naturally friendly!
Chef Emily’s Kitchen Notes
This recipe has become my go-to “bring a dish” superstar. I’ve made it so many times I could probably do it in my sleep! Over time, I’ve learned that a really tight roll is the secret to pretty slices. Don’t be shy—use that parchment paper to pull it taut as you go.
One hilarious fail early on: I used frozen berries I didn’t thaw and drain properly. My beautiful roll turned into a soggy, pink puddle in the fridge. Lesson learned—always pat your fruit dry! Now, I keep a stash of sponge sheets in the freezer (they thaw perfectly) so I can whip these up anytime inspiration—or a last-minute party invite—strikes. It’s a recipe that feels fancy but is built on simple, joyful techniques.
Your Questions, Answered!
Q: My cake cracked when I rolled it. What did I do wrong?
A: Don’t worry, this is common! The cake might have been a bit dry or you rolled too tightly at the very beginning. Next time, make that shallow score mark at the start line and ensure your filling is spread evenly and isn’t too thick at the starting edge. A slightly cracked roll still tastes incredible—just cover it with extra garnish!
Q: Can I make these ahead of time?
A: Absolutely! This is a fantastic make-ahead dessert. You can assemble and roll it up to 24 hours in advance. Keep it wrapped in the parchment and then plastic wrap in the fridge. Slice and garnish right before serving for the freshest look.
Q: My filling is runny/oozing out. How do I fix it?
A: This usually means the whipped cream wasn’t whipped to stiff enough peaks, or the cream cheese was too warm. Make sure your cream and bowl are cold before whipping. If it’s too late, just pop the whole assembled (but unsliced) roll in the freezer for 20-30 minutes to firm up drastically before slicing.
Q: What’s the best way to store leftovers?
A> Store any leftover slices in an airtight container in the refrigerator for up to 2 days. They might soften a bit but will still be delicious. I don’t recommend freezing the assembled slices, as the texture of the cream can change.
Nutritional Info (Because We’re All Curious!)
Okay, let’s keep it real: this is a celebratory dessert, meant to be enjoyed fully and shared with joy! That said, here’s a rough nutritional breakdown per slice (based on 12 servings, using homemade whipped cream). Remember, these are estimates, and actual values can vary based on your specific ingredients and substitutions.
Each beautiful roll slice contains approximately: 210 Calories, 13g Fat (7g Saturated Fat), 20g Carbohydrates, 14g Sugar, 3g Protein, and 120mg Sodium.
If you’re looking for a lighter take, try the Neufchâtel cheese swap, use a light whipped topping, and increase the fresh fruit while slightly decreasing the preserves. But my philosophy? Enjoy the real deal, savor every bite, and share the rest with people you love. Balance is beautiful!
Final Thoughts from My Kitchen to Yours
Well, my friend, we’ve done it! You’re now armed with the knowledge to create the most fun, stunning, and downright delicious no-bake dessert. These Strawberry Shortcake Sushi Rolls are more than just a recipe—they’re a experience. They’re about playing with your food, embracing creativity, and serving up a whole lot of happiness on a platter.
I hope you feel inspired to try them, to make them your own with the fun variations, and most importantly, to share them. There’s nothing that makes my heart fuller than knowing you’re in your kitchen, creating something wonderful, maybe getting a little messy, and making memories around food. That’s what Tasty Chow is all about.
So go forth and roll! And when you do, I’d be absolutely thrilled if you tagged me @TastyChow so I can see your gorgeous creations. Now, grab a slice (or two), and let’s chow down!
With love and a full heart,
Emily