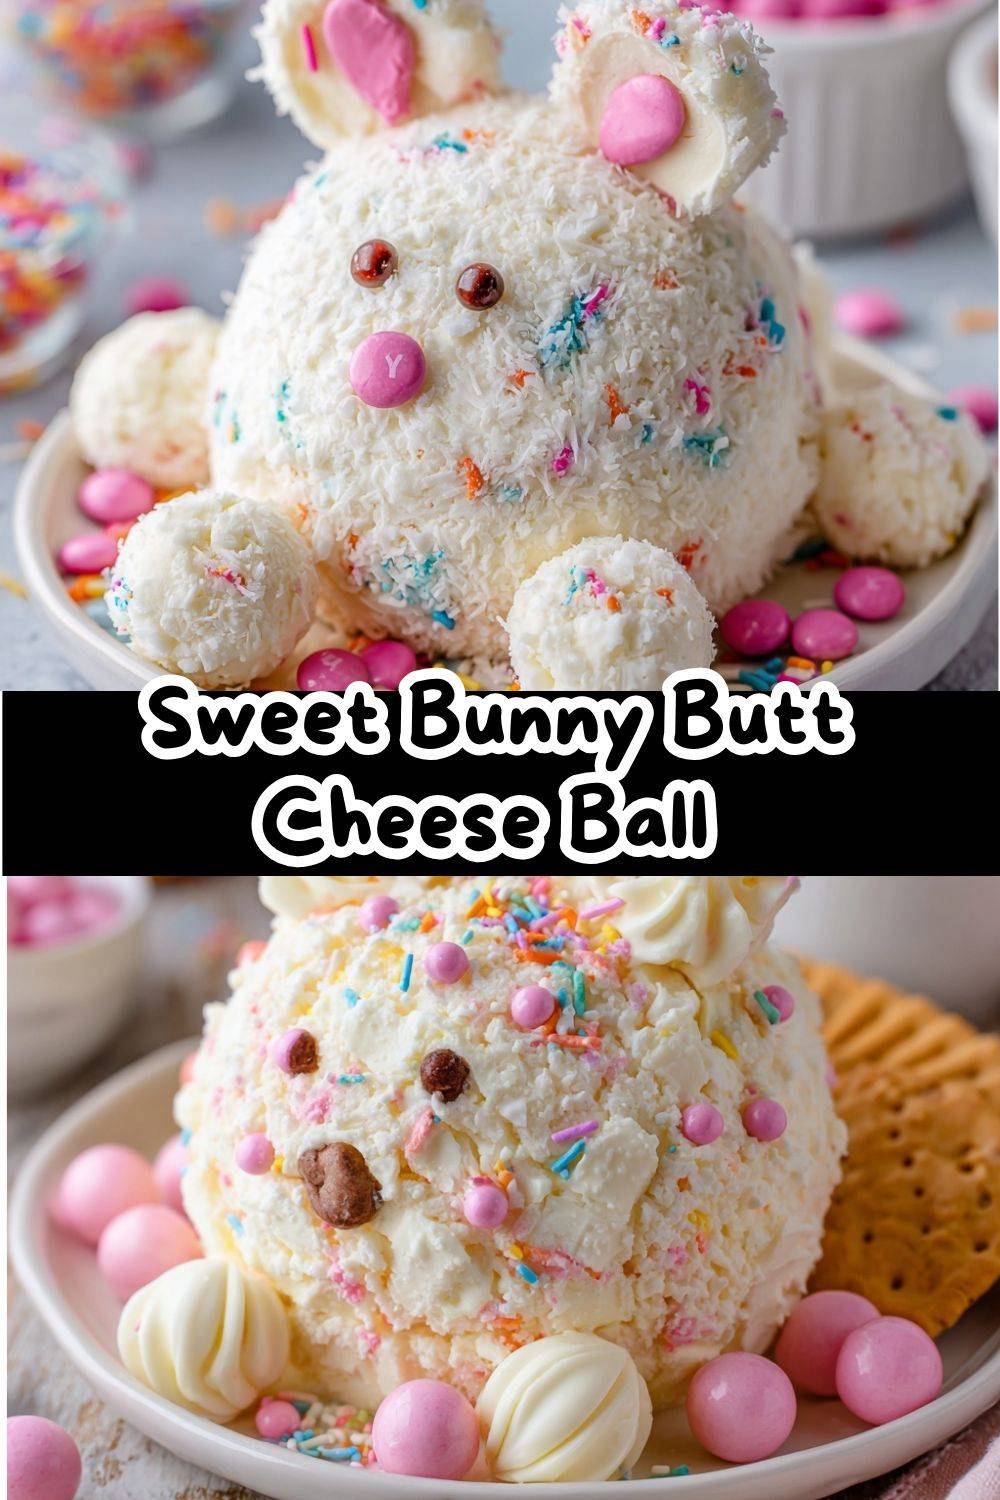
Sweet Bunny Butt Cheese Ball – The Ultimate Cute Easter Dessert Dip
Hey there, friend! Pull up a chair and let me pour you a virtual cup of coffee. Can we just take a moment to appreciate the pure, unadulterated joy of holiday food? It’s not just about flavor (though, hello, that’s a huge part of it). It’s about the smiles, the squeals of delight, and the memories you’re whipping up right alongside that batter. And if there’s one recipe in my entire arsenal that delivers on the fun factor, it’s this utterly adorable, dangerously delicious Sweet Bunny Butt Cheese Ball.
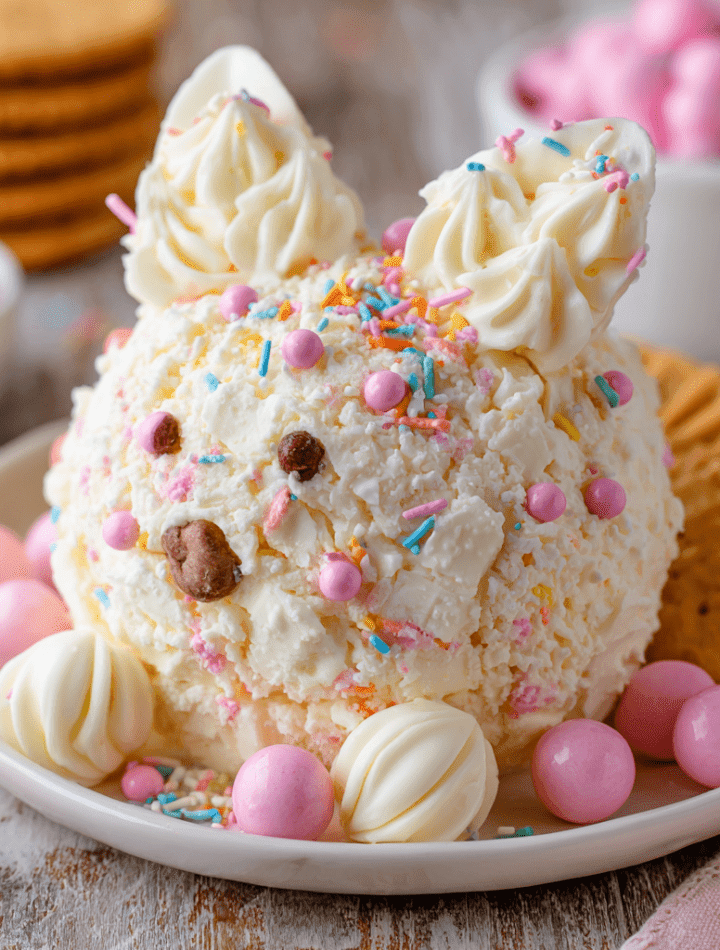
Picture this: a fluffy, sweet, sprinkle-studded cloud of cream cheese and white chocolate, rolled in snowy coconut, and shaped into the most cheerful little bunny butt you’ve ever seen. It’s sitting proudly on your Easter table, surrounded by graham crackers, just begging to be devoured. I’m telling you, the first time I brought this out at a family gathering, my cousin’s kids actually clapped. That’s the magic we’re cooking with today.
This isn’t just a recipe; it’s a conversation starter, a guaranteed photo-op, and secretly, one of the easiest “wow factor” dishes you’ll ever make. No fancy piping, no tempering chocolate for hours—just simple mixing, playful shaping, and a whole lot of love. So, whether you’re hosting a big Easter brunch, heading to a potluck, or just want to make a regular Tuesday feel special, this bunny butt is your ticket to edible happiness. Let’s get our hands a little messy and make something unforgettable!
A Tale of Tails and Grandma’s Apron
This silly, sweet bunny butt always makes me think of my Grandma Mae. She was the queen of “kitchen magic”—the kind of woman who could turn a can of biscuit dough and some cinnamon sugar into the most enchanting breakfast you’d ever had. Easter at her house was an event. There were always hidden eggs, of course, but the real treasure was on her sunlit kitchen table.
One year, when I was about six, she presented a plate of ordinary-looking sugar cookies. But then, with a twinkle in her eye, she produced a small bowl of pink icing and a bag of shredded coconut. “We’re giving these bunnies their cotton tails, Em,” she whispered. Together, we dabbed on little dots of icing and patted on pinches of coconut, transforming simple cookies into a pastel menagerie. That moment—the concentrated quiet, the sweet, buttery smell, the pride of creating something cute and edible—stuck with me. This cheese ball is my grown-up, gloriously indulgent homage to that feeling. It’s that same playful spirit, wrapped up in a creamy, funfetti-filled package, ready for you to create your own sweet memories.
Gathering Your Bunny Building Supplies
Here’s everything you need to build your edible bunny masterpiece. I’ve added my little chef notes to help you pick your ingredients and understand why they’re here! Don’t stress—this is a very forgiving recipe.
- 16 oz (two blocks) cream cheese, softened: This is our creamy, tangy base. Full-fat is best here for the perfect texture and richness. Let it sit on the counter for a good 1-2 hours until it’s super soft—this makes mixing a dream!
- ½ cup rainbow sprinkles (jimmies): The “fun” in funfetti! Use jimmies (the long, cylinder-shaped sprinkles) rather than nonpareils (tiny balls), as the color from nonpareils can bleed. This adds pure joy and a lovely texture.
- ½ cup white chocolate chips: They add little pockets of sweet, creamy flavor. You can chop them smaller if you like, but I love the surprise of a whole chip.
- ¼ cup granulated sugar: Just enough to sweeten the deal without going into toothache territory.
- 1 cup funfetti cake mix (heat-treated*): This is the secret weapon! It gives that classic birthday cake flavor and helps firm up the texture. *Crucial Step:* You MUST heat-treat the dry cake mix first to kill any potential bacteria. Simply spread it on a baking sheet and bake at 350°F for 5 minutes, then let it cool completely before using.
- 1 teaspoon vanilla extract & 1 teaspoon butter extract: Vanilla for warmth, butter extract for that iconic, bakery-style buttercream flavor. If you don’t have butter extract, just use 2 tsp total of vanilla.
- 14 oz bag sweetened coconut flakes: Our “bunny fur”! Flakes give a fluffier, more textured look than finely shredded coconut. You’ll have extra, which is great for pressing onto the bunny.
- 8 pink M&M’s: For the cute little toe beans! If it’s not Easter, any light-colored M&M will do.
- Graham crackers, animal crackers, or vanilla wafers for serving: The perfect vehicles for scooping up all that creamy goodness.
Let’s Build a Bunny! Step-by-Step
Ready for the fun part? Put on some happy music, clear a little space on your counter, and let’s create. I’ll walk you through every step with my favorite tips.
Step 1: The Big Mix
In a large mixing bowl, combine your beautifully softened cream cheese, sprinkles, white chocolate chips, sugar, heat-treated cake mix, vanilla, and butter extract. Now, roll up your sleeves—the best tool here is your clean hands! Dive in and start kneading and squishing everything together. It will feel messy at first, but keep going until no streaks of dry cake mix remain and everything is evenly incorporated. Chef’s Hack: If your hands are sensitive to cold, wear disposable food-safe gloves. The mixture will be thick, creamy, and speckled with color—that’s exactly what you want!
Step 2: Shape the Bun-Bun
Time to sculpt! Divide your mixture into four parts:
- One large handful (about 2/3 of the mix): This will be the bunny’s main body/butt.
- Two smaller, equal handfuls: These are the feet.
- One tiny, golf-ball-sized piece: This is the precious little tail.
Roll each portion between your palms to form smooth balls. If the mixture is sticking, a very light dusting of powdered sugar on your hands can help. Don’t worry about perfection—bunnies in nature are adorably lumpy!
Step 3: The Fluffy Coconut Coat
Pour a generous layer of coconut flakes onto a plate or shallow dish. One at a time, roll each cheese ball in the coconut, gently pressing the flakes into the surface to ensure they stick. Get them nice and coated—this is the bunny’s fur! Place the large body ball on your serving platter first.
Step 4: Assembly & Toe Bean Application
Now for the assembly! Place the two coconut-covered foot balls at the bottom of the large body ball, slightly overlapping. Gently flatten the top of each foot ball with your finger to create a paw pad. Take your small tail ball and nestle it above the feet, right on top of the body. Finally, the pièce de résistance: press four pink M&M’s onto the flattened part of each foot to make the toe beans. Stand back and admire your handiwork! You just made edible art.
Serving Your Masterpiece
Presentation is part of the fun! I love using a simple wooden board, a pastel-colored platter, or even a bed of green Easter grass (just make sure it’s the food-safe kind!). Arrange your graham crackers, animal crackers, and vanilla wafers all around the bunny butt like a delicious sunburst. For an extra touch, you can place a few extra sprinkles or jelly beans on the board. When it’s time to serve, just give your guests a small spreader or knife and let them dig in. Watching someone’s face light up when they take the first scoop is the best reward.
Hop to It! Fun Recipe Variations
Feel like mixing it up? This recipe is a fantastic canvas for creativity!
- Chocolate Bunny: Swap the funfetti cake mix for chocolate cake mix, use chocolate sprinkles, and roll in crushed Oreo crumbs instead of coconut. Use brown M&M’s for toes!
- Lemon Berry Bliss: Use yellow cake mix, add 1 tbsp of lemon zest to the mix, and substitute dried cranberries or freeze-dried strawberries for the white chocolate chips. Roll in finely chopped pistachios for a “grass” effect.
- Peanut Butter Bunny: Replace 8 oz of the cream cheese with 1 cup of creamy peanut butter. Use peanut butter chips instead of white chocolate, and roll in crushed Nilla Wafers or graham crackers.
- “Carrot Patch” Dip: Shape the whole mixture into a carrot instead! Form a cone shape, roll it in orange sprinkles or crushed cheddar crackers, and use parsley or rosemary sprigs for the green top.
- Dietary Swap: Use your favorite brand of vegan cream cheese and gluten-free funfetti or cake mix to make this friendly for more guests.
Chef Emily’s Final Whispers
This recipe has evolved from a simple round cheese ball I’d make for book club into the full-on bunny spectacle it is today. The first time I added the M&M toes, I laughed out loud at how such a tiny detail brought it to life. A little pro-tip: if you’re making this ahead, you can assemble the whole bunny, cover it loosely with plastic wrap, and refrigerate for up to 24 hours. The flavors actually meld and get even better! Just add the crackers right before serving. Remember, cooking is about joy. If your bunny’s feet are slightly different sizes or your tail is a bit lopsided, it just adds character. No one has ever complained about a quirky, delicious dessert!
FAQs & Bunny Rescue Tips
My mixture is super sticky and hard to shape. Help!
No worries! This usually means the cream cheese was a bit too soft or the room is warm. Pop the whole mixture bowl into the fridge for 20-30 minutes to firm up. You can also dust your hands lightly with powdered sugar before shaping.
Can I make this without cake mix?
You can! Substitute the 1 cup of heat-treated cake mix with ¾ cup of powdered sugar and ¼ cup of all-purpose flour that has been heat-treated (baked at 350°F for 5 minutes and cooled). The texture will be slightly less firm but still delicious.
How far in advance can I make this?
You can assemble the bunny completely 1 day ahead. Store it covered in the fridge. For best texture and coconut fluffiness, let it sit at room temperature for about 20-30 minutes before serving.
The coconut won’t stick to my cheese balls!
If the surface has dried out a bit, just give the ball a very light “spritz” of water from your hands or a quick dab with a damp paper towel to create a slightly tacky surface before rolling in coconut.
A Quick Nutritional Glance
Please note: The following is an approximate estimate generated from an online calculator. Values can vary significantly based on specific ingredient brands, substitutions, and serving sizes. This is a celebratory dessert dip meant for sharing and enjoyment in moderation.
Per Serving (approx. 1/8th of recipe, without dippers): Calories: 936 | Carbohydrates: 89g | Protein: 12g | Fat: 62g | Saturated Fat: 44g | Sugar: 48g | Sodium: 640mg
To lighten it up slightly, you can use Neufchâtel cheese (⅓ less fat cream cheese) and reduce the white chocolate chips by half. Serving with fresh fruit like apple slices or strawberries alongside the graham crackers is also a great balance.
Final Thoughts from My Kitchen to Yours
And there you have it, my friend—your guide to creating the most charming, chatter-worthy Easter treat on the block. This Sweet Bunny Butt Cheese Ball is more than a recipe; it’s a little vessel for playfulness, a reminder not to take food (or ourselves) too seriously, and an invitation to spread sweetness. I hope making it brings you as much happiness as eating it does. Thank you for letting me share my kitchen stories and tips with you. Now, go forth, create your bunny, and get ready for the compliments to roll in. Don’t forget to tag me if you share a picture—seeing your creations is my absolute favorite thing!
With a sprinkle-filled heart,
Emily 🐰