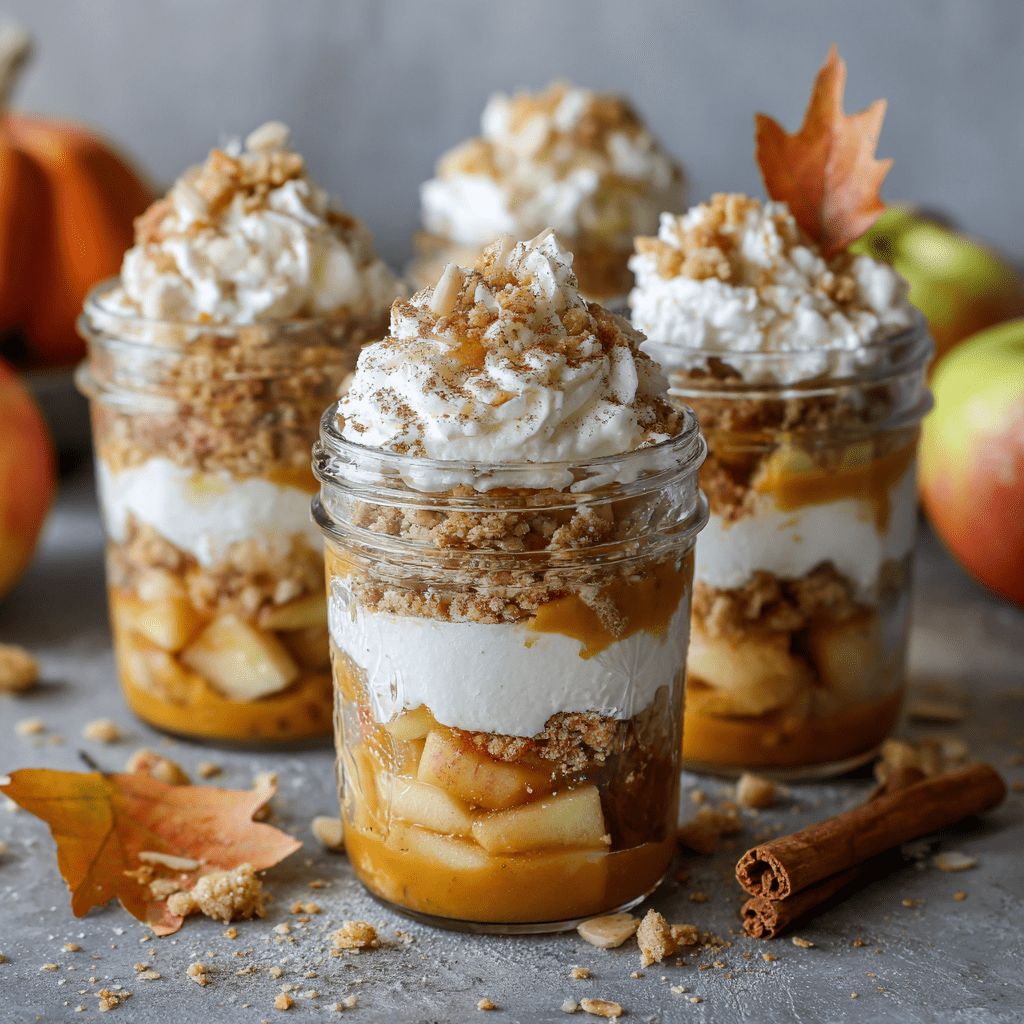
Let’s Turn Pie Into a Party You Can Hold!
Hey there, my fellow flavor adventurer! Ever find yourself elbow-deep in a glorious sweet potato pie, wishing you could just pick it up, wrap your hands around its buttery crust, and take that cozy, spiced goodness with you on the go? Well, my friend, today is your lucky day. We’re ditching the fork and the formal plate to make the most irresistible, handheld version of a holiday classic: Sweet Potato Hand Pies.
Imagine this: a golden, flaky, just-salty-enough pastry that gives way to a warm, silky-smooth filling that’s perfectly spiced with cinnamon and a kiss of maple. It’s like all the best parts of Thanksgiving and a Saturday morning brunch had a delicious, portable baby. And because I love keeping you on your toes, we’re not stopping there. I’ve also included a wildly delicious savory twist with black beans and feta that will absolutely blow your mind. Whether you’re craving something sweet to satisfy your dessert tooth or a savory snack that’s packed with flavor, this one recipe has got you covered. So, tie on your favorite apron (the messy one is always the best), and let’s make some magic happen. Your kitchen is about to smell incredible.
The Pie That Started It All
This recipe has a special place in my heart because it’s a total mash-up of my past. My grandma’s famous sweet potato pie was a non-negotiable at every family gathering. The scent of nutmeg and baking crust would fill her tiny kitchen, and we’d all hover, waiting for that first slice. But I was always the kid who wanted to run around outside, and I’d inevitably end up with a melting slice of pie in one hand and a football in the other. It was delicious, but messy!
Years later in culinary school, I became obsessed with empanadas and hand pies from all over the world. The idea of a complete, self-contained meal or dessert in a perfect, crispy package just fascinated me. One rainy afternoon, I had a major lightbulb moment: What if I combined the soul-warming flavor of my grandma’s pie with the fun, portable format of a hand pie? The first batch was… experimental (we don’t talk about the “filling eruption of 2018”). But after a lot of tinkering and a few happy accidents, I landed on this perfect formula. It’s my way of honoring tradition while giving it a fun, modern, and totally ‘Emily’ twist. Now, I can have my pie and literally hold it, too!

Gathering Your Delicious Cast of Characters
Here’s everything you’ll need to create these little pockets of joy. Don’t be afraid to play around with substitutions—cooking is all about making it work for you!
For the Dough
- 2 ready-made pie crusts – My #1 chef hack for keeping things easy and stress-free! Look for the ones in the refrigerated section. Of course, if you’re feeling fancy and have the time, a homemade all-butter crust is divine.
- 1 egg (for egg wash) – This is our secret weapon for that gorgeous, glossy, golden-brown finish. If you’re vegan, a simple brush of plant-based milk or even a little maple syrup works beautifully.
For the Sweet Filling
- 2 cups mashed sweet potatoes – You can roast or boil them! Chef’s Insight: Roasting caramelizes the natural sugars and gives the filling a deeper, richer flavor. Just poke holes in them, bake at 400°F (200°C) for about an hour until super soft, then scoop out the flesh.
- ½ cup brown sugar – Adds a lovely molasses depth. You can sub with coconut sugar for a less refined option.
- 2 tsp pumpkin pie spice – The cozy flavor MVP! No store-bought blend? Make your own with 1 ½ tsp cinnamon, ¼ tsp nutmeg, ¼ tsp ginger, and a pinch of cloves.
- 1 tsp vanilla extract – The flavor enhancer. It rounds out all the spices and makes the filling taste warmer.
- ¼ tsp salt – Crucial! Salt makes the sweet flavors pop and prevents the pie from tasting flat.
- 1 tbsp maple syrup (optional) – For an extra layer of autumnal flavor. A little goes a long way!
For the Optional Savory Twist
- ½ cup canned black beans, drained and rinsed – Adds protein, fiber, and a wonderful texture contrast.
- ¼ cup crumbled feta – Its salty, tangy punch is the perfect counterpoint to the sweet potato. Cotija cheese would also be amazing.
- ½ tsp cumin – Adds a warm, earthy, savory note that complements the sweet potato beautifully.
- Chopped green onions or fresh thyme – For a fresh, herbal finish that cuts through the richness.
Let’s Build Some Handheld Magic!
Follow these steps, and you’ll be a hand pie pro in no time. I’ve packed this section with all my favorite kitchen hacks to ensure your success.
- Preheat and Prep: Fire up your oven to 400°F (200°C). This high heat is key for getting a flaky, crispy crust without overcooking the filling. Line a baking sheet with parchment paper—no sticking and easy cleanup! Chef’s Hack: If you have a pizza stone, preheat it in the oven and place your baking sheet on top. It’ll give you an extra-crispy bottom crust!
- Mix the Filling: In a medium bowl, combine your beautifully mashed sweet potatoes, brown sugar, pumpkin pie spice, vanilla, salt, and that optional maple syrup. Mix until it’s smooth and dreamy. If you’re going savory, now’s the time to fold in the black beans, crumbled feta, cumin, and herbs. Taste it! This is your moment to adjust. Want it sweeter? More savory? Make it yours.
- Roll and Cut: Unroll your pie crusts on a lightly floured surface. Using a 3 to 4-inch round cutter (a wide-mouth mason jar lid or even a large drinking glass works perfectly!), cut out as many circles as you can. Gently re-roll the scraps to get more circles. You should get about 6-7 circles per crust. Chef’s Hack: If the dough gets too warm and sticky, pop it back in the fridge for 10 minutes. Cold dough is much easier to work with.
- Fill and Fold: Place about 1 to 2 tablespoons of your chosen filling in the center of each circle. Be brave, but not too brave—overfilling is the number one cause of hand pie explosions! Leave a good ½-inch border around the edge. Fold the dough over the filling to create a perfect half-moon shape.
- Seal the Deal: This is the most important step! Press the edges together firmly with your fingers. Then, take a fork and crimp the edges. This double-seal ensures no filling escapes during baking and gives them that adorable, classic pie look.
- Egg Wash and Vent: Whisk your egg with a teaspoon of water to make an egg wash. Brush a thin layer over the top of each hand pie. This is what gives them that professional, golden-brown shine. Finally, use the tip of a sharp knife or the tines of your fork to poke 2-3 small steam vents in the top of each pie. Don’t skip this! It lets the steam out so the pies don’t puff up and burst open.
- Bake to Golden Perfection: Arrange your beautiful hand pies on the prepared baking sheet. Bake for 15-18 minutes, or until the crust is a deep, golden brown and you can see the filling just starting to bubble through the vents. Your kitchen will smell like heaven.
- The Cool Down: I know it’s hard, but let them cool on the baking sheet for at least 10-15 minutes before diving in. The filling is like molten lava straight out of the oven! This resting time allows the filling to set, making them much easier to handle and eat.
How to Serve These Golden Gems
Okay, they’re out of the oven and your whole family is hovering. How do you make the moment even more special?
For the sweet version, I love going all out on the drizzle. Whisk together a simple glaze of ½ cup powdered sugar + 1-2 tablespoons of maple syrup or milk until smooth. Drizzle it artfully over the warm pies. A dusting of powdered sugar or a sprinkle of cinnamon sugar right before serving is never a bad idea. Serve these with a hot coffee for breakfast or a scoop of vanilla ice cream for an epic dessert.
For the savory version, think dips and dunks! A side of cooling sour cream or Greek yogurt mixed with a little lime juice and cilantro is fantastic. A spicy salsa or even a quick avocado crema would be next-level. These are perfect for a packed lunch, a party appetizer, or a hearty on-the-go snack.
No matter how you serve them, serve them with a smile. You made this!
Make It Your Own: 5 Fun Twists
The beauty of a hand pie is its versatility. Here are some of my favorite ways to mix it up:
- Apple Cranberry Joy: Fold in ¼ cup of finely diced apple and 2 tablespoons of dried cranberries into the sweet filling for a tart, festive burst.
- Pecan Praline: After brushing with egg wash, sprinkle the sweet pies with a mixture of chopped pecans and a little coarse sugar before baking. The nutty crunch is incredible.
- Buffalo Chicken & Sweet Potato: For a savory powerhouse, mix the mashed sweet potato with ½ cup shredded cooked chicken tossed in buffalo sauce and a sprinkle of blue cheese crumbles. Trust me on this.
- Vegan Dream: Use a vegan pie crust, skip the egg wash (use plant milk instead), and for a vegan “feta” in the savory version, use crumbled firm tofu marinated in a little lemon juice and salt.
- Chocolate Chip Surprise: For a dessert pie that will make everyone cheer, stir ¼ cup of mini chocolate chips into the sweet filling. It’s like a hug and a high-five at the same time.
From My Messy Apron to Yours
This recipe has truly evolved in my kitchen. The first time I made them, I was so excited I overfilled every single one. They burst open in the oven, and I ended up with a baking sheet of delicious but… abstract sweet potato art. My husband still calls them my “Jackson Pollock Pies.” The lesson? Embrace the mess! Even if they don’t look perfect, they will 100% taste amazing.
Over time, I’ve learned that a thicker filling is key. Letting your mashed sweet potatoes cool completely before mixing helps a ton. And if you have leftover filling? Don’t you dare throw it out! It makes an incredible oatmeal topper or yogurt mix-in for the next few days.
Your Questions, Answered!
Q: Can I make these ahead of time?
A: Absolutely! You can assemble the hand pies, place them on the baking sheet, and freeze them solid before baking. Once frozen, transfer them to a freezer bag. When you’re ready, bake them straight from frozen, adding just 3-5 extra minutes to the baking time. You can also refrigerate assembled (unbaked) pies for up to 24 hours.
Q: My filling leaked out everywhere! What happened?
A: The two most common culprits are overfilling and not sealing the edges well enough. Really press that fork down to create a tight seal. Also, ensure your filling isn’t too wet; if your sweet potatoes seem watery, you can drain them in a fine mesh strainer for a few minutes after mashing.
Q: Can I use canned sweet potato puree?
A: You can, but be careful! Many canned purees have added water and can make the filling too runny. If you use it, I recommend spreading it on a paper towel for a few minutes to soak up excess moisture before measuring.
Q: How do I store leftovers?
A: Let them cool completely, then store in an airtight container in the fridge for up to 4 days. Reheat them in a 350°F (175°C) oven or toaster oven for about 10 minutes to re-crisp the crust. The microwave will work in a pinch but will make the crust soft.

Sweet Potato Hand Pies
- Total Time: 35 minutes
- Yield: 12 - 14 Hand Pies 1x
Description
These golden, flaky hand pies wrap everything you love about sweet potato pie into a warm, portable pastry. With a cozy spiced filling and a hint of maple, they’re ideal for Thanksgiving tables, brunch buffets, or late-night snack runs. Want to level up? Add a savory twist with a touch of feta and black beans. Yep—two vibes, one pie!
Ingredients
For the Dough:
2 ready-made pie crusts (or homemade if you’re feeling fancy)
1 egg (for egg wash, optional)
For the Sweet Filling:
2 cups mashed sweet potatoes (roasted or boiled)
½ cup brown sugar
2 tsp pumpkin pie spice (or mix cinnamon, nutmeg, and cloves)
1 tsp vanilla extract
¼ tsp salt
1 tbsp maple syrup (optional, for extra depth)
Optional Savory Twist:
½ cup canned black beans, drained
¼ cup crumbled feta
½ tsp cumin
Chopped green onions or herbs (like thyme)
Instructions
Preheat oven to 400°F (200°C). Line a baking sheet with parchment paper.
Mix filling: In a bowl, combine mashed sweet potatoes, sugar, spices, vanilla, salt, and maple syrup. For savory version, stir in beans, feta, and cumin.
Roll out dough and cut into circles (3–4 inches wide).
Add 1–2 tbsp filling to each circle. Fold over and press edges with a fork to seal.
Brush with egg wash (or milk for vegan version) and poke small vents on top.
Bake for 15–18 minutes, or until golden brown. Let cool slightly before serving.
Optional: Drizzle with maple glaze (powdered sugar + maple syrup) or dust with cinnamon sugar.
- Prep Time: 20 minutes
- Cook Time: 15 minutes
Nutrition
- Calories: 190 / Per Pie
- Fat: 9g / Per Pie
- Carbohydrates: 25g / Per Pie
- Fiber: 3g / Per Pie
- Protein: 4g / Per Pie
Nutritional Note (Approximate, per Sweet Pie)
While we’re here for the joy of eating, it’s always nice to know what’s in your food! These values are estimates and will vary based on specific ingredients used.
Calories: ~190 | Fat: 9g | Carbs: 25g | Fiber: 3g | Protein: 4g
Sweet potatoes are a fantastic source of Vitamin A (hello, bright eyes!) and fiber. Using a ready-made crust keeps it convenient, but if you’re watching sodium, you can look for a low-sodium option or make your own to control the ingredients. The savory version, with the addition of black beans and feta, bumps up the protein and fiber content, making it a more balanced and satisfying snack or meal.
You Did It! Now Go Enjoy Your Masterpiece.
Look at you, you brilliant kitchen wizard! You’ve just created a batch of incredibly delicious, totally portable, and deeply satisfying hand pies. Whether you went sweet, savory, or maybe even both, I hope you’re as proud of them as I am of you for giving this recipe a try.
This is what Tasty Chow is all about: sharing recipes that bring a little bit of joy, a whole lot of flavor, and the confidence that you can create something amazing right in your own kitchen. Food is meant to be shared, so I hope you’ll pass this recipe on to a friend who needs a little handheld happiness in their life.
Now, grab that warm, flaky pie, take a big bite, and savor every moment. You’ve earned it. Until next time, happy cooking!
— Emily


