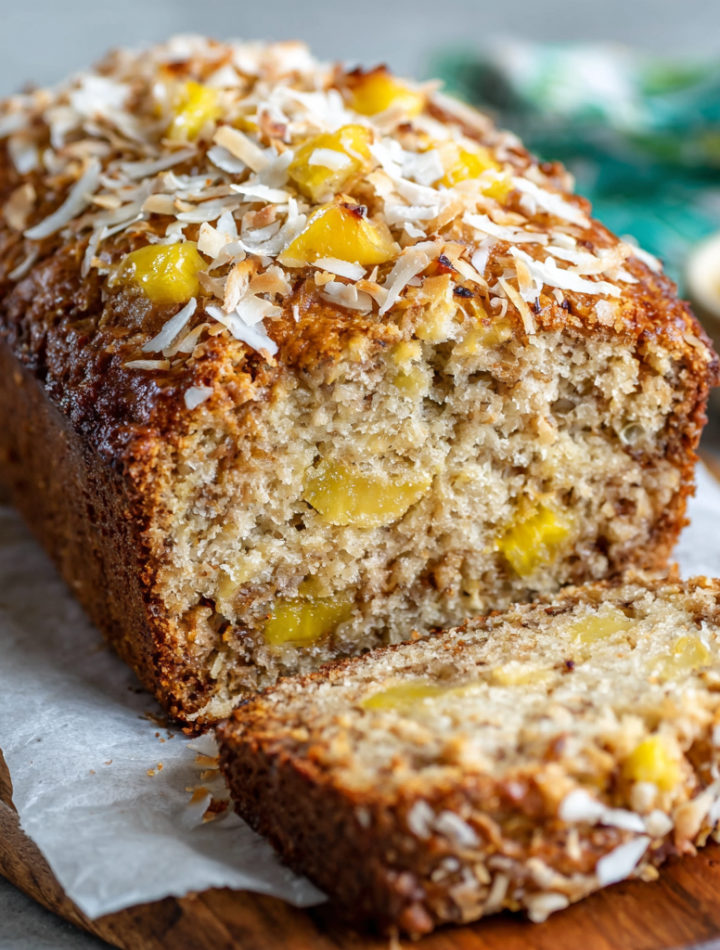
Tropical Banana Bread: Your New Favorite Slice of Sunshine
Hey there, kitchen friend! Have you ever looked at a bunch of spotty bananas on your counter and thought, “Hmm, banana bread… but make it a vacation”? If you’re nodding along, you and I are on the same delicious wavelength. Today, we’re tossing out the rulebook (well, not completely, baking is still science, my friend!) and giving that classic loaf a one-way ticket to the tropics. Welcome to my Tropical Banana Bread – the moist, fruity, coconut-kissed masterpiece that’s about to become your go-to for baking therapy.
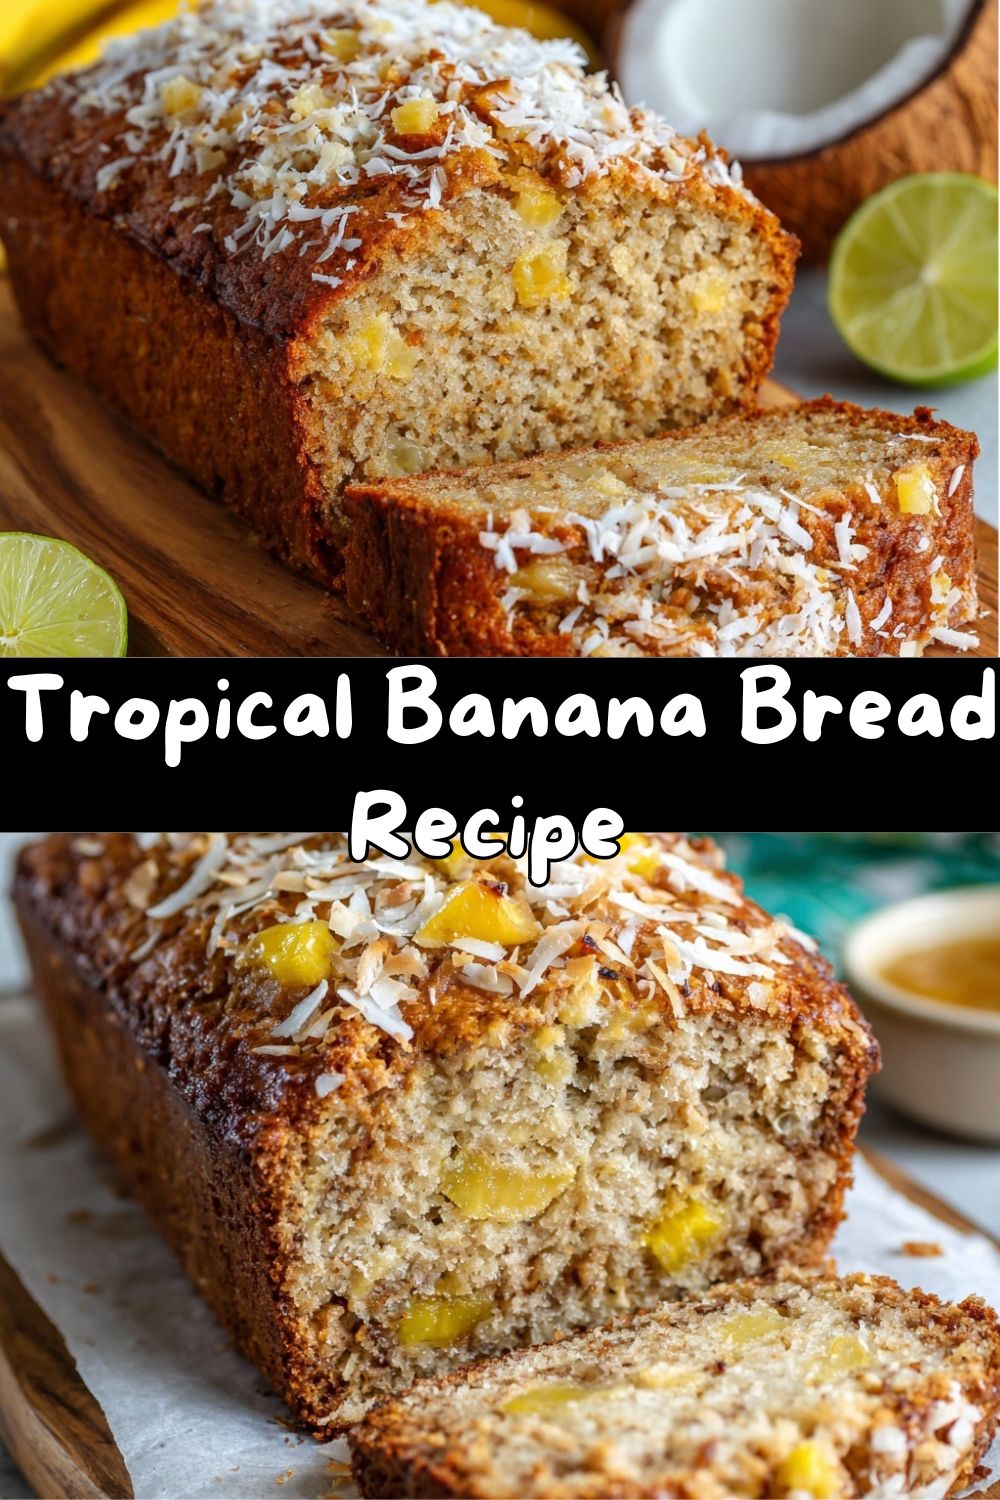
Imagine this: the familiar, cozy comfort of banana bread gets a glamorous upgrade with juicy bites of pineapple, toasty shreds of coconut, and the brightest little zip of citrus zest. It’s the kind of bake that makes your kitchen smell like a beachside bakery. This isn’t just a snack; it’s a mood-lifter, a potluck hero, and the absolute best excuse to use up those bananas. It’s forgiving, fun to make, and guaranteed to make you feel like a rockstar when you pull that golden, fragrant loaf from the oven. So, tie on your favorite apron (the messy one tells the best stories), preheat that oven, and let’s bake some happiness together. Paradise is just a mixing bowl away!
The Little Loaf That Could: A Kitchen Memory
This recipe has a special place in my heart, and it all started with a serious case of winter blues. Picture it: February, gray skies for days, and I was desperately craving a burst of summer. My bananas were begging to be used, but the thought of plain old banana bread felt… well, plain. Then I spotted a lonely can of crushed pineapple in the pantry and a bag of coconut from a long-forgotten cookie attempt. A lightbulb went off!
I threw them all together with a hopeful squeeze of lime zest, not knowing if it would be a glorious triumph or a soggy disaster. The scent that filled my apartment as it baked was nothing short of magical—suddenly, it wasn’t a gloomy Tuesday; it was a beach day. My husband wandered in, sniffing the air, and asked, “Did you pack us for a trip?” That first warm slice, slathered with a little too much butter, was an instant game-changer. It was the happy accident that reminded me that the best recipes often come from a little improvisation and a lot of heart. Now, it’s my signature “sunshine delivery system,” and I’m so excited to share that feeling with you.
Gathering Your Tropical Treasure Trove
Here’s your shopping list for flavor town! The beauty of this loaf is its flexibility. Don’t stress if you’re missing an item—I’ve got your back with swaps.
- 2 ripe bananas, mashed – The spottier, the better! Those black-speckled beauties are sweeter and pack more moisture, which is the secret to our incredibly tender crumb. No ripe bananas? Bake some at 300°F for 15-20 minutes until the skins blacken.
- 1/3 cup crushed pineapple (drained well!) – This is our juicy secret weapon. Pro-tip: Press it in a fine-mesh strainer or squeeze it in your (clean) hands to remove excess liquid. We want the flavor, not a soggy loaf.
- 1/4 cup coconut oil or melted butter – Coconut oil amplifies the island vibe, but melted butter gives a classic, rich flavor. Use what you love! If using coconut oil, make sure it’s in its liquid state.
- 1/2 cup brown sugar + 2 tbsp maple syrup or honey – Brown sugar brings deep molasses notes and moisture. The maple syrup or honey adds extra sweetness and helps keep everything super moist. Agave nectar works too!
- 2 large eggs (or flax eggs for vegan) – Our binding agents. For a flax egg, mix 1 tbsp ground flaxseed with 2.5 tbsp water per egg and let it sit for 5 minutes until goopy.
- 1 tsp pure vanilla extract & Zest of 1 lime or orange – Vanilla is the base note, the citrus zest is the high note! That zest is non-negotiable for that “wow” factor. Use a microplane for the finest, most flavorful zest.
- 1 1/2 cups all-purpose flour – The trusty foundation. For a gluten-free version, a 1:1 GF baking blend works wonderfully.
- 1 tsp baking soda & 1/2 tsp salt – Baking soda gives us the rise against our acidic bananas and pineapple. Salt balances all the sweetness and makes the flavors pop.
- 1/2 cup shredded coconut (plus extra for topping) – I prefer unsweetened, but sweetened works if that’s what you have. Toasting half of it beforehand adds a next-level nutty aroma.
- Optional: 1/2 cup chopped macadamia nuts or dried mango – Macadamias are buttery crunch royalty. Dried mango gives chewy, intense fruity pockets. Choose your own adventure!
Let’s Bake! Your Step-by-Step Sunshine Guide
Ready? Let’s turn these ingredients into magic. Follow along, and don’t forget to read my little chef whispers in between the steps—they make all the difference!
- Preheat & Prep: Fire up your oven to 350°F (175°C). Now, show your loaf pan some love. Grease it thoroughly with butter, oil, or baking spray. For ultimate easy removal, I’m a parchment paper sling fanatic – just a sheet laid across the long way with overhang on both sides. You’ll thank me later!
- The Wet Team Huddle: In a large mixing bowl, mash those bananas until mostly smooth with a few tiny lumps for texture. Add the WELL-DRAINED pineapple, melted coconut oil/butter, brown sugar, and maple syrup. Whisk with joy until it’s one homogenous, caramel-colored mixture. Crack in the eggs, add the vanilla and citrus zest, and whisk again until everything is beautifully combined. Take a sniff. Seriously, smell it. That’s the sound of vacation starting.
- Bringing in the Dry Crew: In a separate bowl, whisk together the flour, baking soda, and salt. This aerates the flour and ensures the baking soda is evenly distributed, preventing those weird bitter pockets. Now, add the dry ingredients to the wet mixture. Here’s my golden rule: fold, don’t beat! Use a spatula and gently stir until the last streaks of flour disappear. Overmixing is the enemy of a tender, soft bread—it develops gluten and leads to toughness. A few lumps are totally fine!
- The Fun Fold-Ins: Once the batter is just combined, gently fold in the shredded coconut and any optional add-ins like nuts or dried fruit. This is where the personality comes in!
- Bake to Golden Perfection: Pour the luscious batter into your prepared pan. Smooth the top with your spatula. For a gorgeous, crunchy top, sprinkle on that extra handful of coconut. Place it in the center of your preheated oven and set your timer for 50 minutes. Chef’s Hack: Rotate the pan halfway through baking for even color. The bread is done when it’s deeply golden brown, the top is springy to a gentle touch, and a toothpick or skewer inserted into the very center comes out clean or with a few moist crumbs (but no wet batter). This can take 50-65 minutes, depending on your oven and pan. Trust the toothpick, not just the timer!
- The Crucial Cool Down: This is the hardest part, I know! Let the loaf cool in the pan on a wire rack for a full 10-15 minutes. This allows it to set and firms up just enough. Then, using the parchment sling or a careful knife around the edges, lift it out and let it cool completely on the rack. I know, I know… you want a warm slice. But slicing it too soon can make it gummy. Let’s be patient for the perfect texture!
How to Serve Your Island Masterpiece
Okay, it’s cooled. The moment of truth! How you serve this can take it from amazing to “oh-my-goodness-I-need-the-recipe” legendary.
For the ultimate experience, slice a thick piece and give it a quick, warm toast in a buttered skillet until the edges are just crisped. Slather it with softened butter, coconut butter, or even a drizzle of honey-sweetened Greek yogurt. The contrast of warm, tender bread with cool, creamy topping is divine.
Want to fancy it up for brunch or dessert? Serve a slice with a dollop of whipped coconut cream and a few fresh pineapple chunks or a sprinkle of lime zest. It transforms into a company-worthy dessert!
For the classic, no-fuss approach, just grab a slice with your morning coffee or afternoon tea. It’s a self-contained treat, perfectly moist and flavorful all on its own. Pack it in lunchboxes, take it on picnics, or enjoy it as your well-deserved midnight snack. It’s your loaf—enjoy it your way!
Make It Your Own: Tropical Twist Ideas
One of my favorite things about this recipe is its versatility. Feel like playing? Here are some delicious detours:
- Piña Colada Loaf: Add 1/2 cup of white chocolate chips and 1 tbsp of dark rum (or rum extract) to the batter. It’s a party in a pan!
- Tropical Nut Crunch: Swap the macadamias for chopped pecans or pistachios. Add 1/4 teaspoon of ground ginger for a warm, spicy note.
- Vegan & Gluten-Free Paradise: Use the flax eggs, a certified GF 1:1 flour blend, and ensure your sugar is vegan. It works like a dream!
- Mango-Ginger Dream: Replace the pineapple with an equal amount of finely chopped fresh or well-drained canned mango. Fold in 1 tablespoon of finely minced crystallized ginger.
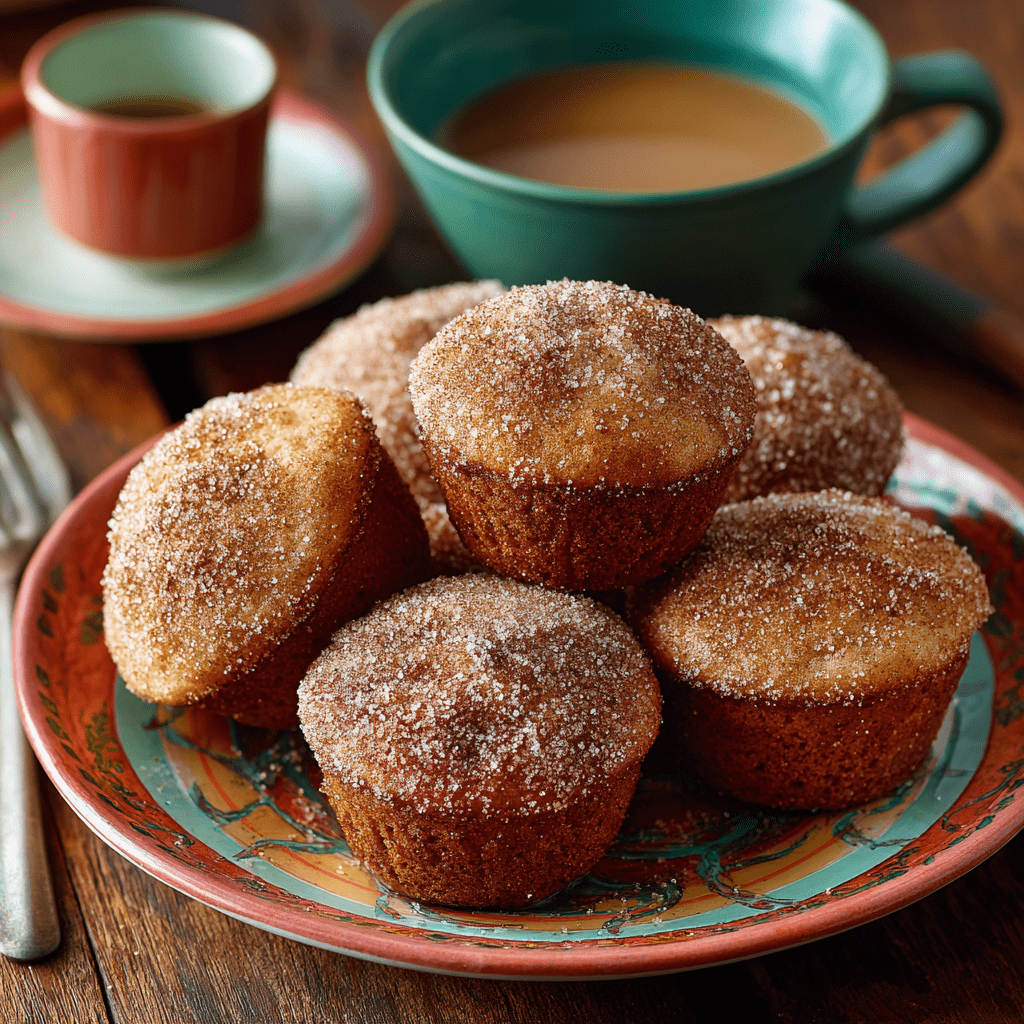
- Mini Vacation Muffins: Divide the batter into a lined muffin tin and bake at 350°F for 18-22 minutes. Perfect for grab-and-go sunshine!
Emily’s Kitchen Confidential
This recipe has evolved so much since that first winter experiment. I’ve learned that toasting the coconut before adding it is a revelation—just spread it on a baking sheet and pop it in the oven for 5-7 minutes while it preheats, watching closely so it doesn’t burn. The flavor deepens incredibly!
I also used to stress about the pineapple making it too wet. One time, I was in a hurry and didn’t drain it well… let’s just say I invented “tropical banana bread pudding.” It was delicious but not sliceable! So now I’m militant about draining. It’s the key to the perfect, moist-but-not-soggy crumb. Remember, bakers: drain that pineapple like your loaf’s texture depends on it… because it does!
Your Questions, Answered!
Q: My bread is dense and gummy in the middle. What happened?
A: The most common culprits are overmixing the batter (which develops too much gluten) or underbaking. Always use the toothpick test in the very center. Also, ensure your baking soda is fresh! If it’s old, it won’t give you the proper rise.
Q: Can I use frozen bananas?
A: Absolutely! Thaw them completely in a bowl first, as they’ll release a lot of liquid. Drain off that liquid (you can save it for smoothies!) and use the thawed banana pulp. The flavor is actually more concentrated.
Q: How should I store this bread, and how long does it last?
A: Once completely cool, wrap it tightly in plastic wrap or store it in an airtight container at room temperature for up to 3 days. For longer storage, it freezes beautifully! Wrap the whole loaf or individual slices in plastic wrap and then foil, and freeze for up to 3 months. Thaw at room temperature or toast straight from the freezer.
Q: Can I use canned pineapple rings or chunks instead of crushed?
A: Yes! Just give them a very fine chop until they resemble the texture of crushed pineapple, and don’t forget to drain them thoroughly.
A Quick Nutritional Glance
I’m all about balance! While this is absolutely a treat, it’s made with real, whole ingredients. Here’s a general breakdown per slice (based on 10 slices, using coconut oil and without optional add-ins):
Calories: ~210 | Protein: 3g | Carbohydrates: 28g | Fat: 9g | Fiber: 2g | Sugars: 15g
Remember, the brown sugar and maple syrup are our primary sweeteners. Using very ripe bananas naturally increases the sweetness, so you could potentially reduce the added sugar by a tablespoon or two if you prefer. The coconut oil provides healthy medium-chain triglycerides (MCTs), and the eggs add protein. It’s a satisfying snack that gives you real energy, not just a sugar crash!
Final Sunshiney Thoughts
And there you have it, my friend – your passport to the tastiest tropical escape. This banana bread is more than just a recipe; it’s a reminder that a little creativity in the kitchen can brighten your whole day. It’s about the joy of mashing bananas, the scent that fills your home, and the proud moment you share a slice with someone you love.
I hope this recipe brings as much light and laughter to your kitchen as it has to mine. Don’t be afraid to make it your own—that’s where the real magic happens. Now, go forth and bake! And when you do, I’d love to hear about it. Tag me on social or leave a comment on the blog. Sharing our kitchen victories is the best part of this food-loving community.
Until next time, keep your whisks ready and your hearts full. Happy baking!
— Emily 🍍✨