Strawberry Jello Cheesecake Bars: A No-Bake Slice of Sunny Nostalgia
Hey friends, Emily here! Can we talk about the magic of a dessert that’s equal parts creamy, fruity, and downright joyful? Today, we’re whipping up a treat that’s a total showstopper but secretly so easy it feels like a kitchen cheat code: No-Bake Strawberry Jello Cheesecake Bars.
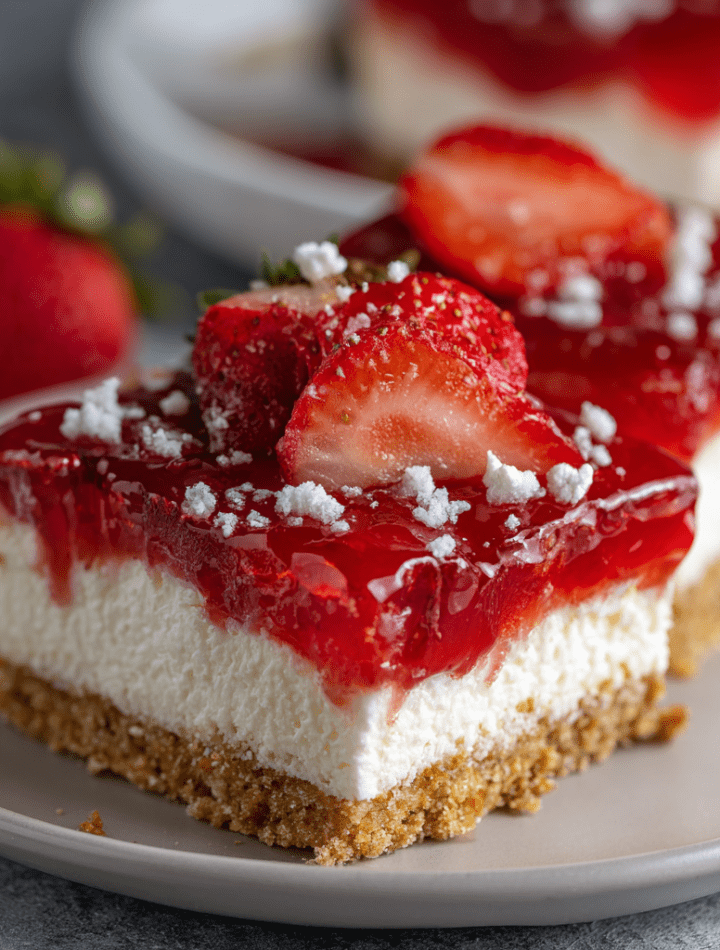
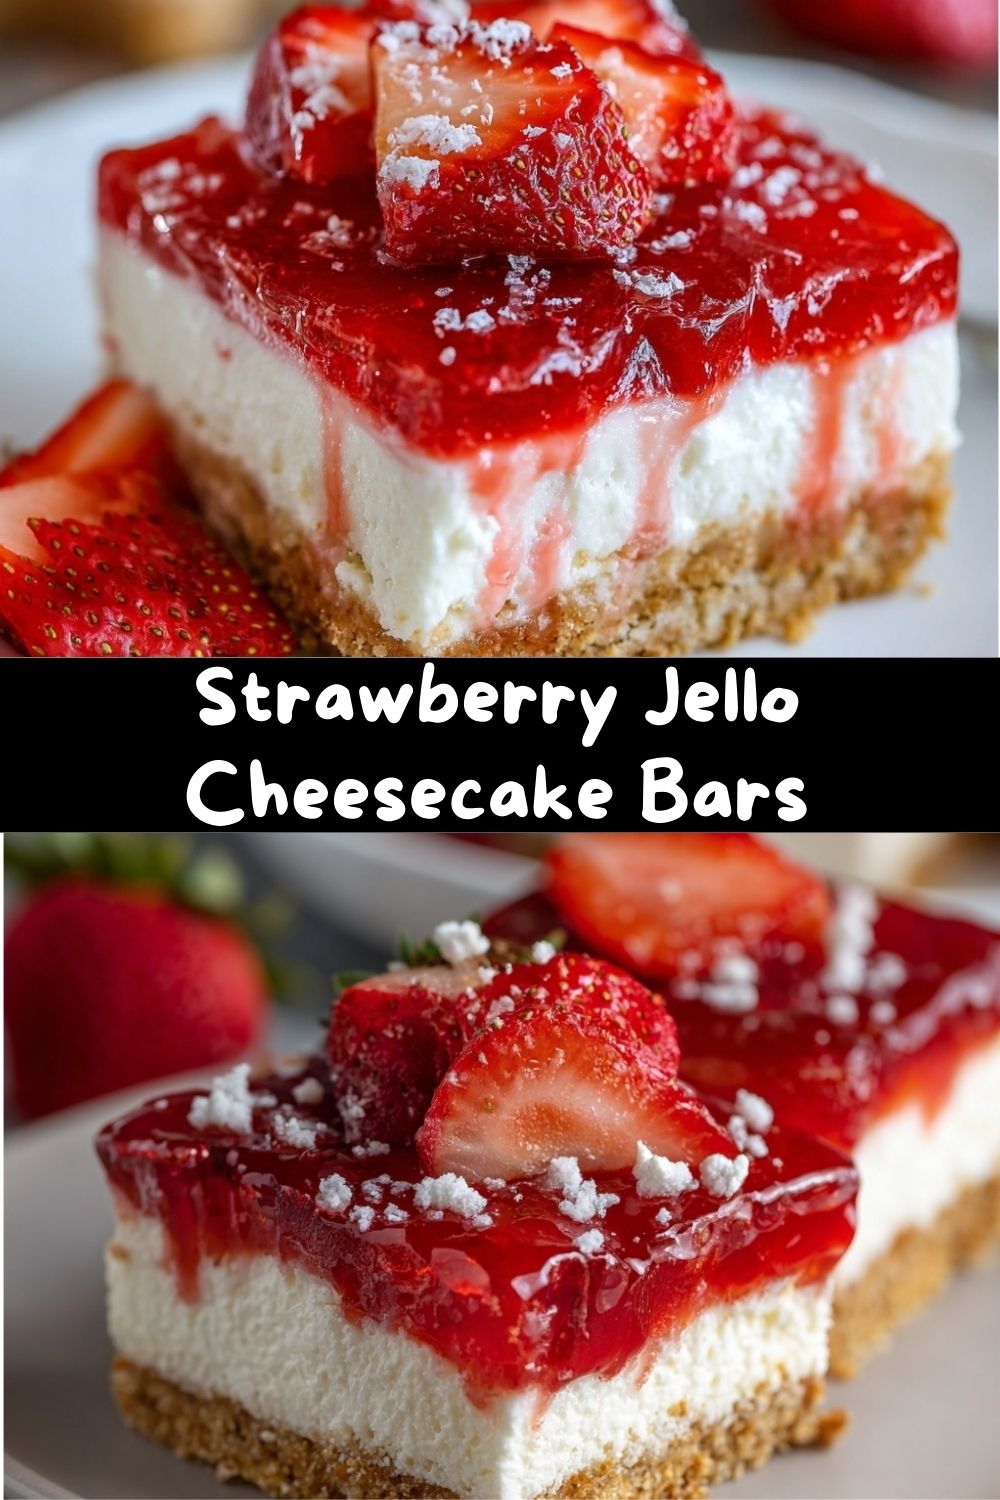
Picture this: a buttery, crumbly graham cracker crust. A layer of lush, vanilla-speckled cheesecake that’s cloud-light. Topped with a shimmering, ruby-red strawberry Jello layer packed with fresh berry slices. It’s a textural dream team in every bite—and you don’t even have to turn on your oven.
This is the dessert you bring to the potluck where everyone asks for the recipe. It’s the sweet ending to a busy weeknight dinner that makes you feel like a superstar. It’s nostalgia in a 9×13 pan, reminding me of sunny picnics and my grandma’s best-loved recipes, but updated with a few of my chef-y tricks to make it foolproof. Whether you’re a baking pro or just starting out, these bars are your new best friend. So, tie on your favorite apron (the messy one is always the best), and let’s make something that’s as fun to create as it is to eat!
The Story Behind the Jiggle: Grandma Dot’s Picnic Table
My love for this dessert runs deep, straight to the red-checkered vinyl tablecloth of my Grandma Dot’s picnic table. Every 4th of July, amidst the burgers and firefly jars, a gleaming glass dish of something pink and jiggly always held the place of honor.
Grandma called it her “Patriotic Fluff,” but to me, it was pure magic. She’d let me “help” by stirring the Jello, my small hands gripping the big wooden spoon. The secret, she’d whisper with a wink, was waiting for the exact moment when the Jello was cool but not set—a lesson in patience for an eager kid. That first cool, creamy, berry-bright bite tasted like summer vacation. This recipe is my homage to her, swapping the fluff for a proper creamy cheesecake layer because, well, I’m a cheesecake fanatic at heart. It’s the perfect blend of her playful spirit and my flavor-chasing ways.
Gathering Your Sweet Supplies: The Ingredient Lowdown
Here’s everything you need. I’ve added my little chef notes next to each one because knowledge is power (and tastier desserts)!
For the Buttery Graham Cracker Crust:
- 1 ½ cups graham cracker crumbs: You can buy these pre-crumbed or crush about 12 full sheets in a bag with a rolling pin. It’s a great stress-reliever! Chef’s Insight: For a deeper flavor, try using honey or cinnamon grahams.
- ¼ cup granulated sugar: This helps the crust caramelize slightly and hold together. For a less sweet option, you can reduce it to 2 tablespoons.
- 6 tablespoons melted unsalted butter: The glue! Melted butter binds the crumbs into that perfect, firm base. Substitution Tip: For a dairy-free version, a good plant-based butter works wonderfully here.
For the Cloud-Like Cheesecake Layer:
- 8 oz (one block) full-fat cream cheese, softened: This is non-negotiable for texture. Take it out of the fridge at least an hour ahead. It should dent easily when poked. This ensures a lump-free, silky filling.
- 1 cup whipped topping (like Cool Whip) or stabilized whipped cream: This gives the layer its amazing airy lift. The tub-style whipped topping holds up brilliantly. Chef’s Hack: If you prefer real cream, whip ½ cup heavy cream with 1 tbsp powdered sugar until stiff peaks form, then fold it in.
- ⅓ cup powdered sugar: Dissolves seamlessly without graininess. No substitutes here—granulated sugar will make it gritty.
- 1 teaspoon pure vanilla extract: The flavor enhancer. It rounds out the cheesecake flavor beautifully.
For the Sparkling Strawberry Jello Topping:
- 1 (3 oz) box strawberry Jello: The star of the show! This gives that iconic flavor and gorgeous color. Fun Twist: Feel free to experiment with other flavors like raspberry or cherry!
- 1 cup boiling water: Necessary to fully dissolve the gelatin crystals. Just use water from your kettle.
- ½ cup cold water: This cools the mixture down so it doesn’t melt our creamy layer when we pour it on.
- 1 cup sliced fresh strawberries: This is my upgrade! The fresh berries add juicy bursts of real fruit and a lovely texture. Hull and slice them about ¼-inch thick.
Let’s Build These Beautiful Bars: Step-by-Step
Follow these steps, and you really can’t go wrong. I’m chatting you through each one!
Step 1: The Foundation – Making the Crust
First, line an 8×8 or 9×9 inch baking pan with parchment paper, leaving an overhang on two sides. This is your “life hack” for easy lifting and slicing later! No parchment? A good spritz of cooking spray works too.
In a medium bowl, stir together the graham cracker crumbs and sugar. Drizzle the melted butter over the top and mix with a fork until every last crumb is moistened and it resembles wet sand. Dump it into your prepared pan and press it down firmly and evenly with the bottom of a measuring cup or glass. We want a solid base! Pop the whole pan in the fridge for at least 15-20 minutes to let the butter firm up. This chilling step is crucial—it prevents a crumbly crust disaster later.
Step 2: The Dreamy Middle – Whipping Up the Cheesecake Layer
While the crust chills, let’s make the filling. In a large bowl, use an electric mixer (or strong arm muscles and a whisk) to beat the softened cream cheese on medium speed until it’s completely smooth and creamy, about 1-2 minutes. Scrape down the sides of the bowl. Add the powdered sugar and vanilla, and beat again until fully combined and silky.
Now, here’s the key to fluffiness: gently fold in the whipped topping. Dump it into the bowl and use a big spatula to cut down through the center and fold it over, rotating the bowl, until no white streaks remain. Be gentle—we’re keeping all that air in there! Retrieve your chilled crust from the fridge and spread this creamy goodness evenly over the top, all the way to the edges. Smooth the top with your spatula. Place it back in the fridge while you work on the Jello.
Step 3: The Jewel Topping – Preparing the Jello Layer
Empty the packet of strawberry Jello powder into a heatproof bowl. Carefully pour the 1 cup of boiling water over the powder. Whisk vigorously for a full 2 minutes, until the powder is completely, totally dissolved. This prevents a grainy top layer. Now, stir in the ½ cup of cold water.
IMPORTANT PATIENCE STEP: Let this Jello mixture sit on the counter until it reaches true room temperature. This usually takes 15-20 minutes. You can test it by dipping your finger in; it should feel neither warm nor cold. Why? If you pour warm Jello over the cheesecake layer, it will melt it and create a murky swamp layer. Not the vibe we want! Room temp Jello will sit gently on top.
Step 4: The Grand Finale – Assembly & The Big Chill
Take your pan with the cheesecake layer out of the fridge. Scatter your fresh strawberry slices evenly over the creamy surface. Now, slowly and gently pour the room-temperature Jello mixture over the strawberries and cheesecake. Try to pour in a thin stream to distribute it evenly.
Carefully transfer the pan to the refrigerator. This is where the magic happens! You must let it chill for at least 4 hours, but overnight is truly best. The Jello needs this time to set fully so you get those clean, beautiful slices.
Serving Your Masterpiece: The Fun Part!
When you’re ready to serve, use the parchment paper overhang to gently lift the entire dessert slab out of the pan and onto a cutting board. This makes slicing so much easier.
Run a large, sharp knife under hot water, wipe it dry, and then cut your bars. Re-wipe and heat the knife between cuts for super clean edges. I like to cut 9 large squares or 12 more modest rectangles.
Plate them on a simple platter or individual dessert plates. For a fancy touch, add a dollop of extra whipped cream, a single fresh strawberry, or a tiny sprinkle of graham cracker crumbs on top. They’re stunning all on their own, though! Serve them cold – that refreshing chill is part of the charm.
Make It Your Own: Delicious Recipe Variations
Love the base recipe? Let’s play with it! Here are a few of my favorite twists:
- Mixed Berry Bliss: Use a mix of sliced strawberries, blueberries, and raspberries in the Jello layer. You can even use a “mixed berry” flavor Jello!
- Chocolate Graham Crust: Swap the regular graham crumbs for chocolate graham cracker crumbs. The chocolate-strawberry combo is classic and irresistible.
- Lemon-Berry Brightness: Add 1 teaspoon of lemon zest to the cheesecake layer and use lemon Jello with blueberries on top for a sunny, zingy variation.
- Dairy-Free Delight: Use plant-based cream cheese and butter, and ensure your whipped topping is non-dairy. It works like a charm!
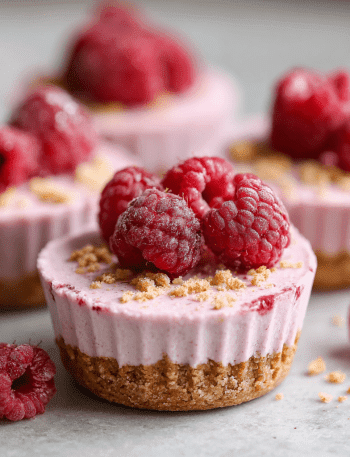
- Mini Individual Treats: Make these in a muffin tin lined with cupcake liners for perfect, portable single servings. Just reduce the chill time slightly.
Chef Emily’s Notebook: My Extra Two Cents
This recipe has evolved so much from Grandma Dot’s original! My big “aha” moment was adding the fresh strawberries to the Jello layer—it breaks up the texture and makes it feel more grown-up. Another lesson learned the hard way? Softening the cream cheese is not a suggestion. I once tried to shortcut it with the microwave, created cream cheese soup, and had to start all over. Patience, young grasshopper!
These bars also freeze surprisingly well! Wrap individual bars tightly and freeze for up to a month. Thaw in the fridge for an instant sweet treat. They’re my not-so-secret weapon for last-minute guests or when I need a dessert I can make ahead and forget about until the party starts.
Your Questions, Answered: FAQs & Troubleshooting
Q: My Jello layer didn’t set firm. What happened?
A: The most common culprit is not chilling it long enough. Four hours is the minimum. For perfectly firm bars, I always do overnight. Also, ensure you used the correct water amounts (1 cup boiling, ½ cup cold) and dissolved the powder completely.
Q: Can I use fresh whipped cream instead of whipped topping?
A: Absolutely! Whip ½ cup of heavy cream with 1 tablespoon of powdered sugar until stiff peaks form. Fold it in just like the whipped topping. The texture will be slightly lighter and less stable, but still delicious. Eat within 2 days.
Q: The layers swirled together when I poured the Jello. Help!
A: This means your Jello was still too warm, or your cheesecake layer wasn’t firm enough. Next time, ensure the cheesecake layer has chilled for 20-30 minutes and the Jello is truly at room temperature (cool to the touch). Pour slowly and gently.
Q: How long do these bars last in the fridge?
A: Stored covered tightly in the pan or an airtight container, they are fantastic for 3-4 days. The crust may get slightly softer, but the flavor is still amazing.
Nutritional Information (Because Knowledge is Power!)
Please note: This is an approximate estimate calculated for one bar (based on 12 servings) using the standard ingredients. For precise dietary needs, use a dedicated nutrition calculator with your specific brands.
- Calories: ~220
- Total Fat: 14g
- Saturated Fat: 8g
- Cholesterol: 35mg
- Sodium: 180mg
- Total Carbohydrates: 20g
- Dietary Fiber: 1g
- Sugars: 14g (includes added sugars from Jello and crust)
- Protein: 3g
This is a treat, through and through! To lighten it up slightly, you can use Neufchâtel cheese (⅓ less fat cream cheese), light whipped topping, and reduce the sugar in the crust by half. The flavor will still be wonderful!
Final Thoughts from My Kitchen to Yours
And there you have it, my friends—the ultimate no-bake Strawberry Jello Cheesecake Bars. This recipe is more than just a list of steps; it’s an invitation to have fun in the kitchen, slow down for a moment, and create something that makes people smile.
I love recipes like this because they remind us that dessert doesn’t have to be complicated to be special. Sometimes, the most memorable treats are the ones that come together with simple ingredients, a little patience in the fridge, and a whole lot of heart. These Strawberry Jello Cheesecake Bars are cool, creamy, and unapologetically joyful—the kind of dessert that disappears fast and gets talked about long after the last bite.
Whether you’re making them for a family gathering, a summer potluck, or just because you need a sweet pick-me-up in the middle of the week, I hope this recipe brings a bit of sunshine to your table. And if it sparks a memory of your own—of picnics, porch swings, or a grandma who always had dessert waiting—then I’d say it’s done its job beautifully.
If you give these bars a try, I’d love to hear how they turned out for you. Did you stick with classic strawberry, or put your own twist on it? Drop a comment, share with a friend, and don’t forget to save this one—you’re going to want it again.
From my kitchen to yours,
Emily 🍓💗