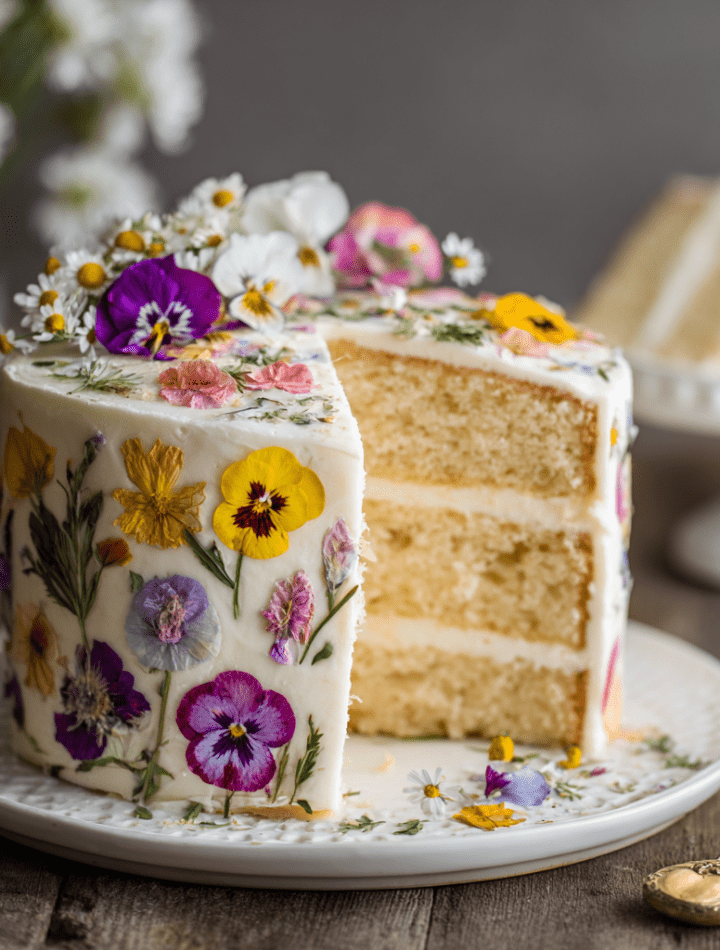
Let’s Bake a Slice of Spring: The Pressed Flower Lemon Cake
Hey, my lovely chowhounds! Emily here, apron already dusted with a little flour, just because that’s how I roll. Have you ever looked at a dessert and thought, “That’s just too pretty to eat!”? I totally get it. But what if I told you we could make a showstopping cake that’s as breathtaking as it is ridiculously delicious? Enter my latest kitchen love affair: the Pressed Flower Lemon Cake. This isn’t just a cake; it’s a celebration of spring on a plate. Imagine soft, tender layers bursting with sunny, zesty lemon flavor, all wrapped up in the silkiest lemon buttercream you’ve ever tasted. And the crowning glory? Real, delicate, edible pressed flowers that turn it into a living work of art. It looks like it came from the fanciest patisserie in Paris, but I promise you, it’s totally doable in your own kitchen. Whether you’re planning a garden party, a bridal shower, a Mother’s Day brunch, or just want to make a regular Tuesday feel special, this cake is your secret weapon. It whispers “elegance” but shouts “FUN!” from the rooftops. It’s the perfect project for when you want to play with your food in the best possible way. So, grab your favorite mixing bowl, cue up your best playlist, and let’s create something unforgettable together. This is the kind of baking that feeds your soul as much as your belly.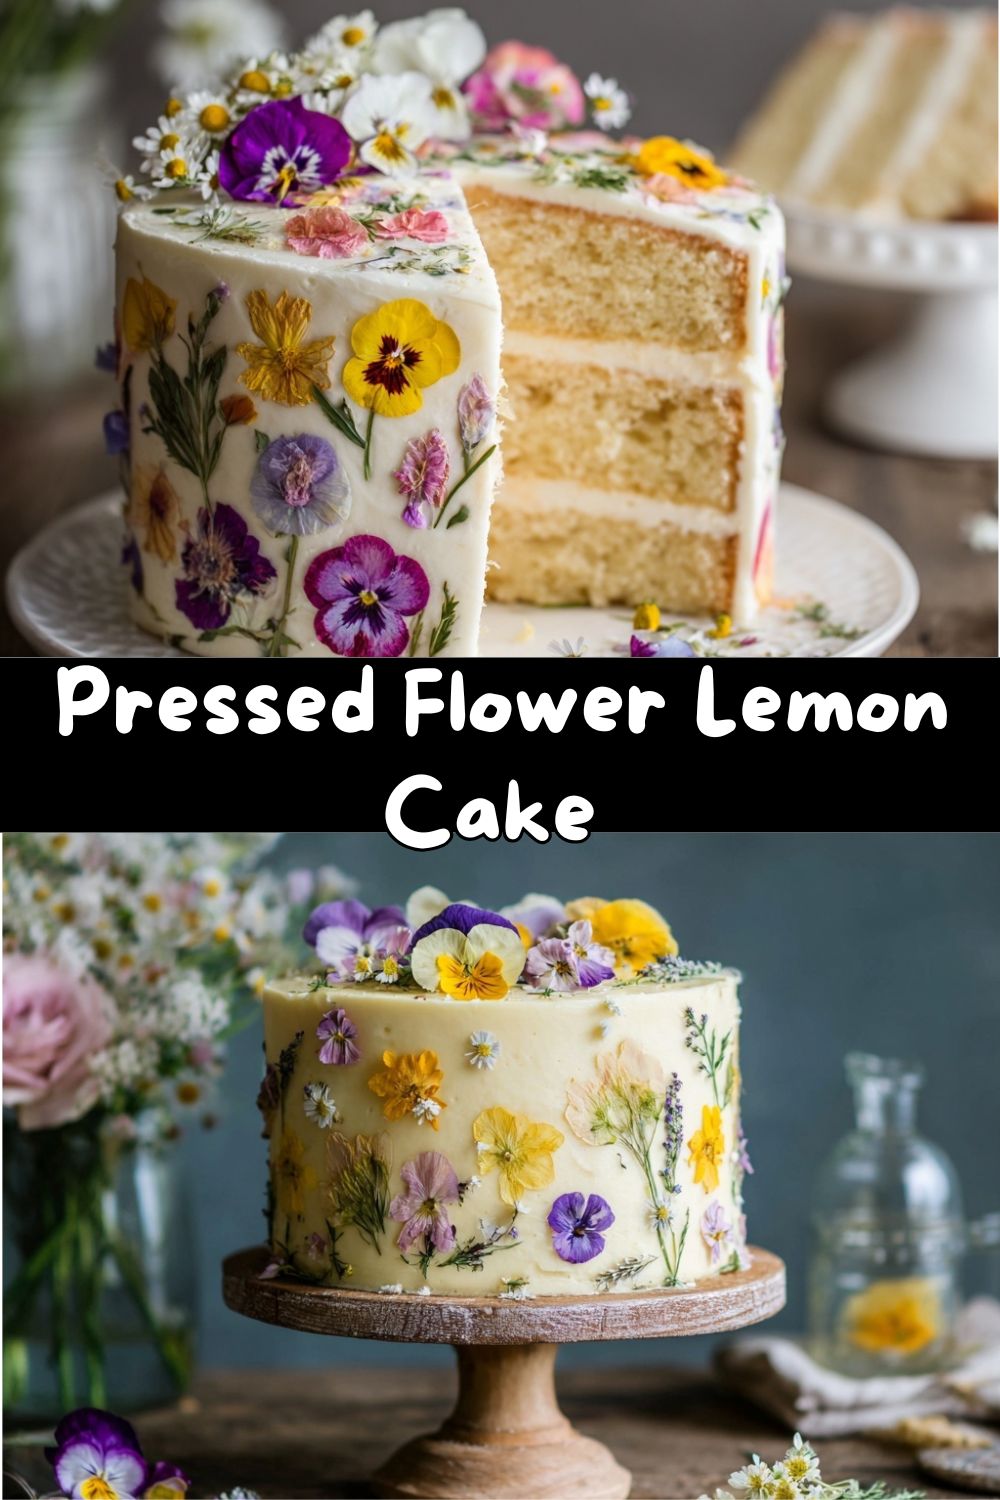
The Story Behind the Bloom
This cake’s magic isn’t just in the recipe—it’s in a memory. When I was about eight, my grandma and I would spend entire afternoons in her garden. She’d point out every flower, telling me its name like she was introducing old friends. “These are pansies, Emily. Their faces smile at the sun.” We’d then carefully press the most perfect blossoms between the pages of her heaviest dictionary, a ritual of patience and hope. Weeks later, we’d unearth these paper-thin, vibrantly preserved treasures. She’d use them to decorate cards or bookmarks, but my favorite was always when she’d gently place one on top of a simple lemon loaf cake she’d just glazed. It transformed something ordinary into a masterpiece. That combination—the bright tang of lemon with the delicate, almost magical beauty of a flower—stuck with me. This cake is my grown-up, layer-cake love letter to those afternoons. It’s for anyone who believes food should delight all the senses, and for every grandma (and grandkid) who knows a little beauty goes a long, long way.Gathering Your Garden & Pantry: The Ingredients
Here’s everything you’ll need to bring this spring dream to life. Don’t worry, most of it is probably already in your kitchen! I’ve added my little chef-y notes to help you understand the “why” behind each item.For the Lemon Cake:
- 2½ cups all-purpose flour: The sturdy foundation of our cake. For a slightly lighter crumb, you can swap ½ cup with cake flour. Chef’s Insight: Whisk it well in the bowl first to aerate it—it makes measuring more accurate!
- 2 tsp baking powder + ½ tsp baking soda: Our dynamic rising duo! The powder gives initial lift, and the soda reacts with the buttermilk for a tender texture.
- ½ tsp salt: Non-negotiable! It balances the sweetness and makes the lemon flavor pop. Think of it as the background singer that makes the lead vocalist shine.
- 1 cup unsalted butter, softened: “Softened” is key here—it should indent easily when poked but not be oily. This creates that dreamy, fluffy cake texture.
- 1¾ cups granulated sugar: Sweetness and, crucially, it helps create a delicate crust during baking.
- 4 large eggs: Bring them to room temperature! Cold eggs can make the creamy butter seize up. They provide structure and richness.
- Zest of 2 lemons + ¼ cup fresh lemon juice: The STARS of the show! Zest holds potent oils for intense fragrance, while juice adds the bright, tangy punch. Always zest your lemons before juicing them—it’s way easier.
- 1 tsp vanilla extract: The flavor enhancer. It rounds out the sharp lemon notes beautifully.
- 1 cup buttermilk: The secret weapon for a supremely moist, tender crumb. No buttermilk? No panic! Make your own: add 1 tbsp of lemon juice or white vinegar to a cup of regular milk, let it sit for 5 minutes until it curdles slightly. Works like a charm!
For the Lemon Buttercream:
- 1 cup unsalted butter, softened: Yes, more butter! This is the base of our silky, spreadable cloud of frosting.
- 4 cups powdered sugar: Sift it! I know it’s an extra step, but it prevents lumps and makes the frosting impossibly smooth.
- 2 tbsp lemon juice + 1 tsp lemon zest: Doubling down on that citrus bliss. The zest speckles the frosting with sunny flecks.
- 1-2 tbsp milk (or cream): Your texture adjuster. Start with one, add the second only if needed to get a spreadable, fluffy consistency.
For the Decoration:
- Edible Pressed Flowers: This is where the magic happens! Use only food-safe, organic, pesticide-free flowers meant for consumption. My go-tos are pansies, violas, chamomile, calendula (marigold petals), and borage. You can find them online at specialty retailers, at some farmers’ markets, or press your own from a trusted garden!
Let’s Build This Beauty: Step-by-Step Instructions
Ready? Let’s do this! I’ll walk you through each step with all my favorite kitchen hacks to ensure success. Step 1: Prep & Preheat Preheat your oven to 350°F (175°C). Now, take your two 8-inch round cake pans. Grease the bottoms and sides with a little butter or baking spray. Then, cut out two circles of parchment paper to line just the bottoms—this is your foolproof insurance policy for perfect cake release! Chef’s Hack: Trace the bottom of the pan on the parchment paper before cutting for a perfect fit. Step 2: The Dry Team Assembles In a medium bowl, whisk together your flour, baking powder, baking soda, and salt. Don’t just stir—really whisk it for a good 30 seconds. This not only combines them but incorporates air, which is a freebie head-start on a light cake. Set this “dry team” aside. Step 3: The Lemon-Zest Party In your large mixing bowl, or the bowl of your stand mixer, beat the softened butter and granulated sugar together on medium-high speed for a full 3-5 minutes. We’re not just mixing; we’re creaming. You want it to become noticeably lighter in color and fluffy. This step is crucial for texture! Scrape down the bowl. Now, with the mixer on medium, add your eggs one at a time, letting each fully incorporate before adding the next. This prevents the batter from breaking. Now, beat in the glorious lemon zest, fresh lemon juice, and vanilla. It will smell like heaven already. Step 4: The Gentle Merge Here’s the key to a tender cake: don’t overmix from this point on! With the mixer on low speed, add about one-third of your dry ingredients. Mix until just barely combined. Follow with half of the buttermilk. Repeat with another third of flour, the rest of the buttermilk, and finally the last of the flour. Stop mixing as soon as you see the last streaks of flour disappear. A few small lumps are okay—overmixing develops gluten and leads to a tough cake. Step 5: Bake & The Toothpick Test Divide the beautiful, fragrant batter evenly between your two prepared pans. Give the pans a gentle tap on the counter to release any big air bubbles. Slide them into the center of your preheated oven. Bake for 25-30 minutes. Start checking at 25 minutes. The cake is done when the top is springy to a gentle touch, the edges are just pulling away from the pan, and a toothpick inserted into the center comes out with a few moist crumbs (not wet batter). Perfectly clean can mean overbaked! Step 6: The Patient Cool-Down Let the cakes cool in their pans on a wire rack for 15 minutes. This lets them set. Then, run a knife around the edge, invert the pans, and gently peel off the parchment paper circles. Let them cool completely, right-side-up, on the rack. DO NOT frost a warm cake. It will melt the buttercream into a sad, runny mess. I sometimes pop them in the fridge for 20 minutes to speed things up if I’m impatient! Step 7: Whipping Up the Lemon Cloud (Buttercream) In a clean bowl, beat your softened butter on medium-high until it’s very smooth and creamy, about 2 minutes. Reduce the speed to low and gradually add your sifted powdered sugar, about a cup at a time. Once it’s roughly incorporated, add the lemon juice and zest. Crank the speed back up to medium-high and beat for a full 3-4 minutes. This is what makes it light and fluffy, not gritty. Check the consistency. If it’s too thick to spread easily, beat in milk, one tablespoon at a time, until it’s perfect. Step 8: Frost & Decorate with Love Place one cooled cake layer on your serving plate or cake stand. Spread a generous dollop of buttercream on top. Place the second layer on top, upside-down (this gives you a perfectly flat top!). Apply a thin “crumb coat” of frosting over the entire cake—a thin layer that traps any loose crumbs. Pop it in the fridge for 15 minutes to set. This makes the final frosting step so much cleaner! Now, pile on the rest of the frosting and smooth the top and sides with an offset spatula or bench scraper. Embrace a “semi-naked” or rustic look—it’s chic and easy! Step 9: The Magical Final Touch Now for the art project! Using clean tweezers or your very careful fingers, gently press your edible flowers onto the sides and top of the frosted cake. Get creative! Create a cascade, a border, or a simple cluster on top. There’s no wrong way. Once decorated, refrigerate the cake for at least 30 minutes to let everything set before slicing and serving.How to Serve This Stunning Creation
Presentation is part of the joy! Use a simple, white cake stand or a rustic wooden board to let the flowers really pop. For slicing, use a long, thin knife. Run it under very hot water, wipe it dry, and make your cut. This gives you beautifully clean slices with perfect flower imprints. Wipe and reheat the knife between slices. Serve each slice on its own plate, perhaps with a sprinkle of extra lemon zest or a single, fresh, un-pressed edible flower on the side. This cake is rich, so slices don’t need to be huge. A cup of Earl Grey tea, prosecco, or a simple sparkling lemonade are the perfect accompaniments. The goal is to create a moment—a little pause of beauty and deliciousness.Make It Your Own: Delicious Twists & Swaps
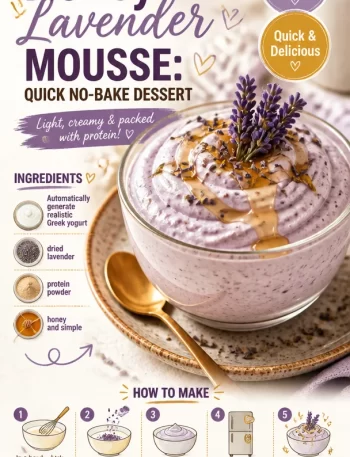
Love the idea but want to mix it up? Here are some of my favorite ways to play with this recipe:- Lavender-Lemon Dream: Add 1 teaspoon of culinary-grade dried lavender buds to the flour before whisking. Infuse the buttercream with ½ tsp of lavender extract for a beautifully floral, sophisticated pairing.
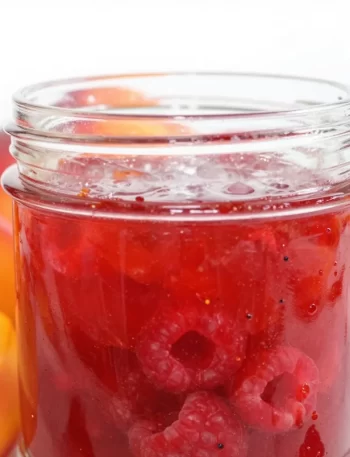
- Berry Burst Filling: Add a hidden surprise! Between the cake layers, spread a thin layer of seedless raspberry or strawberry jam before adding the buttercream. The berry-lemon combo is classic and delicious.
- Dairy-Free & Still Divine: Use vegan butter sticks (for both cake and frosting) and a plain, unsweetened non-dairy milk (like oat or almond) with lemon juice to make your “buttermilk.” Check that your powdered sugar is vegan-friendly.
- Gluten-Free Garden Cake: Swap the all-purpose flour for a 1:1 gluten-free baking blend (like Bob’s Red Mill or King Arthur). The results are fantastic!
- Honey Buttercream Twist: Replace ½ cup of the powdered sugar in the frosting with ¼ cup of mild, runny honey. It adds a lovely floral depth that complements the edible flowers perfectly.
Emily’s Kitchen Notes & Stories
This recipe has evolved from my grandma’s simple loaf into this layered celebration. I’ve learned a few things along the way! First, the type of flower matters for taste. Pansies and violas are very mild—mostly visual. Chamomile adds a faint apple-like note, and calendula is slightly peppery. It’s fun to taste-test them first! Once, in a rush, I tried to frost the cake before it was fully cool. Let’s just say I ended up with lemon cake *parfaits* instead of a layer cake! It was still delicious, but it taught me the virtue of patience. Also, if your flowers are a bit limp from pressing, a 10-second flash in the microwave (seriously, 10 seconds max!) can sometimes crisp them up just enough to handle. Baking is an adventure, my friends. Embrace the happy accidents and celebrate the gorgeous wins!Your Questions, Answered!
Q: My cake layers are dense, not light and fluffy. What happened? A: The most common culprits are overmixing the batter after adding the flour, or using cold ingredients. Remember, mix wet and dry until *just* combined, and make sure your butter, eggs, and buttermilk are at room temperature! Q: Can I make this cake ahead of time? A: Absolutely! You can bake the cake layers up to 2 days in advance. Let them cool completely, wrap tightly in plastic wrap, and store at room temperature. Frost and decorate the day you plan to serve it for the freshest look. The fully decorated cake holds beautifully in the fridge for up to 24 hours. Q: I’m nervous about using real flowers. Are they really safe to eat? A: This is so important! Only use flowers that are explicitly sold as **edible** or **culinary-grade** from a reputable source. Do not use flowers from a florist, nursery, or your backyard unless you are 100% certain they are organic and have never been treated with pesticides or chemicals. When in doubt, leave them out or use decorative, inedible flowers on the cake stand *around* the cake instead. Q: My buttercream is too soft / too stiff. What do I do?A: Buttercream is wonderfully forgiving. If it’s too soft, pop the bowl in the fridge for 15–20 minutes, then re-whip. If it’s too stiff, beat in milk or cream one teaspoon at a time until it’s silky and spreadable. Texture should feel like soft whipped butter—not glue, not soup.
Nutritional Snapshot (Per Slice, serves 12)
Approximate values; will vary by ingredients and portion size.
-
Calories: ~430
-
Fat: 22g
-
Saturated Fat: 13g
-
Carbohydrates: 52g
-
Sugar: 38g
-
Protein: 5g
-
Sodium: ~220mg
This is a celebration cake—meant to be enjoyed slowly, admired openly, and shared generously.
Final Thoughts: When Baking Becomes Art
This Pressed Flower Lemon Cake is more than dessert—it’s a moment. A pause. A reminder that food can be playful, expressive, and deeply personal. It’s proof that baking doesn’t have to be rushed or perfect to be meaningful. Sometimes it’s about slowing down, arranging petals one by one, and letting yourself create something beautiful just because you can.
I hope this cake inspires you to look at your kitchen as a creative space, not just a functional one. To bake with intention. To decorate with joy. And to remember that the things we make with our hands often say the most about who we are and what we love.
If you bake this cake, I hope you smile before the first bite. I hope someone says, “Wow.” And I hope you feel that quiet pride that comes from turning flour, butter, lemon, and flowers into something unforgettable.
From my heart (and my mixing bowl) to yours,
Emily 🌸🍋