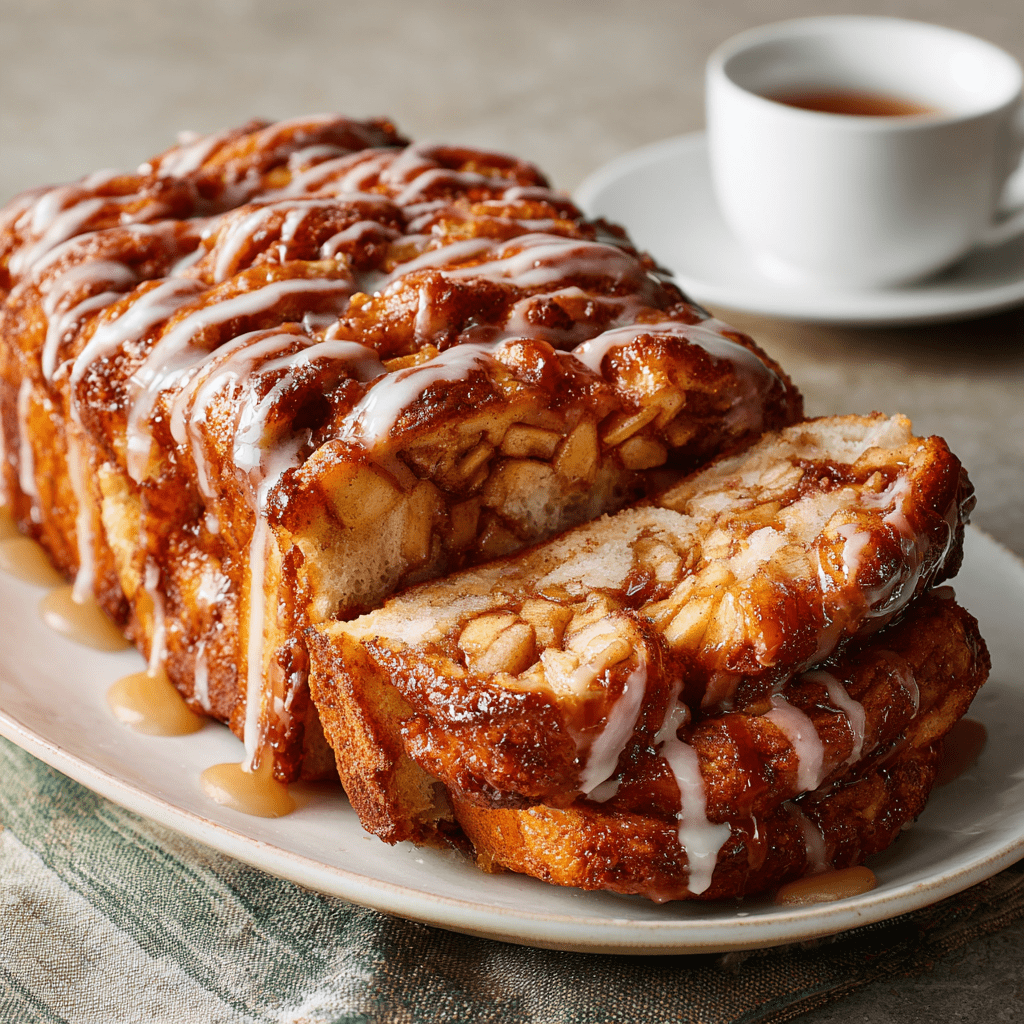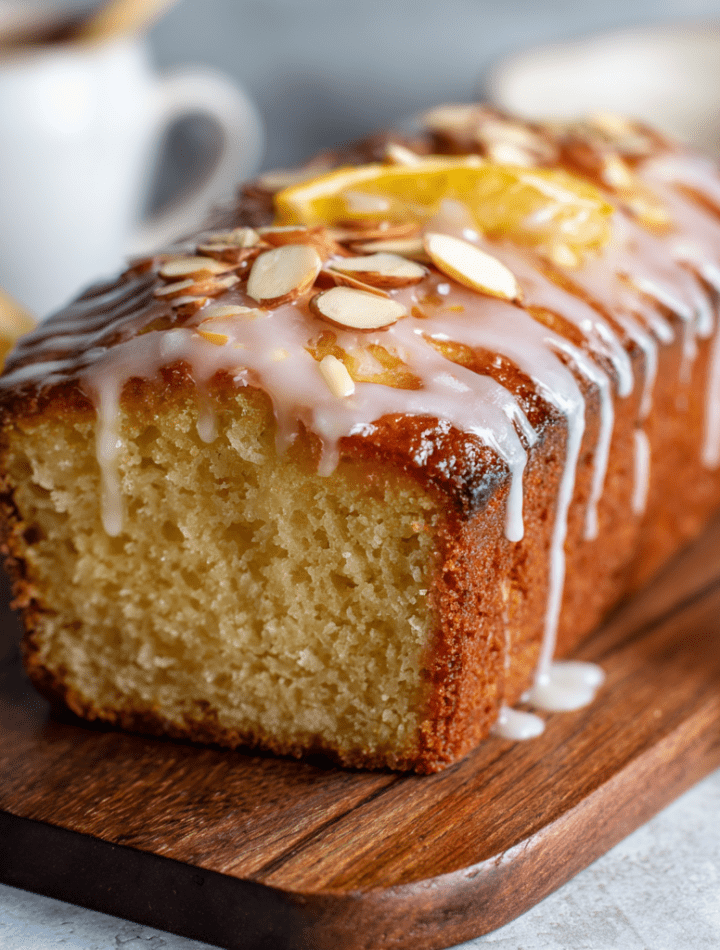
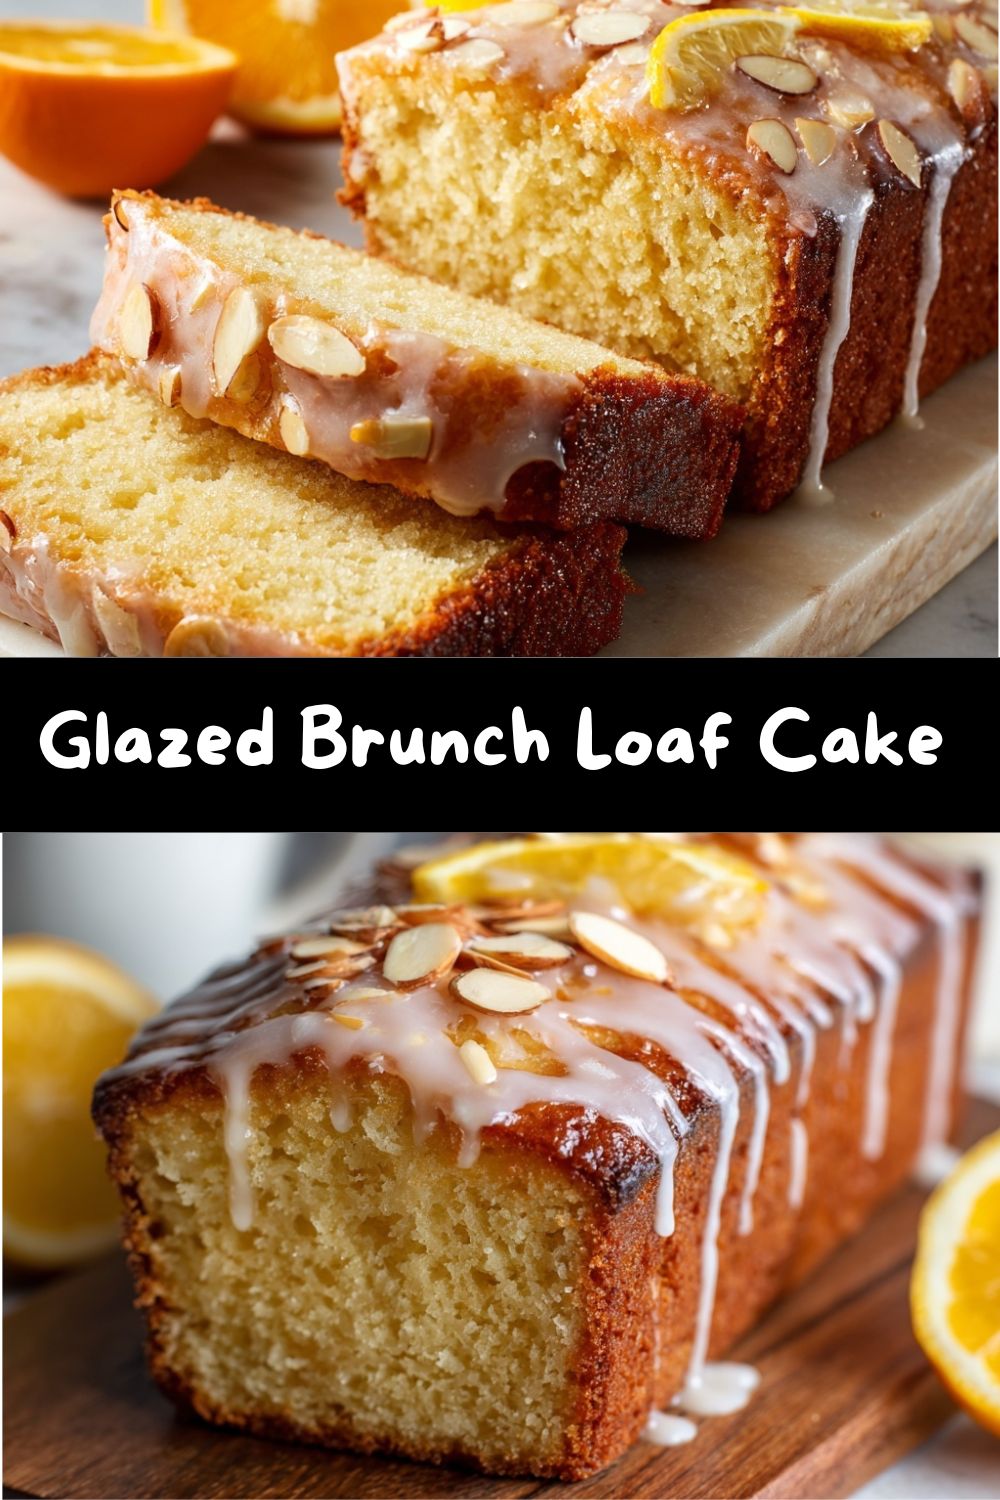
Sunshine in a Slice: Introducing Our Glazed Brush Loaf Cakes
Picture this: it’s a lazy Sunday morning. The light is streaming through your kitchen window, your favorite coffee is brewing, and there’s a sense of calm possibility in the air. This, my friends, is prime brunch territory. And what does every stellar brunch spread need? A centerpiece. Something beautiful but unfussy, sweet but not overpowering, a treat that says, “I made this with love, but I also want to enjoy my mimosa.” Enter the hero of our story: the Glazed Brunch Loaf Cake.
This isn’t just any quick bread. This is the sweet spot between simple and stunning, the culinary equivalent of a perfectly pressed linen shirt—it looks elegant but feels wonderfully easy. We’re talking about a cake that’s unbelievably moist and tender, with a fine, delicate crumb that practically melts on your tongue. It’s blanketed in a sleek, shiny glaze that adds a whisper of sweetness and a whole lot of visual “wow.” And the best part? You get to choose its personality. Are we feeling zesty and bright with lemon? Sunny and cheerful with orange? Or warmly comforting with a hint of almond?
Whether you’re hosting your crew, surprising a neighbor, or simply treating yourself to something special with your afternoon cup of tea, this loaf cake checks every single box. It’s the bake that makes you feel like a rockstar without any of the rockstar-level stress. So, tie on that apron (the messy one is totally fine—I live in mine), and let’s turn these simple ingredients into a masterpiece. Your brunch table (and your taste buds) are about to get a major upgrade.
My Grandma’s Zest for Life (and Lemon Cakes)
My love for these loaf cakes is deeply rooted in my grandma’s tiny, sun-drenched kitchen. She wasn’t a fancy chef, but she was a wizard with a wooden spoon and whatever she had on hand. Her specialty was a “cleaning out the fruit bowl” cake, and her lemon version was legendary. I can still see her, humming an old tune, using that ancient box grater to zest a lemon, the bright, citrusy oil misting the air. She’d let me lick the spoon, and the shock of tangy-sweet batter was a thrill.
She called it her “sunshine cake,” and it was her go-to for everything: book club, a sick neighbor, a Tuesday that just felt gray. For her, baking wasn’t about perfection; it was about sharing a slice of joy, literally. That simple loaf, wrapped in wax paper and handed over with a squeeze, was a gesture of love. My version today is a direct descendant of her recipe—a little more refined in technique, perhaps, but identical in spirit. Every time I zest a lemon for this batter, I’m back in her kitchen, reminded that the best recipes are the ones that feed more than just our stomachs.
Gathering Your Sunshine: Ingredients & Insights
Great baking starts with great ingredients and knowing why they’re there. Here’s everything you’ll need, with a little chef chatter for each one.
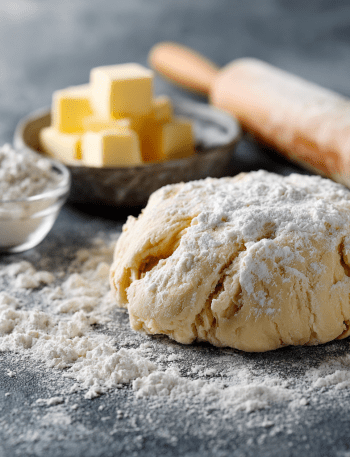
- 1/2 cup unsalted butter, softened – This is our flavor and tenderness foundation. Unsalted lets you control the salt level. “Softened” is key! It should yield gently to a finger press. Too cold, and it won’t cream; too melted, and your cake will be greasy. In a pinch, equal parts neutral oil or even full-fat coconut oil can work, but butter’s flavor is magic.
- 3/4 cup granulated sugar – Sweetness, sure, but it also helps create that light, airy texture when creamed with the butter. For a slightly deeper flavor, you can swap in half golden cane sugar.
- 2 large eggs, at room temperature – The binding agents and structure-builders. Room temp eggs blend into the batter seamlessly, creating a smoother, more emulsified mixture. Pro tip: To quickly warm cold eggs, place them in a bowl of warm water for 5-10 minutes.
- 1/2 cup whole milk or plain yogurt – Moisture and a touch of acid for tenderness. Yogurt (full-fat is best) will give you an incredibly moist, slightly tangy crumb. Buttermilk is a fabulous substitute here too!
- 1 1/2 cups all-purpose flour – The backbone. For a lighter cake, fluff your flour with a spoon, lightly spoon it into the measuring cup, and level it off. Don’t scoop directly from the bag—you’ll pack in too much!
- 1 1/2 tsp baking powder – Our rising star. It gives the loaf its lift. Make sure yours is fresh (it should fizz vigorously when added to hot water).
- 1/4 tsp fine sea salt – The flavor enhancer. It balances the sweetness and makes all the other flavors pop. Trust me on this.
Choose Your Flavor Adventure:
- Lemon: Zest of 1 lemon + 2 tbsp fresh juice. The zest holds the potent oils—that’s where the real perfume is!
- Orange: Zest of 1 large orange + 2 tbsp fresh juice. For a next-level twist, try a blood orange when in season.
- Almond: 1/2 tsp pure almond extract (a little goes a long way!) + optional 1/4 cup sliced almonds for topping. The extract infuses the entire cake with cozy, marzipan-like warmth.
For the Simple Glaze:
- 1/2 cup powdered sugar – Sift it! This prevents any pesky lumps in your beautiful, glossy glaze.
- 1–2 tbsp citrus juice or milk – Start with one tablespoon and add just until you get a thick but pourable consistency. For almond loaf, milk is perfect.
Let’s Bake: Step-by-Step with Chef Emily
Follow these steps, and you’re guaranteed a flawless loaf. I’m talking you right through it!
Step 1: Prep & Preheat. First, get your oven humming at 350°F (175°C). This gives it time to reach a steady, even temperature. Grease a 9×5-inch loaf pan and line it with parchment paper, leaving an overhang on the two long sides. This is my absolute non-negotiable hack—it creates a sling so you can lift the entire cake out perfectly after baking. No more wrestling with stuck corners!
Step 2: The Creaming Magic. In a large bowl, beat the softened butter and sugar together on medium-high speed for a full 3-4 minutes. We’re not just mixing here; we’re aerating. You want it pale, fluffy, and almost like a soft whipped cream. This step incorporates tiny air bubbles that expand in the oven, giving you that lovely light texture. Scrape down the bowl once halfway through.
Step 3: Incorporate the Eggs. Add your room-temperature eggs one at a time, beating well after each addition. This allows the fat (butter) and the liquid (egg) to emulsify properly. If you dump them in all at once, the batter can look curdled—it might still bake okay, but we want smooth perfection. Scrape the bowl again.
Step 4: Flavor & Moisture. Beat in your chosen zest, juice (or extract), and the milk or yogurt. It might look a bit separated at this point—that’s totally normal. The liquids are just getting to know the fat.
Step 5: The Dry Team. In a separate bowl, whisk together the flour, baking powder, and salt. This isn’t just mixing; it’s distributing the leavening evenly so you don’t get random tunnels in your cake. Add these dry ingredients to the wet mixture.
Step 6: The Gentle Fold. Here’s where tenderness is won or lost. Using a spatula, fold the dry ingredients into the wet until just combined. A few streaks of flour are okay; they’ll disappear. Overmixing develops gluten, which leads to a tough, dense loaf. We want gentle, confident folds.
Step 7: Bake to Golden. Pour the batter into your prepared pan and smooth the top. If you’re using the almond version, scatter those sliced almonds over the top now—they’ll toast beautifully in the oven. Bake for 45-50 minutes. DO NOT open the oven door before the 40-minute mark! The rush of cold air can cause a collapse. The cake is done when it’s golden, springs back to a light touch, and a toothpick inserted into the center comes out with a few moist crumbs (not wet batter).
Step 8: The Patience Phase. Let the cake cool in the pan on a wire rack for 15 minutes. Then, use your parchment sling to lift it out onto the rack to cool completely. I know, glazing a warm cake is tempting, but if you do, the glaze will just melt and slide right off. Let it cool. Read a chapter of a book. Make a coffee. Your future glazed self will thank you.
Step 9: The Glaze Finish. Once completely cool, whisk your sifted powdered sugar with your liquid of choice. Start with one tablespoon and add the second gradually. You want it thick enough to coat the back of a spoon but thin enough to drizzle and cascade slowly down the sides. Pour it over the center of the loaf and use a spoon or offset spatula to gently guide it over the edges. Add extra zest or a few almond slivers on top for a gorgeous finish.
How to Serve Your Brunch Masterpiece
Presentation is the final, joyful step! Place the glazed loaf on a simple, beautiful cutting board or a vintage cake stand. For slicing, use a sharp, serrated knife and gentle sawing motions to get clean, crumb-free pieces.
This cake is the ultimate team player. For brunch, slice it thick and serve alongside a platter of crispy bacon, fresh fruit, and a carafe of strong coffee. It’s divine with a cup of Earl Grey tea in the afternoon. Feeling fancy? Add a dollop of lightly sweetened whipped cream or a spoonful of lemon curd alongside the lemon version. For gifting, bake it in a disposable loaf pan, glaze it, wrap the whole thing in clear cellophane, and tie it with a ribbon. It’s a gift that tastes like pure, buttery sunshine.
Get Creative: Flavor Twists & Swaps
The basic recipe is a blank canvas for your cravings! Here are a few of my favorite spins:
- Triple Berry Bliss: Omit the citrus/almond. Toss 1 cup of mixed fresh or frozen berries (blueberries, raspberries, chopped strawberries) with 1 tbsp of the flour from your measured amount, then gently fold into the batter at the very end. The flour coating helps prevent sinking.
- Vanilla Bean & Chai Spice: Use milk, not juice. Add the seeds of 1 vanilla bean pod (or 2 tsp vanilla extract) and 1 tsp of your favorite chai spice blend to the dry ingredients. Glaze with a spiced icing made with powdered sugar, milk, and a pinch of cinnamon and cardamom.
- Dark Chocolate Chip: A classic for a reason. Use milk and 1 tsp vanilla extract. Fold in 3/4 cup of high-quality dark chocolate chips. The almond version with chocolate chips is also insanely good (think chocolate-covered almond vibes).
- Vegan/Dairy-Free Version: Use vegan butter sticks and a plant-based milk (oat or soy work great). Replace each egg with a “flax egg” (1 tbsp ground flaxseed mixed with 2.5 tbsp water, let sit 5 mins per egg). Glaze with plant milk and powdered sugar.
- Gluten-Free Adaptation: Swap the all-purpose flour for a 1:1 gluten-free baking blend. I recommend one that contains xanthan gum. The batter may be slightly thicker, but it bakes up beautifully.
Chef Emily’s Kitchen Notes
This recipe has lived in my notebook for years, covered in splatters and notes. It started as a bare-bones “quick bread” formula, but over countless test batches (some delicious, one that I swear tasted like sweet bread-flavored erasers—we don’t talk about that), it evolved into this trusty, versatile blueprint. The biggest lesson? The cooling step is non-negotiable. I once tried to glaze a lemon loaf while it was still warm because I was in a rush to take photos. The glaze pooled into a sad, sugary puddle at the bottom of the board. My husband still calls it “The Great Lemon Flood of 2020.” Learn from my haste! Let it cool, and you’ll be rewarded with that perfect, crackly glaze sheen.
Your Questions, Answered
Q: My loaf sunk in the middle! What happened?
A: The most common culprits are underbaking or opening the oven door too early, causing a temperature shock. Also, double-check that your baking powder is fresh. Ensure your measurements are level, especially for flour (spoon and level!). A slight dip is normal, but a canyon usually points to leavening or baking time.
Q: Can I make this ahead of time?
A: Absolutely! The unglazed loaf keeps beautifully at room temp, tightly wrapped, for 2 days. You can also freeze it for up to 3 months. Thaw overnight, then glaze just before serving for the freshest look and texture.
Q: My glaze is too thin/too thick. Help!
A> Too thin? Add more sifted powdered sugar, a tablespoon at a time. Too thick? Add more liquid, just a few drops at a time. It’s very easy to adjust. Remember, it should ribbon off your whisk.
Q: Can I use bottled lemon juice?
A> For the glaze in a pinch, yes. But for the cake itself, I highly recommend fresh citrus. The flavor difference is night and day, and you need the fresh zest for that aromatic punch. The little extra effort is 100% worth it.
A Quick Nutritional Glance
While this is a treat to be savored, here’s a general idea of what’s in a slice (based on the lemon version, yield of 10 slices, using whole milk and butter). Remember, these are estimates and can vary based on specific ingredients and slice size.
Approximate Nutrition (Per Slice)
-
Calories: ~280
-
Carbohydrates: ~38 g
-
Protein: ~4 g
-
Fat: ~12 g
-
Saturated Fat: ~7 g
-
Sugar: ~22 g
-
Fiber: ~1 g
-
Sodium: ~160 mg
Chef’s Note: These numbers will vary depending on flavor choice (almond vs citrus), glaze thickness, and slice size. This is a joy-forward bake—meant to be enjoyed slowly, preferably with coffee and good company.
The Final Slice: Why This Loaf Belongs in Your Rotation
This glazed brunch loaf cake is one of those rare recipes that earns its keep. It’s elegant enough for guests, easy enough for a weekday bake, and versatile enough to reinvent again and again. Lemon for spring. Orange for winter mornings. Almond when you want something cozy and nostalgic. One batter, endless moods.
More than anything, it’s the kind of recipe that shows up for you. It shows up when you need a hostess win, when you want to gift something homemade but unfussy, or when you just want your kitchen to smell like warmth and sunshine. It’s forgiving, flexible, and deeply comforting—just like the best recipes always are.
So bake it once, then make it your own. Add your favorite glaze, tweak the flavor, scribble notes in the margins like my grandma did. Because the best recipes aren’t just followed—they’re lived with.
From my kitchen to yours,
Emily 💛