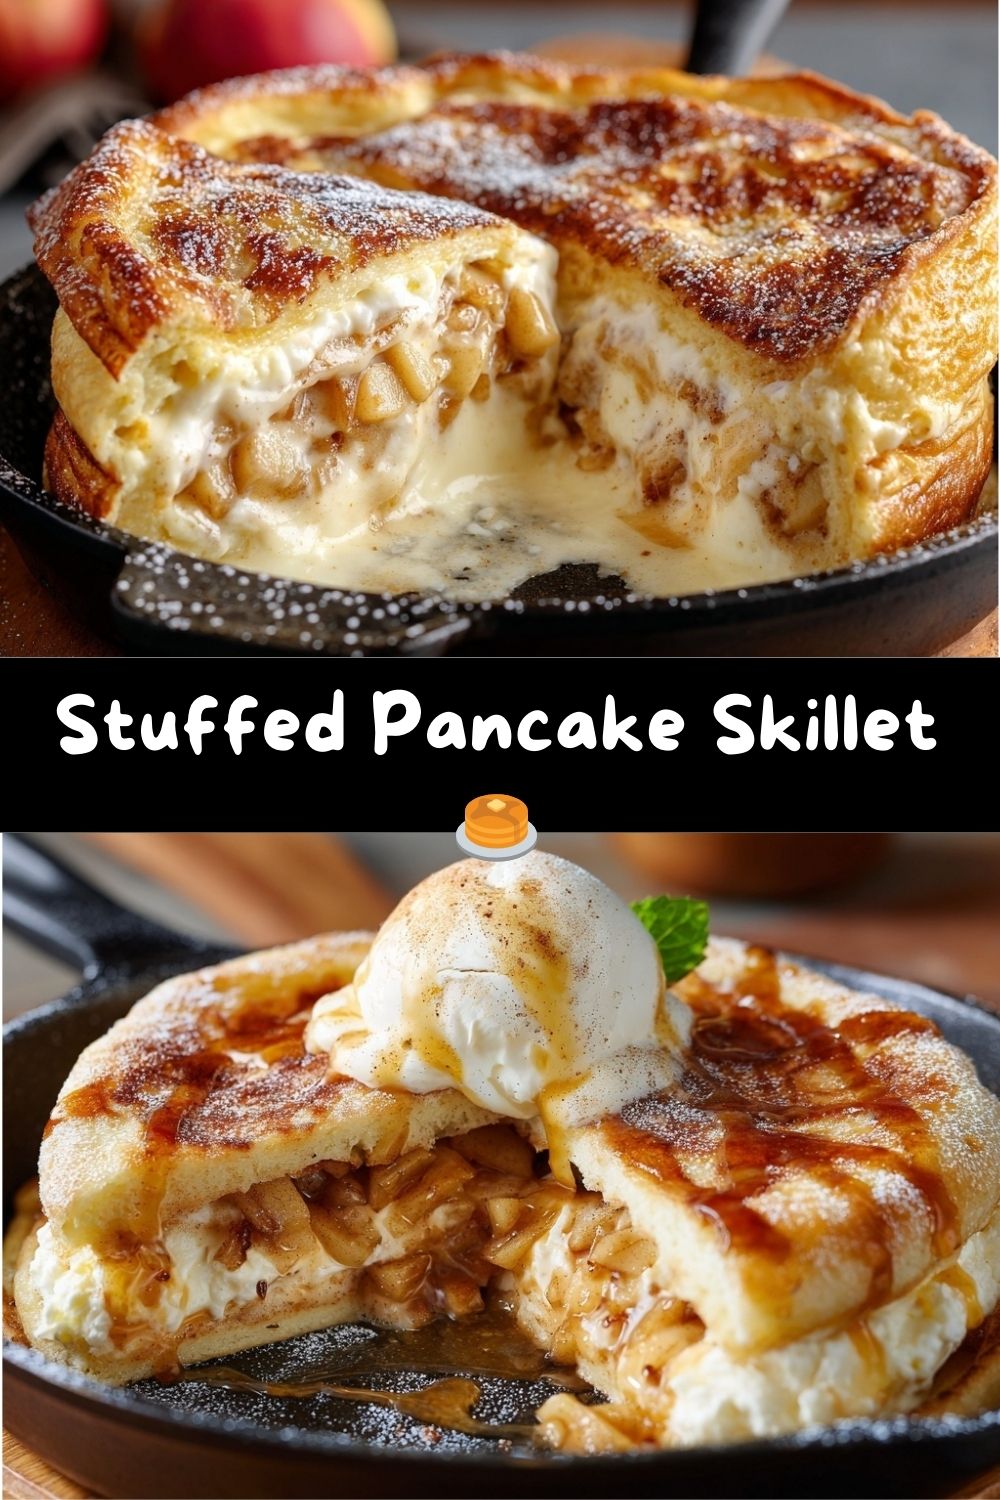
Stuffed Pancake Skillet – Your New Favorite Brunch Showstopper
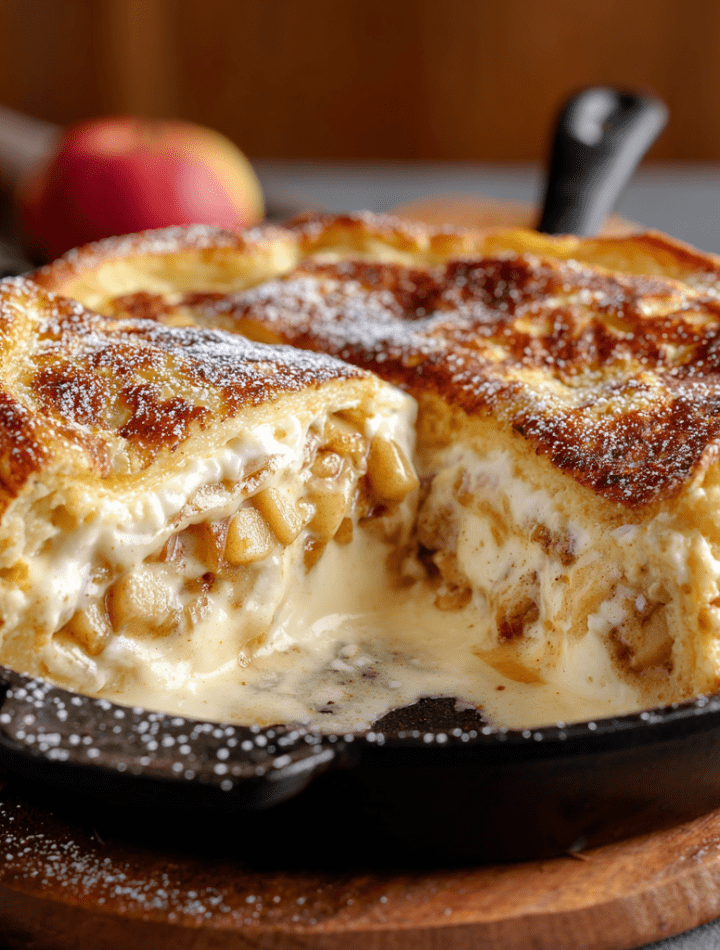
Hey there, friend! Come on in, the coffee’s fresh and I’ve got something absolutely magical bubbling away in my oven that I just have to share with you. Picture this: the comforting, fluffy goodness of your favorite weekend pancakes, but baked into one gorgeous golden disc, with a secret pocket of sweet, gooey filling hiding right in the center. No flipping, no fussing with batches—just one glorious, puffed-up pancake that’s ready to serve a happy crowd (or one very enthusiastic you).
This Stuffed Pancake Skillet is my ultimate love letter to lazy weekend mornings and “heck yes, it’s a special day” breakfasts. It’s the recipe I make when I want jaws to drop at the table, followed by that perfect, happy silence that only comes with the first delicious bite. Whether you stuff it with my vanilla-kissed cream cheese filling or a warm, cinnamon-sugar apple situation, it’s cozy, impressive, and shockingly simple. So, tie on your favorite apron—the messy one with stories—and let’s turn your kitchen into the heart of the home. Ready to make some delicious memories?
The Sunday Morning That Started It All
This recipe was born from a happy accident, as the best ones often are. One sleepy Sunday, I was craving my grandma’s perfect buttermilk pancakes, but I was also… well, lazy. I didn’t want to stand at the stove for an hour. I had a dollop of sweet cream cheese left over from a baking project, and a single, perfect apple on the counter. On a whim, I poured the batter into my trusty cast iron, plopped the fillings in the middle, and shoved the whole thing in the oven.
What emerged was nothing short of a revelation. It had puffed up like a golden-brown cloud, and when I cut into it, that creamy center oozed out like a sweet sunrise. My partner took one bite, looked at me, and said, “You’ve created a pancake pie. This is genius.” That’s the spirit of Tasty Chow—taking familiar comforts and twisting them into something new, fun, and totally share-worthy. Every time I make it now, I think of that quiet, sunny morning and the joy of a kitchen experiment that turned into a forever favorite.
Gathering Your Delicious Cast of Characters
Here’s everything you’ll need to create this masterpiece. I’ve added my little chef-y notes alongside each one because knowledge is power (and also the key to better pancakes).
For the Pancake Batter (The Fluffy Foundation):
- 1 cup all-purpose flour: The backbone! For a lighter texture, give it a quick fluff and spoon into the measuring cup. A 1:1 gluten-free blend works beautifully here too.
- 2 tbsp granulated sugar: Just enough for a hint of sweetness and that perfect golden-brown edge.
- 1 tsp baking powder + ½ tsp baking soda: Our dynamic leavening duo! They work together to create that irresistible, airy lift. Make sure they’re fresh for maximum puff.
- ¼ tsp salt: Never skip this. It balances the sweetness and makes all the other flavors pop.
- ¾ cup buttermilk: The secret to supreme tenderness and a slight tang. No buttermilk? No panic! Stir 2 tsp of lemon juice or white vinegar into regular milk and let it sit for 5 minutes.
- 1 large egg: Our binder, bringing richness and structure. Bring it to room temp if you can—it blends into the batter more smoothly.
- 2 tbsp unsalted butter, melted: For flavor and that dreamy, moist crumb. Let it cool slightly before adding so it doesn’t cook the egg.
- 1 tsp pure vanilla extract: The flavor fairy dust. It adds a warm, aromatic depth that makes the whole kitchen smell like heaven.
Pick Your Perfect Filling (The Sweet Surprise!):
Option 1: Cream Cheese Dream
- ½ cup cream cheese, softened: Full-fat for the creamiest, most luxurious texture. Let it sit on the counter for 30 minutes.
- 2 tbsp powdered sugar: Dissolves seamlessly for smooth sweetness without graininess.
- ½ tsp vanilla extract: Echoes the flavor in the batter beautifully.
Option 2: Cinnamon Apple Hug
- 1 medium apple (like Honeycrisp or Granny Smith), peeled and diced: A tart apple holds its shape and gives a lovely flavor contrast.
- 1 tbsp butter: For sautéing those apples into caramelized perfection.
- 1 tbsp brown sugar: Adds a molasses-rich, cozy sweetness.
- ½ tsp ground cinnamon: The classic, heart-warming partner for apples.
Let’s Build Some Brunch Magic: Step-by-Step
Okay, team! Let’s get cooking. This process is as fun as it is easy. I’ll walk you through every step with my favorite tips to ensure pancake perfection.
- Preheat & Prep. Fire up your oven to 375°F (190°C). This is crucial for a good rise! While it heats, generously grease a 9-inch or 10-inch oven-safe skillet (cast iron is my hero here) with butter or non-stick spray. The warmth of the preheating oven will help create a fantastic crispy edge.
- Make Your Filling (If Using Apples). If you’re going the apple route, let’s cook them first. Melt 1 tbsp butter in a small pan over medium heat. Add the diced apples, brown sugar, and cinnamon. Cook, stirring often, for 5-6 minutes until the apples are softened and smell incredible. Set them aside to cool slightly. Chef’s Tip: Doing this first lets the flavors meld and prevents a soggy bottom layer in your pancake.
- Whisk the Wet, Whisk the Dry. In a large bowl, whisk together the buttermilk, egg, melted (and cooled!) butter, and vanilla until smooth. In another bowl, whisk the flour, sugar, baking powder, baking soda, and salt. Chef’s Hack: I like to make a well in the center of my dry ingredients. It makes combining everything a breeze!
- Combine Gently. Pour the wet ingredients into the dry. Now, here’s the key: mix until just combined. A few lumps are not just okay, they’re desirable! Overmixing is the enemy of fluffy pancakes—it develops the gluten and makes them tough.
- Layer It Up! Pour half of your beautiful batter into the prepared skillet. Spread it evenly. Now, dollop or spoon your chosen filling (the cream cheese mixture or the cooked apples) right into the center. Keep it about an inch away from the edges so it stays tucked inside. Pour the remaining batter over the top, gently spreading it to cover the filling completely. A little peek-a-boo is okay, but try to seal it in.
- Bake to Golden Perfection. Carefully place your skillet into the preheated oven. Bake for 18-22 minutes. You’ll know it’s done when the top is puffed, the center springs back lightly to the touch, and the edges are a gorgeous golden brown. Chef’s Secret: Don’t open the oven door before the 18-minute mark! We need that steady heat for the big rise.
- The Grand Finale. Take the skillet out (use an oven mitt—that handle is HOT!) and let it cool on a rack for 5 minutes. This lets everything settle just a bit. Then, dust liberally with powdered sugar, drizzle with warm maple syrup, and get ready for the reveal!
How to Serve This Skillet Sensation
Presentation is half the fun with this dish! I love bringing the whole skillet straight to the table—it’s rustic, it’s dramatic, and it says “dig in!” with zero fuss. Slice it into generous wedges, just like a pie.
For the ultimate brunch plate, slide a wedge onto a plate and add a few fresh berries or sliced bananas on the side for a bright, fresh contrast. A dollop of whipped cream or a scoop of vanilla ice cream turns it into a decadent dessert-for-breakfast situation (which I fully endorse). And of course, a small pitcher of extra warm maple syrup or a jar of berry compote for drizzling is non-negotiable in my house. Pair it with crispy bacon, savory breakfast sausage, or a simple fruit salad for the perfect balanced meal.
Get Creative! Flavor Twists & Swaps
The beauty of this recipe is its versatility. Once you master the basic formula, the sky’s the limit! Here are a few of my favorite riffs:
- Mixed Berry Bliss: Swap the filling for a cup of fresh or frozen mixed berries (no need to thaw). Toss them with a teaspoon of flour first to help absorb extra juices.
- Chocolate Chip Cookie Dough: Mix ½ cup of mini chocolate chips into the cream cheese filling. It bakes up into melty, chocolatey pockets of joy.
- Lemon Blueberry Sunshine: Add the zest of one lemon to the batter and use a blueberry compote (simmer 1 cup blueberries with 1 tbsp sugar) as your filling.
- Savory Spinach & Feta: Go savory! Omit the sugar from the batter, add a pinch of garlic powder. For the filling, sauté a handful of spinach and mix with ⅓ cup crumbled feta cheese.
- Dairy-Free/Vegan-Friendly: Use a plant-based milk + vinegar for buttermilk, a flax egg, vegan butter, and your favorite vegan cream cheese. It works like a charm!
A Few More Thoughts From My Kitchen to Yours
Over the years, this recipe has seen it all. I’ve made it for newborn arrivals, holiday mornings, and “I just need a pick-me-up” Tuesdays. It’s evolved from that first happy accident to my most-requested brunch dish. One time, I was so excited to serve it to guests that I forgot to put an oven mitt on the handle after baking… let’s just say I earned a new respect for cast iron that day! A brightly colored kitchen towel draped over the handle is now my mandatory safety step.
The biggest lesson? Don’t stress. If the filling leaks a little, it’s delicious caramelization. If it’s extra puffy, it’s a triumph. Cooking is about the joy, not perfection. This skillet is meant to be shared, laughed over, and devoured with loved ones.
Your Questions, Answered
Q: My center is still wet/gummy after 22 minutes. What happened?
A: This usually means the skillet is too deep or the oven wasn’t quite hot enough. Use an instant-read thermometer—it should read about 200°F in the center. If it needs more time, cover loosely with foil to prevent over-browning and bake in 3-minute increments. Next time, ensure your oven is fully preheated!
Q: Can I make this ahead of time?
A: You can prep the fillings and mix the dry and wet ingredients separately the night before (keep wet in the fridge). In the morning, combine and bake! The baked pancake is best fresh, but leftovers reheat well in a toaster oven.
Q: I don’t have an oven-safe skillet. What can I use?
A: No problem! A 9-inch round cake pan or even a deep-dish pie plate works perfectly. Just adjust the bake time slightly if the pan is shallower—it may cook a few minutes faster.
Q: Can I double this recipe?
A: Absolutely! Double all ingredients and bake it in a 12-inch skillet or a 9×13 baking dish. You’ll likely need to add 5-8 minutes to the bake time. Keep an eye on it!
Nutritional Info (Because We’re All Curious!)
Here’s a general breakdown per serving (based on 4 servings with the cream cheese filling, using 2% milk for buttermilk). Remember, these are estimates, and variations will change the numbers:
- Calories: ~320
- Carbohydrates: 35g
- Protein: 7g
- Fat: 16g
- Sugar: 12g
This is a hearty, satisfying treat. To lighten it up slightly, you can use reduced-fat cream cheese, a sugar alternative in the batter, and serve with fresh fruit instead of extra syrup. But honestly? On a cozy brunch day, I’m here for the full, joyful experience.
Let’s Keep the Conversation Going!
And there you have it, my friend—everything you need to create a brunch legend right in your own kitchen. This Stuffed Pancake Skillet is more than a recipe; it’s a reminder that the simplest ideas often bring the biggest smiles. It’s about gathering, sharing, and treating yourself to something special.
I would love to see your creations! Did you go for the creamy dream or the apple cinnamon hug? Tag me on social @TastyChow with #TastyChowKitchen so I can cheer you on. Now, go preheat that oven and get ready for the compliments to roll in. You’ve totally got this.
With love and a full skillet,
Emily 🥞❤️