Easter Bunny Bread Rolls: Soft, Fluffy & Perfect for the Holiday Table
Hey there, my fellow food lovers! Emily here, from my flour-dusted kitchen to yours. Is there anything better than the smell of fresh, warm bread filling your home? Now, imagine that heavenly scent, but coming from the most adorable, fluffy little bunnies you’ve ever seen. That’s the magic we’re making today!
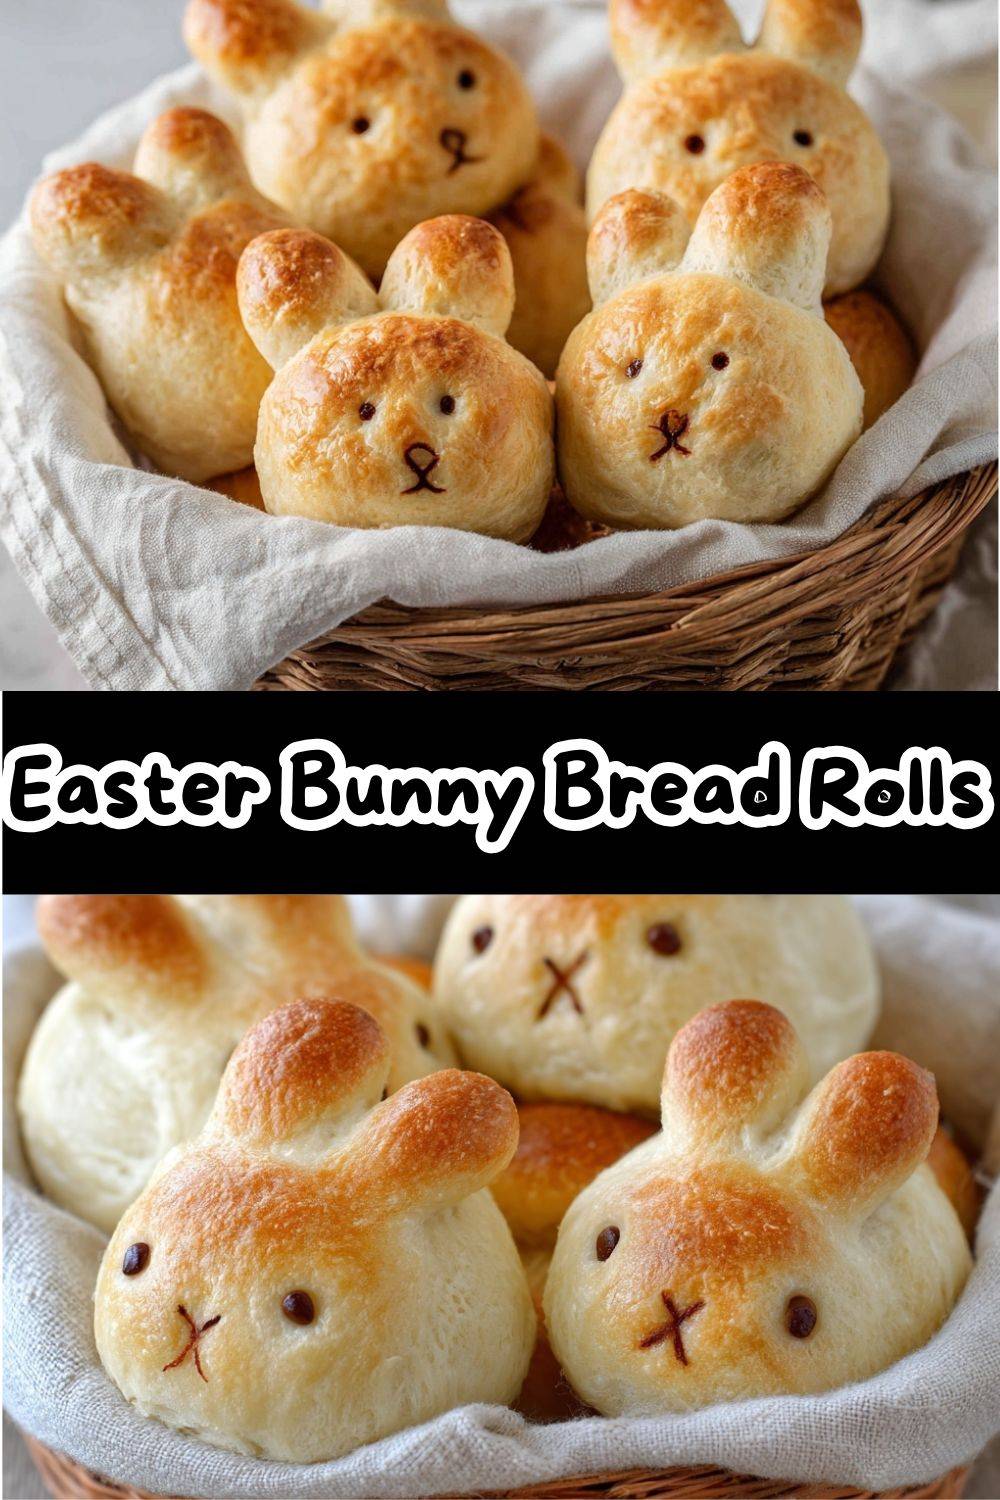
These Easter Bunny Bread Rolls are my absolute favorite way to welcome spring. They’re more than just bread; they’re a centerpiece, a conversation starter, and a deliciously soft, buttery treat that everyone from toddlers to grandparents will adore. The best part? They’re way easier to make than they look. You don’t need to be a master baker—just someone with a love for fun food and a little bit of patience for the magic of yeast.
I promise you, pulling a tray of these golden-brown bunnies out of your oven is a moment of pure kitchen joy. They’re perfect for your Easter brunch spread, delightful nestled next to a holiday ham at dinner, and absolutely irresistible just pulled apart and slathered with honey butter. So, tie on your favorite apron (the messy one is a badge of honor!), and let’s create some edible magic together. This isn’t just baking; it’s making memories, one fluffy bunny at a time.
The Bunny That Started It All: A Grandma’s Kitchen Memory
This recipe takes me straight back to my grandma’s linoleum-floored kitchen. She wasn’t a fancy chef, but she was a wizard with simple ingredients. Every Easter, alongside the dyed eggs, she’d make these little knotted “bunny” rolls. They were her whimsical signature.
I remember standing on a wobbly stool, my chin just clearing the counter, watching her rough, capable hands turn a plain ball of dough into a menagerie of shapes. She’d give me a tiny piece to knead, telling me I was “helping the gluten wake up.” My bunnies always looked a little… drowsy, with one ear longer than the other, but she’d place them right next to hers on the baking sheet with total seriousness. “This one has character,” she’d say with a wink.
That feeling—the warmth, the laughter, the pride of creating something beautiful and edible—is what I’ve baked into this recipe. It’s my grandma’s love, mixed with a few chef-school tricks I picked up along the way. When you shape these bunnies, I hope you feel that same spark of playful creativity. Maybe you’ll even have a little helper by your side, making a lopsided bunny of their own. That’s the real secret ingredient.
Gathering Your Bunny-Making Supplies
Here’s everything you need to create a family of soft, fluffy bunnies. I’ve added my chef notes to explain the “why” behind each ingredient and give you easy swaps. This is a straightforward, enriched dough—fancy words for “soft, tender, and totally delicious.”
- 3 ½ cups (about 450g) all-purpose flour: The foundation! I prefer all-purpose for its reliable structure and soft crumb. If you want to experiment, you can swap up to 1 cup with whole wheat flour for a nuttier taste, but know your bunnies will be a bit denser.
- 2 ¼ tsp (1 packet) active dry yeast: Our little miracle worker! This is what makes the dough rise and become airy. Make sure your packet is fresh for the best rise. Instant yeast works too—just add it directly to the dry ingredients.
- 1 cup warm milk (110°F / 43°C): Warmth activates the yeast. Use a thermometer if you’re unsure—too hot and you’ll hurt the yeast, too cold and it won’t wake up. Whole milk gives the richest flavor, but 2% or even a plain, unsweetened plant-based milk like almond or oat works perfectly.
- 3 tbsp granulated sugar: Food for the yeast and a touch of sweetness. It balances the flavor beautifully.
- ¼ cup unsalted butter, melted and slightly cooled: This is the key to that tender, luxurious texture and golden color. Unsalted lets you control the salt level. For a dairy-free version, a neutral oil or vegan butter works.
- 1 large egg, at room temperature: Adds richness, color, and helps bind everything together. For an egg-free dough, you can use a “flax egg” (1 tbsp ground flax mixed with 3 tbsp water, let sit 5 mins).
- 1 tsp fine sea salt: The flavor enhancer! Never add salt directly on top of the yeast in the liquid; it can hinder it. We’ll mix it with the flour.
- Raisins, chocolate chips, or peppercorns (for eyes): Purely decorative! I love the classic raisin look, but mini chocolate chips make for a sweeter “glint.” Use what you have.
- 1 extra egg, beaten (for egg wash): This gives our bunnies that gorgeous, shiny, golden-brown finish. For a dairy-free/non-egg wash, you can use a little milk or even cream.
Let’s Make Some Bunnies: A Step-by-Step Adventure
Ready? Let’s dive in. Read through all the steps once before you start. Baking is a journey, and I’m right here with you for every twist and turn!
- Wake Up the Yeast: In a large bowl or the bowl of your stand mixer, combine the warm milk, sugar, and yeast. Give it a gentle stir and let it sit for 5-10 minutes. You’re looking for a foamy, creamy layer on top—that’s your sign the yeast is alive and hungry! Chef’s Tip: This step is called “proofing.” If your mixture doesn’t foam, your yeast might be old or your liquid was too hot/cold. Start over to ensure a good rise.
- Create the Dough: To the foamy yeast mixture, add the melted (and slightly cooled!) butter, the egg, and the salt. Give it a quick whisk to combine. Now, add about 3 cups of the flour. If using a stand mixer, attach the dough hook and mix on low speed until a shaggy dough forms. If mixing by hand, use a sturdy wooden spoon. Chef’s Tip: Adding the flour gradually helps you judge the consistency. Dough should be soft and slightly sticky, but not unmanageable.
- Knead to Perfection: Continue adding the remaining flour, a few tablespoons at a time, while mixing. Once the dough pulls away from the sides of the bowl, let the mixer knead on medium-low for 6-8 minutes. By hand, turn the dough onto a lightly floured surface and knead for 8-10 minutes. You want a smooth, elastic ball that springs back slowly when you poke it. Chef’s Hack: The “windowpane test” is your friend. Stretch a small piece of dough between your fingers. If you can stretch it thin enough to see light through it without it tearing, you’ve developed enough gluten! Hooray!
- The First Rise: Place your beautiful dough ball into a lightly oiled bowl, turning it once to coat it in oil. This prevents a dry skin from forming. Cover the bowl with a damp kitchen towel or plastic wrap and let it rise in a warm, draft-free spot for 1 to 1.5 hours, or until doubled in size. My favorite trick? I turn my oven on to the “warm” setting for 1 minute, then turn it OFF and place the covered bowl inside. It’s the perfect cozy proving drawer!
- Shape Your Bunny Family: Gently punch down the risen dough to release the air. Turn it out onto a clean surface. Divide it into 12 equal pieces (a kitchen scale is handy here, but eyeballing is fine!). Roll each piece into a rope about 10-12 inches long.
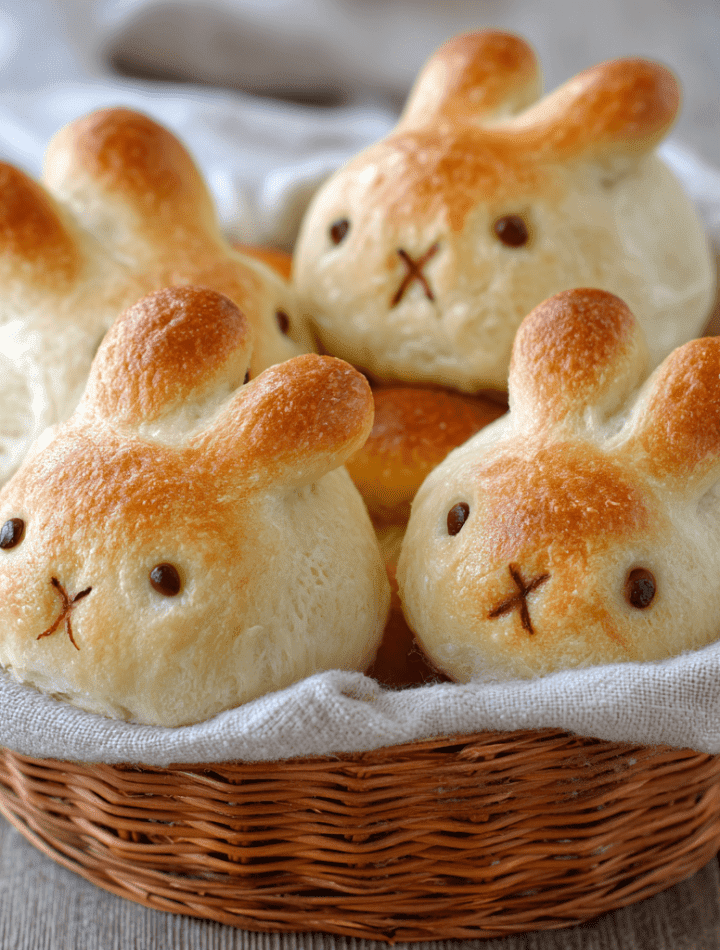
- To shape: Imagine the rope is a rabbit. Make a small loop at one end for the head. About an inch or two down, twist the dough to create the body and two back legs. Take the remaining long end and split it down the middle to form two long ears. You can tuck the very end of the “body” under to make a little tail. Don’t stress—every bunny has its own personality! Place them on a parchment-lined baking sheet, giving them a couple of inches of space to grow.
- Give Them Eyes & The Final Rise: Gently press your chosen “eyes” (raisins, etc.) into the head. Cover the tray loosely with the towel and let the shaped bunnies rise again for 20-30 minutes. They’ll get nice and puffy. Meanwhile, preheat your oven to 375°F (190°C).
- Bake to Golden Glory: Just before baking, gently brush each bunny all over with the beaten egg wash. This is what gives them that professional, glossy, golden finish. Bake for 12-15 minutes, rotating the tray halfway through, until they are a beautiful, uniform golden brown. Chef’s Tip: The internal temperature should read about 190°F (88°C) if you want to be precise.
- Cool (If You Can Wait!): Transfer the bunnies to a wire rack. Let them cool for at least 10-15 minutes. I know, the smell is incredible and the pull-apart warmth is tempting, but this resting time lets the crumb set perfectly.
How to Serve Your Edible Masterpieces
Presentation is half the fun! Arrange your bunny bread rolls on a beautiful wooden board or a festive platter lined with a green linen napkin to look like grass. Tuck a few sprigs of fresh rosemary or dill around them for an “herb garden” effect.
Serve them warm with:
- A big bowl of softened honey butter (just whip together equal parts soft butter and honey).
- Your favorite fruit jam or preserves.
- A savory garlic-herb compound butter for dinner.
- Or simply all on their own—they are that good.
They are the star of any Easter basket (swap out a chocolate bunny for a real bread one!), a delightful addition to a spring picnic, or the most charming dinner roll you’ve ever served.
Get Creative: Bunny Roll Variations
Once you master the basic bunny, the field is wide open for creativity! Here are a few of my favorite twists:
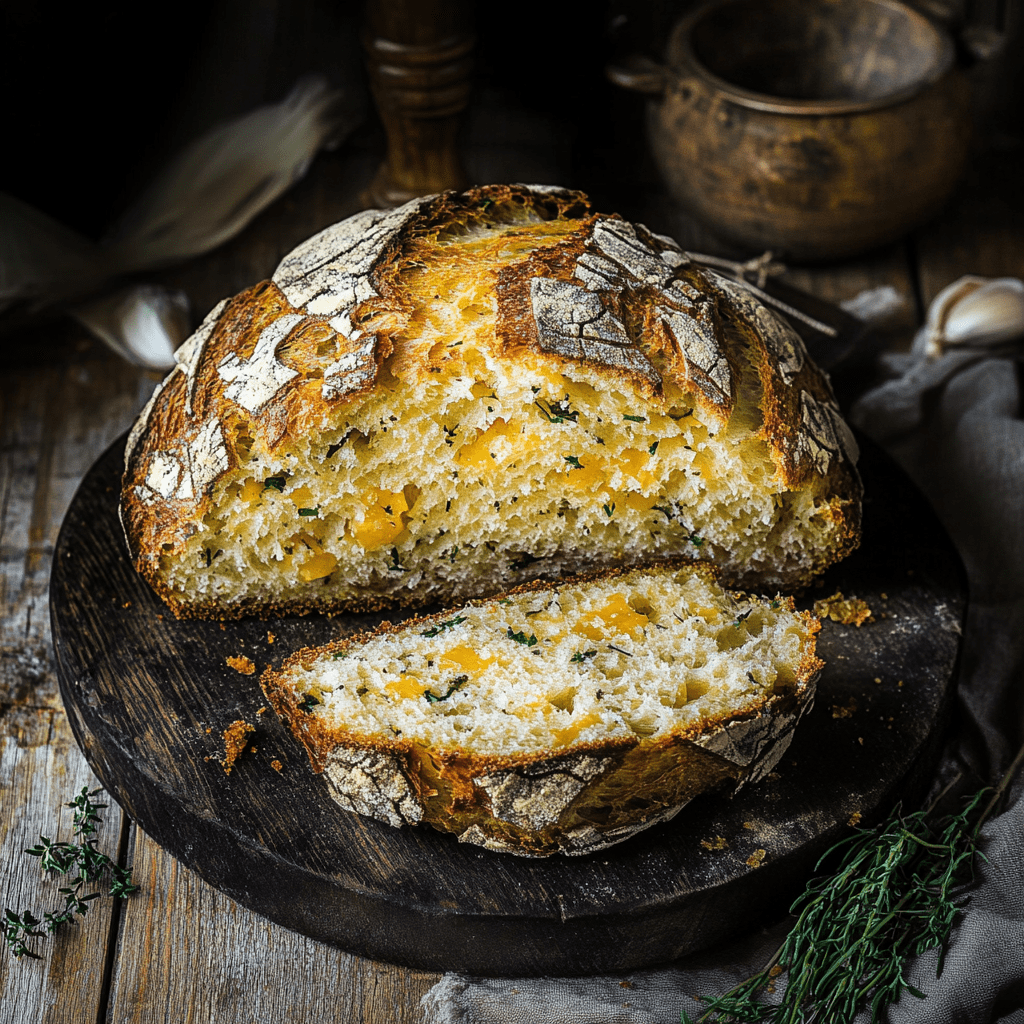
- Cheesy Herb Bunnies: Add ½ cup of finely grated Parmesan or cheddar and 2 tbsp of chopped fresh herbs (chives, dill, rosemary) to the dough with the flour. Savory, fluffy, and irresistible.
- Cinnamon Sugar Bunnies: Before shaping, roll each dough rope in a mixture of cinnamon and sugar. Shape and bake as usual. After baking, brush with a simple glaze (powdered sugar + milk) for a sweet treat.
- Whole Wheat & Honey Bunnies: Substitute 1 ½ cups of the all-purpose flour with whole wheat flour and replace the white sugar with honey. You’ll get heartier, wholesome bunnies with a lovely depth of flavor.
- Everything Bagel Bunnies: After the egg wash, sprinkle the shaped bunnies generously with everything bagel seasoning before baking. A fantastic savory option for an Easter brunch charcuterie board.
- Mini Bunnie Divide the dough into 24 pieces for bite-sized bunnies—perfect for kids’ parties or appetizer plates!
Emily’s Kitchen Notes & Stories
This recipe has evolved from my grandma’s simple knots to these more defined bunnies. I added the egg for richness and perfected the shaping technique after a hilariously failed batch where my bunnies all rose into one giant, blob-like “Bunny Island.” Lesson learned: give them space!
The dough is wonderfully forgiving. If your first bunny looks more like an abstract amoeba, just re-roll it and try again. The dough won’t mind. Some of my favorite bunnies have been the slightly misshapen ones—they have the most character.
I often double the batch and freeze the baked, cooled bunnies. Just warm them in a 300°F oven for 10 minutes, and they taste freshly baked. Having a basket of these in the freezer for spring guests is my secret hostess hack.
Your Bunny Questions, Answered!
Q: My dough didn’t double in size during the first rise. What happened?
A: Don’t worry! The most common culprits are old yeast or liquid that was too hot (which killed the yeast) or too cold (which put it to sleep). Your kitchen might also be too cool. Try placing the bowl in a warmer spot (like the turned-off oven trick) and give it more time. If after 2 hours nothing has happened, you may need to start over with fresh yeast.
Q: Can I make the dough ahead of time?
A> Absolutely! After the first rise, punch down the dough, place it in a greased bowl, cover tightly, and refrigerate for up to 24 hours. When ready, let it sit at room temp for 30 minutes, then shape, do the second rise, and bake. The slow, cold rise actually develops fantastic flavor!
Q: My bunnies spread out too much in the oven and lost their shape.
A: This usually means the dough was a touch too wet or needed just a bit more flour during kneading. Also, ensure your second rise isn’t too long—20-30 minutes is plenty. They should be puffy but not overly bloated before baking.
Q: What’s the best way to store leftovers?
A> Store completely cooled bunnies in an airtight container or bag at room temperature for 2-3 days. To revive them, wrap in foil and warm in a 350°F oven for 5-7 minutes. For longer storage, freeze them as mentioned above.
Nutritional Information (A General Guide)
Please note: The following is an estimated nutritional breakdown per bunny roll, calculated using standard ingredients. Values can vary based on specific brands and measurements.
- Calories: ~170 kcal
- Carbohydrates: ~28 g
- Protein: ~5 g
- Fat:~4 g
- Saturated Fat: ~2 g
- Fiber: ~1 g
- Sugar: ~5 g
-
Sodium: ~160 mg
For a lighter option, you can reduce the sugar slightly or brush with milk instead of a full egg wash. For a richer version, serve with honey butter and embrace the holiday indulgence. These are meant to be joyful, fluffy, and shared.
Final Thoughts from My Flour-Dusted Heart
And there you have it—your very own tray of soft, golden Easter Bunny Bread Rolls.
What I love most about these isn’t just their fluffy texture or that gorgeous golden shine. It’s the way they make people smile. There’s something magical about placing a basket of warm bunny rolls on the table and watching everyone light up before they even take a bite.
They turn an ordinary meal into a memory.
They make kids giggle.
They make grandparents nostalgic.
They make you feel like you created something special from simple ingredients.
That’s the beauty of bread. It’s humble, but it holds so much heart.
So whether your bunnies stand tall with perfect ears or lean a little to one side with “extra personality,” they are perfect. Because you made them. And that’s what makes them unforgettable.
Now go set the table, warm up that butter, and let the Easter magic begin.
Happy baking, my friend.