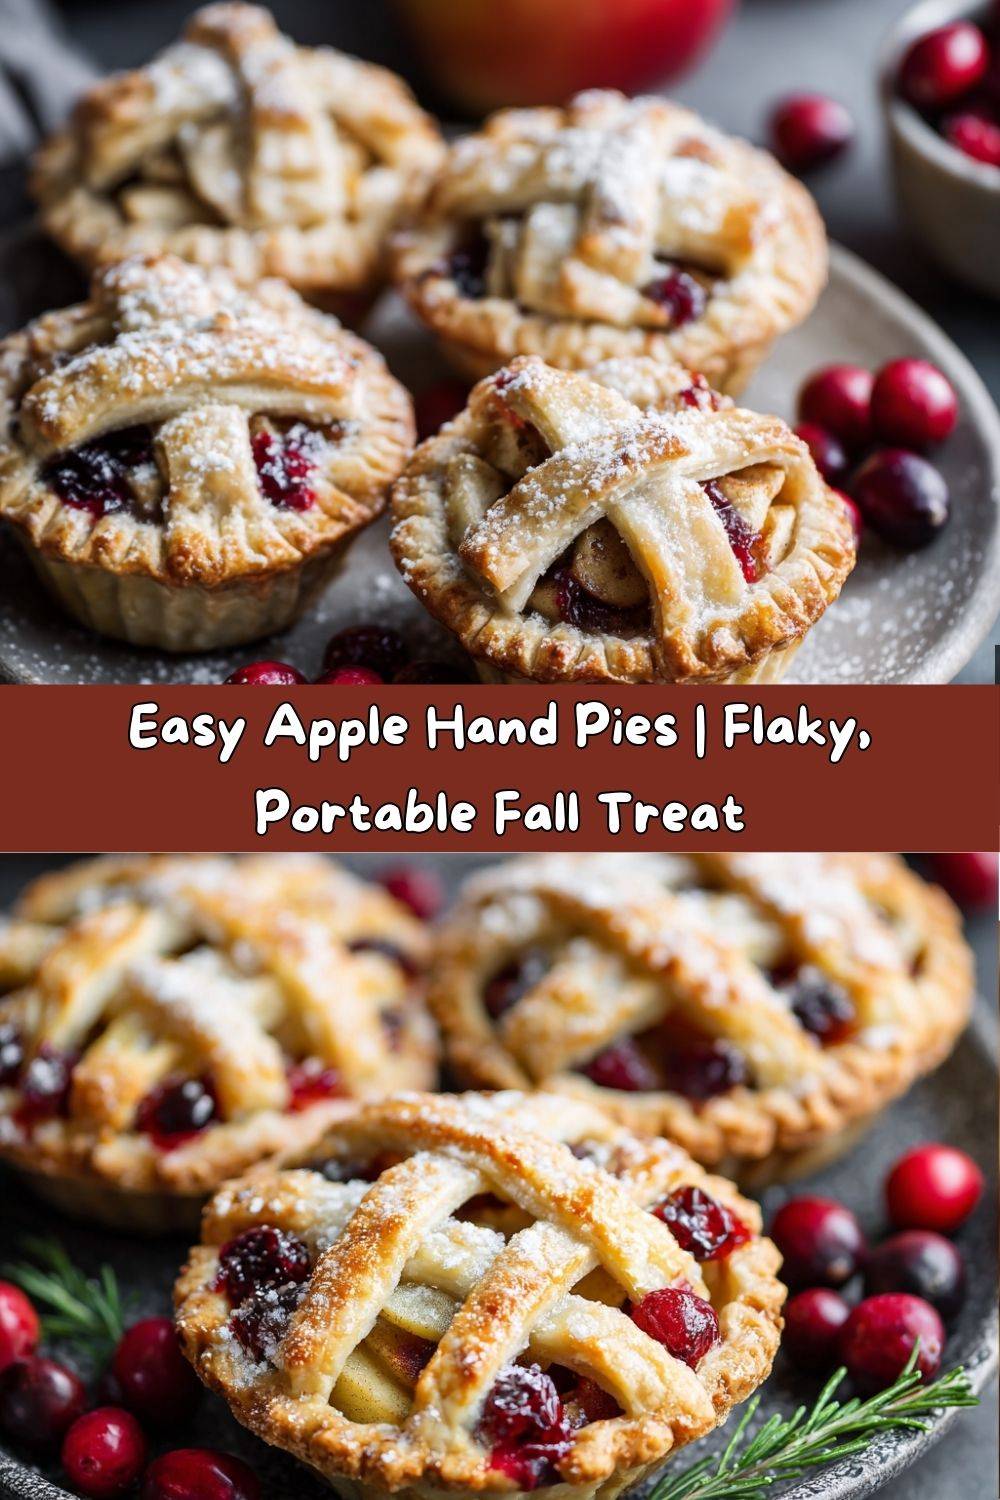
Apple Hand Pies 🍏🥧: Your New Favorite Portable Fall Treat
Is there anything quite like the smell of warm apples and cinnamon wafting through your kitchen? It’s the scent of crisp autumn air, cozy sweaters, and happy memories just waiting to be made. And if you’re anything like me, you’re always on the hunt for a dessert that’s equal parts comforting, delicious, and maybe just a little bit adorable. Well, my fellow food lover, let me introduce you to your new obsession: Homemade Apple Hand Pies.
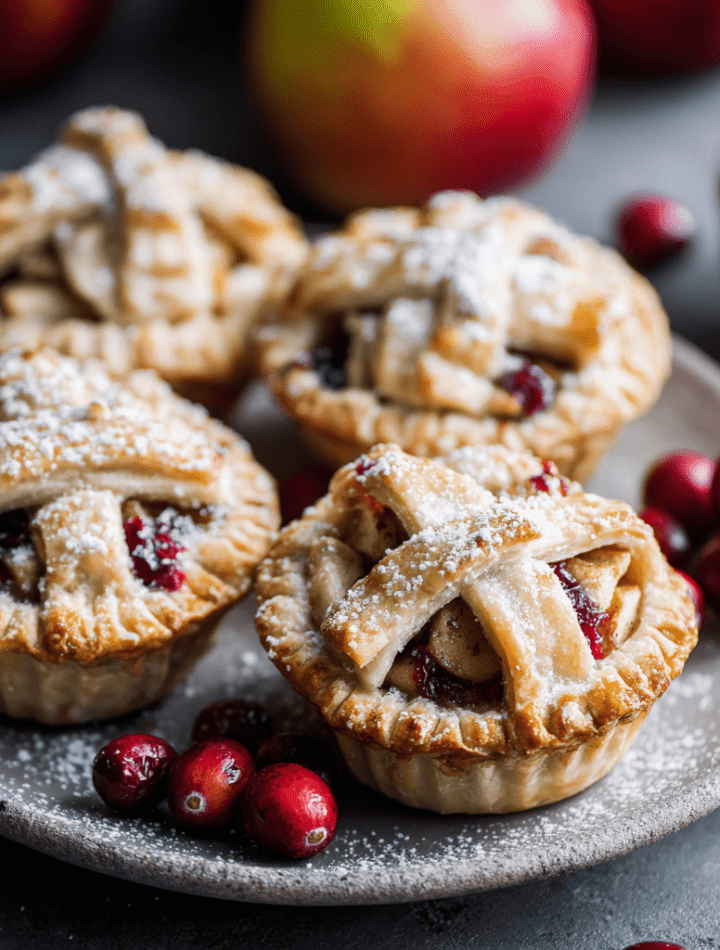
Imagine this: incredibly flaky, buttery pastry that shatters with every bite, giving way to a warmly spiced, tender apple filling that’s just sweet enough. These aren’t just mini pies; they’re personal-sized parcels of joy. They’re perfect for stuffing into lunch boxes, sharing at bake sales, or sneaking out of the kitchen with a hot cup of coffee for a moment of pure, uninterrupted bliss. The best part? They’re surprisingly simple to make. No fancy pie lattice skills required here—just straightforward, fun, and utterly rewarding baking. So, tie on your favorite apron (the one with the stains that tell a thousand kitchen stories), and let’s make something magical together.
A Pie in the Hand is Worth Two in the Bakery
This recipe takes me right back to my grandma’s kitchen. She was a wizard with flour and butter, and she believed the best lessons happened right there at the counter, with your hands in the dough. I couldn’t have been more than seven years old, standing on a wobbly wooden stool, watching her transform simple ingredients into golden, flaky miracles. She’d let me press the fork into the edges of the dough to seal our little apple pockets, my small hands working carefully next to her wise, experienced ones. She’d always say, “Emily, food made with love tastes better.” And she was right. The pies were delicious, of course, but it was the act of creating them *together*—the laughter, the flour fights, the shared anticipation as we peered through the oven door—that made them truly unforgettable. These hand pies are my tribute to her. They’re my way of sharing that same feeling of warmth, connection, and homemade happiness with you.
Gathering Your Pie-Making Posse (The Ingredients!)
One of the things I absolutely adore about this recipe is its beautiful simplicity. You likely have most of these ingredients already hanging out in your pantry, just waiting for their moment to shine. Let’s break it down.
For the Spiced Apple Filling:
- 3 medium apples (Granny Smith or Honeycrisp), peeled & diced: Granny Smith are my go-to for their tartness that balances the sweetness, but Honeycrisp bring a wonderful honeyed flavor. Chef’s Insight: Using a mix of both gives you the ultimate flavor and texture combo!
- ⅓ cup brown sugar: This adds a deep, molasses-like sweetness that white sugar just can’t match. It’s a one-way ticket to flavor town.
- 1 tbsp lemon juice: A little bright acidity to keep the apples from tasting flat and to prevent them from browning. Fresh is best!
- 1 tsp cinnamon: The quintessential cozy spice. It’s non-negotiable for classic apple pie vibes.
- ¼ tsp nutmeg: Cinnamon’s best friend. It adds a warm, nutty depth that makes the filling taste complex and wonderful.
- 1 tbsp flour: Our trusty thickener! This soaks up the juices from the apples as they cook, preventing a soggy bottom crust. Cornstarch works too—use ½ tbsp if you’re making that swap.
For the Assembly & Bake:
- 2 pie crusts (homemade or store-bought): Let’s be real, sometimes a store-bought crust is a lifesaver and they work beautifully here! But if you’re feeling ambitious, my foolproof pie crust recipe is always an option. No judgment in this kitchen!
- 1 egg + 1 tbsp water (egg wash): This is the secret to that gorgeous, professional-looking golden brown shine on the crust.
- 1 tbsp coarse sugar (for sprinkling): This isn’t just pretty; it adds a delightful crunch with every bite. Sugar in the raw or turbinado sugar is perfect.
Let’s Get Our Hands Pie-y! (Step-by-Step Instructions)
Ready to create some magic? Follow these steps and you’ll be a hand pie hero in no time. I’ve packed this section with all my favorite chef hacks to ensure your success.
- Prep Your Station: Preheat your oven to 400°F (200°C). This is crucial for a hot start, which gives us that flaky lift. Line a baking sheet with parchment paper. Chef’s Hack: Lightly grease the parchment too! It guarantees zero sticking, even if a little filling sneaks out.
- Create the Filling: In a medium saucepan over medium heat, combine your diced apples, brown sugar, lemon juice, cinnamon, nutmeg, and flour. Stir it all together until the apples are evenly coated. Cook for 5-7 minutes, stirring occasionally, until the apples have softened slightly but still have a bit of a bite. They’ll continue to cook in the oven! Chef’s Tip: Don’t skip cooling this filling! A hot filling will melt your butter-based dough and make it impossible to work with. Spread it on a plate and pop it in the fridge for 10-15 minutes to speed up the process.
- Roll and Cut: On a lightly floured surface, roll out your pie dough to about ⅛-inch thickness. Use a 4-5 inch round cutter (a bowl or even a large mug works in a pinch!) to cut out as many circles as you can. Re-roll the scraps to get more pies. You should get 4-5 circles per crust. Chef’s Hack: If the dough gets too warm and sticky, just pop it back in the fridge for a few minutes. Cold dough is your best friend for flaky layers.
- Fill ‘Em Up: Place your cooled circles on the prepared baking sheet. Spoon about 1 ½ to 2 tablespoons of the cooled apple filling onto one half of each circle, leaving a ½-inch border around the edge. Chef’s Tip: Less is more! Overfilling is the number one cause of leaky pies. Trust me, I’ve been there!
- Seal the Deal: Fold the empty half of the dough over the filling to create a perfect half-moon shape. Now, use a fork to press down firmly on the edges to crimp and seal them shut. This double-seals the pie and gives it that cute, classic look. Don’t be shy—press hard! Use a sharp knife to cut 2-3 small slits in the top of each pie. This lets steam escape so your pies don’t burst open dramatically in the oven.
- Bake to Golden Perfection: In a small bowl, whisk your egg with 1 tbsp of water to make an egg wash. Lightly brush the top of each hand pie with the wash—this is what gives them that beautiful golden color. Generously sprinkle with coarse sugar. Bake for 18-22 minutes, or until the crust is a deep, glorious golden brown and you can see the filling bubbling happily through the slits.
How to Serve These Golden Beauties
The beauty of a hand pie is its portability—you can just grab one and go! But if you want to turn this simple treat into a show-stopping dessert, I’ve got you covered.
For the ultimate cozy experience, serve these hand pies warm. The contrast between the hot, spiced filling and the flaky, buttery crust is pure heaven. Place a pie on a simple white plate, maybe with a little dusting of powdered sugar for a snowy effect. Then, take it to the next level. A generous drizzle of warm caramel sauce over the top is a game-changer. The salty-sweet combo is incredible. Or, go all out and add a scoop of vanilla bean ice cream on the side. The ice cream will slowly melt into the pie’s steam vents, creating little rivers of creamy goodness. For a breakfast or brunch twist, pair one with a hot mug of spiced chai or strong coffee. It’s a hug in food form.
Make It Your Own! (Recipe Variations)
Once you’ve mastered the classic, the world of hand pies is your oyster! Here are a few of my favorite twists to keep things exciting.
- The “Apple Pie a la Mode” Pie: Add ½ cup of finely chopped pecans or walnuts to the filling for a wonderful crunch and toasty flavor.
- Caramel Apple Delight: After baking, while the pies are still warm, drizzle them with a simple powdered sugar glaze (just milk and powdered sugar) or, even better, with store-bought caramel sauce. It’s decadent and divine.
- Raisin or Cranberry Twist: Stir in ¼ cup of raisins or dried cranberries into the apple filling for little bursts of chewy sweetness.
- Spice Explorer: Add ½ teaspoon of cardamom or a pinch of cloves to the filling along with the cinnamon and nutmeg. It adds a wonderfully warm and complex aroma.
- Savory-Sweet Option: Add a very light pinch of black pepper to the filling. It sounds wild, but it makes the cinnamon and apple flavors pop in the most amazing way!
Chef Emily’s Notebook Scribbles
This recipe has evolved so much since those first ones I made with my grandma. Back then, we used whatever apples we had and sealed the edges with a little water—which sometimes led to volcanic apple eruptions in the oven! I’ve learned that the egg wash is non-negotiable for both color and seal, and that taking the time to cool the filling is the difference between a good hand pie and a great one. My favorite kitchen memory with this recipe? The time I decided to make a triple batch for a neighborhood potluck and my dog, Biscuit, somehow managed to gently pull one off the cooling rack without disturbing a single other pie. He left a tiny, crumb-covered nose print on the counter as evidence. We had to call him “The Pie Bandit” for weeks. The lesson? Always guard your baked goods with your life—they’re that good.
Apple Hand Pie FAQs (Because We’ve All Been There!)
Q: My filling leaked out everywhere! What did I do wrong?
A: Ah, the classic leaky pie! This usually happens for one of three reasons: 1) The filling was too hot when you assembled the pies, melting the butter in the crust. 2) You overfilled them (it’s so tempting, I know!). 3) The edges weren’t sealed tightly enough. Next time, ensure your filling is cool, use a moderate amount, and really press that fork down hard to crimp.
Q: Can I make these ahead of time?
A: Absolutely! You can assemble the hand pies, place them on the baking sheet, and freeze them solid before baking. Once frozen, transfer them to a zip-top bag. When you’re ready, bake them straight from the freezer—just add 3-5 extra minutes to the baking time. You can also bake them a day ahead and gently reheat them in a 300°F oven for 10 minutes to crisp them back up.
Q: My crust isn’t flaky. It’s kind of… tough.
A: This is almost always due to overworking the dough. When you re-roll the scraps, handle them as little as possible. The more you work the dough, the more the gluten develops, which leads to a tougher crust. Also, make sure your ingredients (especially butter/water for homemade crust) are cold!
Q: Can I use other fruits?
A> Please do! This method works wonderfully with peaches, cherries (just be sure to pit them!), or blueberries. Just adjust the sugar based on the sweetness of your fruit and remember to add a thickener like flour or cornstarch.

Apple Hand Pies
- Total Time: 40 minutes
- Yield: 8 - 10 hand pies 1x
Description
Flaky golden pastry filled with warm, spiced apple filling—these hand pies are portable, comforting, and perfect for fall snacking, bake sales, or holiday dessert tables!
Ingredients
Filling:
3 medium apples (Granny Smith or Honeycrisp), peeled & diced
⅓ cup brown sugar
1 tbsp lemon juice
1 tsp cinnamon
¼ tsp nutmeg
1 tbsp flour (to thicken)
Dough:
2 pie crusts (homemade or store-bought)
1 egg + 1 tbsp water (egg wash)
1 tbsp coarse sugar (for sprinkling)
Optional twists:
Add ½ tsp cardamom for extra spice
Drizzle with caramel or glaze after baking
Mix in raisins or chopped pecans with the filling
Instructions
Make filling: In a saucepan, cook apples with sugar, lemon, spices, and flour for 5–7 mins until tender. Cool.
Assemble pies: Roll out dough, cut into circles (4–5 inches). Spoon filling onto half of each circle, leaving edges clear.
Seal: Fold dough over, press edges with fork to seal. Cut small slits on top for steam.
Bake: Place on parchment-lined tray, brush with egg wash, sprinkle sugar. Bake at 400°F (200°C) for 18–22 mins, until golden.
Serve: Best warm, with caramel drizzle or ice cream.
- Prep Time: 20 minutes
- Cook Time: 20 minutes
Nutrition
- Calories: 220 Per pie
- Fat: 11g Per pie
- Carbohydrates: 30g Per pie
- Protein: 2g Per pie
Nutritional Information (For My Health-Conscious Friends!)
While these are definitely a treat, it’s always good to know what you’re enjoying! This nutritional estimate is for one hand pie, based on a yield of 8 pies and using store-bought crust. Remember, your specific ingredients can cause variations.
Per Pie (Approximate): ~220 calories | 11g fat | 30g carbs | 2g protein
These pies get most of their calories from carbohydrates (the crust and filling) and fats (the butter in the crust). The apples provide a bit of dietary fiber and vitamin C. To make a slightly lighter version, you can use a whole-wheat pie crust, reduce the sugar in the filling by a tablespoon, or skip the egg wash and sugar topping. But sometimes, your soul needs the full, buttery, sugary experience—and that’s perfectly okay! It’s all about balance.
Your Kitchen Adventure Awaits
And there you have it! Everything you need to create these incredible, heartwarming apple hand pies. This recipe is more than just a list of ingredients and steps; it’s an invitation to create a moment of joy. Whether you’re baking solo with a podcast on in the background or you’ve got a little helper perched on the counter beside you, I hope you feel the same sense of accomplishment and comfort that I do every time I pull a batch of these golden beauties out of the oven.
I’d love to hear about your pie-making journey! Did you add pecans? Drench it in caramel? Tag me on social @TastyChow with your creations and use the hashtag #TastyChowHandPies. You’re not just making a snack; you’re making memories. Now go forth and bake! And remember, in the words of my grandma, food made with love always tastes better.
With a full heart and a flour-dusted apron,
Emily