The Magic of a Perfect Crepe: Your Kitchen, Your Parisian Cafe
Hey there, fellow food lover! 👋 Tell me, have you ever had one of those mornings where you just want breakfast to feel… special? Not fussy or complicated, but just a little bit magical? A moment where your kitchen smells like a cozy Parisian cafe, and the only decision is whether to go for sweet berries or melted chocolate? That, my friends, is the quiet power of the humble crepe.
Forget any intimidation you might have about making these lacy, golden wonders. I’m here to tell you, with my most flour-dusted apron on, that perfect crepes are not a secret reserved for French chefs. They’re a simple, joyful canvas waiting for your creativity. They’re the ultimate “fancy-feeling but totally doable” treat that can turn a Tuesday into a celebration or become your star brunch showstopper.
Today, I’m sharing my go-to, never-fail French-style crepe recipe. This is the one I’ve made a thousand times—for sleepy-eyed kids on Saturday mornings, for impromptu dessert parties with friends, and yes, for myself when I just need a delicious reward. It’s light, buttery, and incredibly versatile. Whether you dream of a classic lemon-sugar situation, a Nutella river, or a savory ham and cheese fold-over, this batter is your golden ticket. So, let’s grab our whisks and make some magic happen. I promise, once you master this simple technique, you’ll be whipping up crepes like a pro, filling your home with the kind of delicious aroma that makes everyone ask, “Is it ready yet?”
My First Crepe Catastrophe (And The Lesson That Stuck)
My love affair with crepes started not in France, but with a hilarious kitchen fail. Picture this: a much younger Emily, fresh from culinary school, determined to impress her family with a “simple” French breakfast. I had the technique in my head—the swirl, the flip, the finesse. What I had was a batter that was too thick, a pan that was too hot, and the confidence of a chef who hadn’t yet learned the power of patience.
The first one wasn’t a crepe. It was a thick, doughy pancake with a slightly burnt bottom. The second one… well, let’s just say it welded itself to the pan in a way that required serious scraping. My dad, ever the optimist, cheerfully called them “rustic French-style pancakes” and drenched them in syrup. But I was determined. I remembered my instructor’s voice: “The batter should be the consistency of thin cream. And let it REST, Emily!”
I started over. I thinned the batter, I let it sit for a blissful 20 minutes while I cleaned up my first mess, and I gently heated my pan. That next crepe? It was a revelation. It swirled like a dream, lifted at the edges with a delicate lace pattern, and flipped with a satisfying *whoosh*. It was paper-thin, buttery, and perfect. That day taught me that great cooking isn’t about force; it’s about feel, rest, and a little bit of graceful surrender to the process. And that’s the spirit I bring to this recipe for you.
Your Crepe Toolbox: Simple Ingredients, Big Flavor
One of the best things about crepes? You probably have everything you need already. Let’s break down this simple cast of characters and why each one matters.
- 3 large eggs: Our structure squad! Eggs provide richness and help bind the batter, giving the crepes that lovely, pliable strength. Chef’s Insight: Having them at room temperature helps them incorporate more smoothly into the batter.
- 500 ml (about 2 cups + 2 tbsp) milk: Whole milk is my go-to for the richest flavor and tender texture. This is the liquid base that makes our batter pourable. Substitution Tip: Any milk works here! 2% is fine, or for a dairy-free version, unsweetened almond or oat milk are fantastic.
- 250 grams (about 2 cups) all-purpose flour: The foundation. We’re not aiming for a heavy bread here, so all-purpose gives us the perfect balance of structure and lightness. Chef’s Insight: For ultra-tender crepes, you can swap 60g (about ½ cup) of the AP flour for pastry flour.
- 100 grams (about 7 tbsp) melted butter, plus more for the pan: This is the key to flavor and that beautiful, golden speckled surface. The melted butter in the batter also helps prevent sticking. Substitution Tip: A neutral oil like avocado or vegetable oil can work in a pinch, but you’ll miss that classic buttery taste.
- 1 packet vanilla sugar OR 1 tsp vanilla extract + 1 tbsp granulated sugar (optional): This is your sweet secret weapon if you’re leaning toward dessert crepes. Vanilla sugar adds a subtle, aromatic sweetness. Chef’s Insight: Omit this entirely if you’re planning savory fillings! For savory, I sometimes add a tiny pinch of salt to the batter instead.
- A tiny pinch of salt: Even in sweet batters, a pinch of salt makes all the flavors pop. Trust me on this!
Let’s Get Swirling: Your Foolproof Crepe Method
Ready? Put on some fun music, clear your counter, and let’s dance through these steps. It’s easier than you think!
- Make the Batter (The “No-Lump” Promise): In a large bowl, whisk your eggs and milk together until they’re completely best friends and smoothly combined. Now, here’s the key hack: sift your flour directly into the bowl as you whisk. Adding the flour gradually while whisking constantly is the absolute best way to avoid any pesky lumps. Once the flour is incorporated, whisk in the melted butter and vanilla sugar (if using) until the batter is silky and smooth. It should be the consistency of heavy cream. Chef’s Tip: Don’t over-whisk! Once it’s smooth, stop. We’re not building gluten like bread dough.
- The Non-Negotiable Rest: Cover the bowl with a kitchen towel and let it rest on the counter for 15-30 minutes. I know, waiting is hard! But this is the magic step. It allows the flour to fully hydrate and any tiny air bubbles to settle, which means your crepes will be tender, not rubbery, and won’t tear easily. Use this time to prep your fillings or clean up!
- Pan Prep is Everything: Heat a good non-stick skillet or crepe pan over medium heat. I test it by flicking a few drops of water onto the surface—if they sizzle and dance, you’re good. Using a pastry brush or a folded paper towel, lightly coat the pan with a tiny bit of butter or oil. You should just see a faint sheen. Chef’s Hack: For the first crepe, be generous with this initial butter—it’s like seasoning the pan.
- The Swirl & Cook: Lift the pan off the heat. Pour about ¼ cup of batter into the center (a ladle is perfect for this). Immediately, tilt and swirl the pan in a circular motion so the batter coats the entire bottom in a thin, even layer. Return the pan to the heat. Cook for 1-2 minutes. You’ll know it’s ready to flip when the edges look dry and lacy, and the top surface appears set (no longer wet and glossy).
- The Big Flip: This is the fun part! Slide a thin, flexible spatula (an offset icing spatula is my secret weapon) under the edge to loosen it. Then, with confidence, get under the crepe and flip it! You can also do the classic pan-toss if you’re feeling brave—just make sure the crepe is loose first. Cook the second side for just 30-60 seconds, until it has a few golden spots.
- Stack & Keep Warm: Slide the finished crepe onto a plate. I like to place a sheet of parchment paper or a clean kitchen towel between each one as I stack them to prevent sticking. To keep the whole batch warm, loosely tent the stack with foil or place it in a low oven (200°F/95°C). Repeat with the remaining batter, re-greasing the pan only if things start to look dry or sticky.
From Plate to Palate: How to Serve Your Crepe Masterpieces
Here’s where your personality shines! I love serving crepes family-style: a big, beautiful stack in the middle of the table surrounded by little bowls of fillings and toppings. It’s interactive, fun, and lets everyone build their dream crepe.
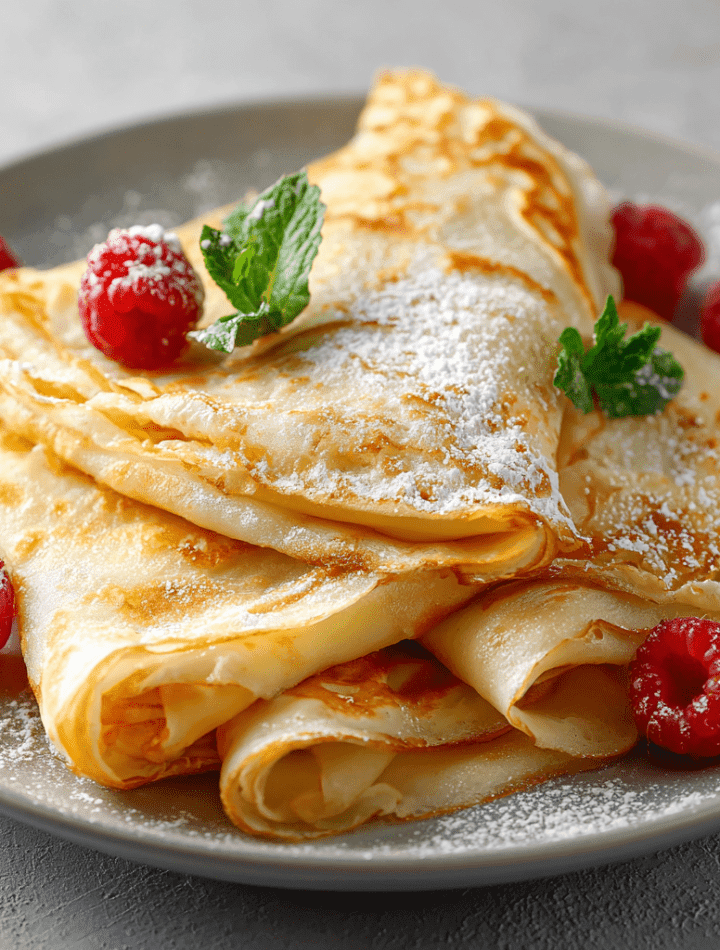
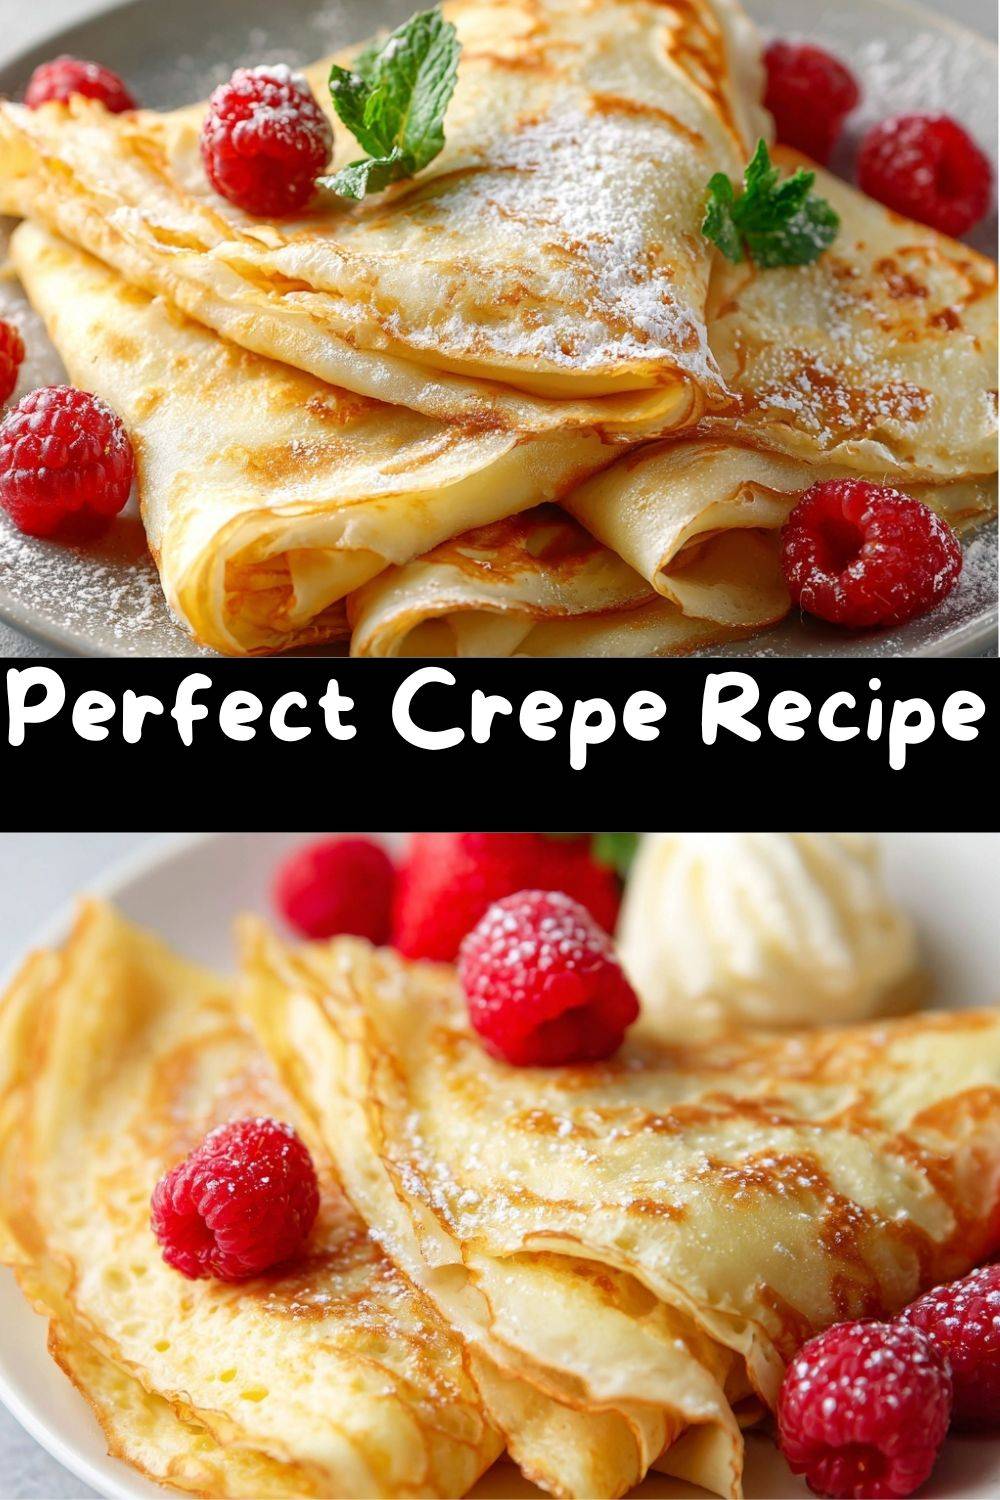
For Sweet Crepes: Fold them into quarters (like a handkerchief) or roll them up like a cigar. Dust generously with powdered sugar (a must!). Then, go wild: a squeeze of fresh lemon juice, a drizzle of warm Nutella or chocolate ganache, a smear of jam, a handful of fresh berries and a dollop of whipped cream, or a scoop of vanilla ice cream for the ultimate dessert.
For Savory Crepes (often called galettes): I lay them flat, fill one half with my savory goodies, then fold it over once to make a half-moon, or twice to make a triangle. Think: grated Gruyère and ham, sautéed mushrooms and spinach with a creamy béchamel, scrambled eggs and chives, or smoked salmon and herbed cream cheese. A final crack of black pepper on top makes it chef’s-kiss perfect.
Make It Your Own: Delicious Twists on the Classic
Once you’ve mastered the basic, the world is your crepe! Here are a few of my favorite ways to mix it up.
- The Citrus Zest Zinger: Add the finely grated zest of one lemon or orange to the batter. It adds the brightest, sunshiniest flavor that pairs perfectly with berries or a simple sugar filling.
- Chocolate Dream: Whisk 2 tablespoons of unsweetened cocoa powder and an extra tablespoon of sugar into the flour before adding it to the wet ingredients. Hello, chocolate crepes! Fill with raspberry compote and whipped cream.
- Gluten-Free & Light: Substitute the all-purpose flour with a 1:1 gluten-free baking blend. The texture might be slightly more delicate, but it works beautifully. Let the batter rest a full 30 minutes for best results.
- Herb-Infused Savory: Stir 2 tablespoons of finely chopped fresh herbs (chives, parsley, tarragon) into the batter. Omit the vanilla sugar. Perfect for elegant brunch crepes filled with crab salad or herbed goat cheese.
- Brown Butter Bliss: Take your melted butter one step further: cook it in a saucepan until it turns a nutty golden brown and smells amazing. Let it cool slightly before adding to the batter. This adds an incredible depth of flavor.
Emily’s Kitchen Notebook
This recipe has been my steadfast companion for years, evolving from that first lumpy batch to the reliable favorite it is today. The biggest change? I stopped being afraid of a thin batter. The thinner, the better for that authentic, delicate texture. I also learned that the first crepe is almost always a “test” crepe—it helps the pan find its temperature and soaks up any excess butter. Don’t be discouraged if it’s not perfect; it’s the cook’s treat (I usually eat it straight from the pan, standing over the stove).
My favorite memory with this recipe? A “Crepe Bar” birthday party for my niece. We had sweet and savory batters, and a table overflowing with toppings. Watching the kids (and adults!) get creative, laughing and building their creations, was a true reminder that food is about joy and connection. These crepes aren’t just a meal; they’re a vehicle for fun.
Your Crepe Questions, Answered!
Q: My batter has lumps! What do I do?
A: Don’t panic! The easiest fix is to simply pour the finished batter through a fine-mesh sieve into another bowl. It will catch any stubborn lumps and give you the silkiest texture imaginable.
Q: Why do my crepes keep tearing when I try to flip them?
A: This usually means one of three things: 1) The batter is too thick (add a tablespoon or two more milk), 2) You’re flipping too early (wait until the top looks fully set and the edges are dry), or 3) You didn’t let the batter rest (that rest period is crucial for strength!).
Q: Can I make the batter ahead of time?
A: Absolutely! In fact, I often do. Cover the bowl tightly and refrigerate it for up to 24 hours. This actually improves the texture! Just give it a gentle whisk before using, as it may have separated slightly.
Q: What’s the best way to store and reheat leftover crepes?
A: Stack them with parchment between, seal in a zip-top bag or airtight container, and refrigerate for up to 3 days or freeze for a month. To reheat, simply warm them in a dry skillet over low heat for 20-30 seconds per side, or microwave a stack for 15-20 seconds.
Nutritional Information (A Quick Note!)
As a chef, I believe in balance and enjoying real food. Here’s a general breakdown per crepe (based on a yield of 12, without fillings). Remember, the beauty of crepes is that you control the toppings, so they can be as indulgent or as light as you like!
- Calories: ~140
- Fat: 7g (Saturated: 4g)
- Carbohydrates: 14g
- Protein: 4g
Prep Time: 10 minutes
Rest Time: 20 minutes (optional but recommended)
Cook Time: ~20 minutes
Total Time: ~50 minutes
Yield: About 10–12 crepes
Final Thoughts: A Little Paris, Anytime You Want It
And there you have it, my friend—the quiet, beautiful magic of a perfect crepe. This isn’t just a recipe; it’s an invitation. An invitation to slow down for a moment, to swirl a pan with intention, and to turn simple pantry staples into something that feels special and soulful.
Crepes remind us that food doesn’t have to be complicated to be meaningful. Sometimes all it takes is a warm skillet, a thin batter, and a little patience. Whether you’re making a quick weekday breakfast, hosting a dreamy brunch, or ending the day with a dessert that feels like a love letter to yourself, these crepes rise to the occasion every time.
So don’t chase perfection—chase joy. Let the first crepe be the cook’s snack. Let the fillings be playful. Let your kitchen feel like a café, even if just for a few minutes. That’s where the real magic lives.
From my flour-dusted counter to yours,
Emily