Espresso Shot Protein Balls: Your Coffee Break, In Bite-Sized Form
Hey there, fellow food lover! Emily here, from my perpetually flour-dusted kitchen to yours. Let’s be real for a second: how many of us have stared into the abyss of the 3 PM slump, willing a second wind to magically appear? You reach for another cup of coffee, but your hands are already jittery. You eye the sugary snack in the break room, but you know the crash that follows isn’t worth it. What if I told you there’s a third option? A delicious, energizing, feel-good option that combines your coffee ritual with a satisfying, protein-packed treat?
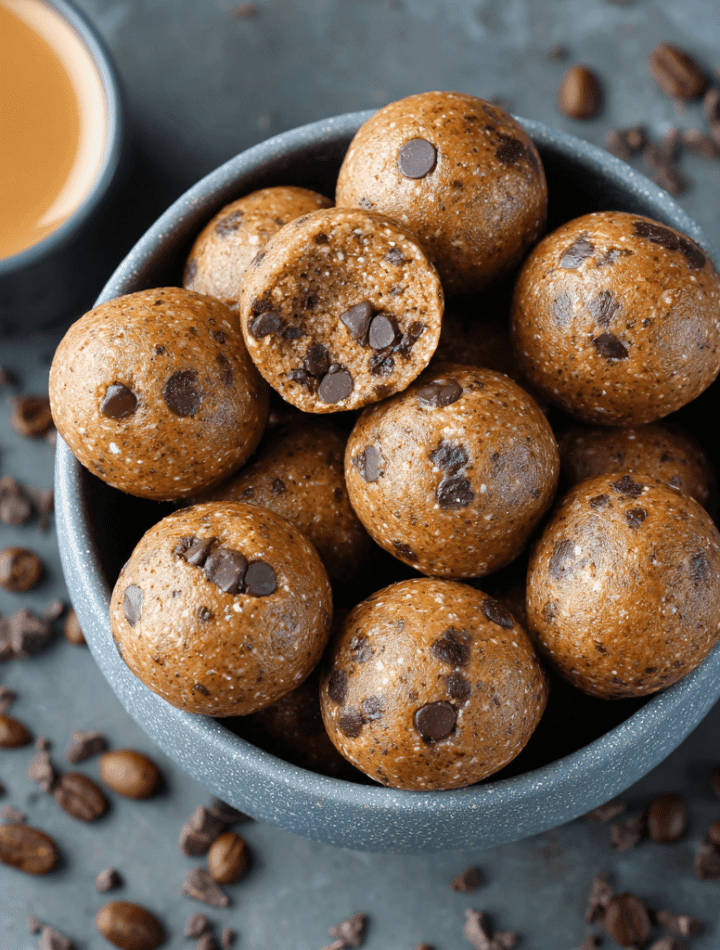
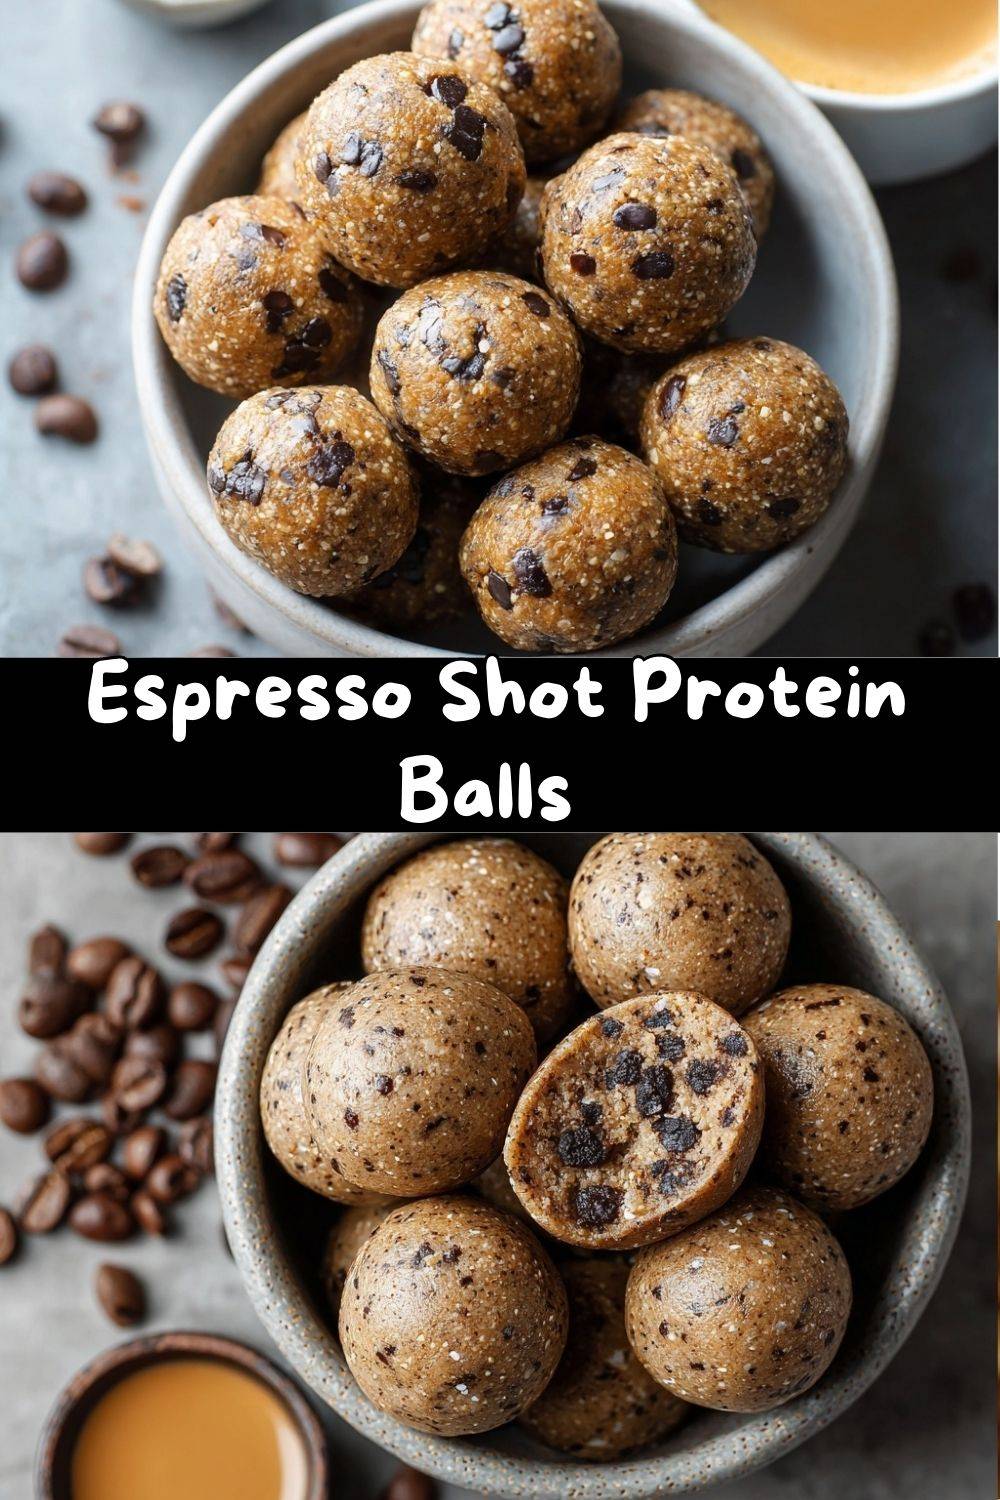
Say a cheerful hello to your new secret weapon: Espresso Shot Protein Balls. These are not your average energy bite. We’re talking rich, mocha-flavored bliss, a hint of sea salt, and a genuine kick of real espresso that feels like a cozy coffee shop hug. They’re no-bake, meaning you can whip them up in about ten minutes flat, and they’re packed with ingredients that will actually fuel your body and your brain. Think of them as your favorite latte and your afternoon snack, having a delicious love child. So, grab your favorite mixing bowl (and maybe your actual coffee mug), and let’s make something that will revolutionize your snack drawer. Your future energized, happy self says thanks in advance.
The Aroma of Motivation: A Kitchen Memory
This recipe always takes me back to my first apartment after culinary school. My kitchen was the size of a postage stamp, but it was mine. I was juggling two jobs, trying to get Tasty Chow off the ground, and running on fumes (and probably too much drip coffee). One bleary-eyed morning, I accidentally knocked a cup of freshly brewed espresso into a bowl of oats and nut butter I was prepping for breakfast. Disaster? I thought so. But being stubborn (and not wanting to waste good coffee or food), I mashed it all together, rolled it into blobs, and stuck it in the fridge.
Hours later, exhausted after a photo shoot, I tried one. It was a revelation. The deep coffee flavor, the creamy texture, the little boost it gave me—it was exactly what I’d been needing but didn’t know how to make. That happy accident in my tiny kitchen became a staple. It’s a reminder that sometimes the best recipes aren’t meticulously planned; they’re born from a little chaos, a love for flavor, and a desperate need for a better way to caffeinate. Every time I make these, I smile at that memory of my younger, messier, coffee-soaked self figuring it out one bite at a time.
Gathering Your Flavor Fuel: Ingredients & Insights
Here’s what you’ll need to build these powerhouse bites. The beauty lies in the simplicity and flexibility!
- 1 cup rolled oats (old-fashioned): This is our hearty, fibrous base that gives these balls their satisfying chew. They’re a blank canvas for flavor! Chef’s Insight: If you need a gluten-free option, make sure your oats are certified GF. For a smoother texture, you can pulse them in a food processor a few times.
- ½ cup creamy almond butter: It binds everything together with its healthy fats and creamy richness. Substitution Tip: Any nut or seed butter works wonderfully! Peanut butter makes it taste like a mocha PB cup, cashew butter is extra creamy, and sunflower seed butter is a perfect nut-free alternative.
- 1–2 tbsp real brewed espresso (cooled) OR 2 tsp instant espresso powder: The star of the show! This gives you that authentic coffee flavor and caffeine kick. Chef’s Insight: Using cooled, strongly brewed coffee adds a subtle complexity, while instant espresso powder gives a more intense, concentrated coffee punch. I love the powder for its ease and power!
- 2 tbsp honey or maple syrup: Just enough natural sweetness to balance the bitterness of the espresso and cocoa. Substitution Tip: Maple syrup keeps it vegan, while honey offers a lovely floral note. Agave nectar works too!
- ¼ cup mini dark chocolate chips: Because chocolate and coffee are a match made in heaven. The mini chips distribute perfectly in every bite. Chef’s Insight: For a healthier twist, try cacao nibs. They add an amazing crunch and intense chocolate flavor without the added sugar.
- 1 scoop (about ¼ cup) chocolate or vanilla protein powder: This is where the sustained energy comes from, and it helps thicken the mixture. Substitution Tip: Use your favorite brand and flavor! Vanilla creates a more latte-like vibe, while chocolate doubles down on the decadence. For a protein-powder-free version, add an extra ¼ cup of oats.
- 1 tsp pure vanilla extract: The flavor enhancer. It rounds out all the sharp edges and makes the whole thing smell like a bakery.
- A generous pinch of sea salt: Do not skip this! Salt makes the chocolate and coffee flavors pop in the most incredible way. It’s the secret weapon.
Let’s Get Rolling: Step-by-Step with Chef Emily
No oven required! Just one bowl, a spoon, and a little bit of muscle.
- The Dry Team Huddle: In a medium-sized mixing bowl, add your rolled oats, protein powder, and that all-important pinch of sea salt. Give them a good stir with a fork or whisk. This evenly distributes the protein powder so you don’t get any chalky pockets. Chef’s Hack: If your protein powder is particularly lumpy, sift it in!
- Bring in the Wet Crew: To the dry ingredients, plop in the almond butter, honey (or maple syrup), vanilla extract, and your chosen espresso form. Now, roll up your sleeves. Use a sturdy silicone spatula or wooden spoon to start mashing and stirring everything together. It will seem dry at first, but keep going! The friction and pressure will bring it all into a cohesive, slightly sticky dough. Chef’s Commentary: This is your arm workout for the day. If after a full minute of serious mixing it still seems too crumbly, add a teensy bit more almond butter or a teaspoon of water.
- The Chocolate Finale: Once your dough is uniform, fold in the mini dark chocolate chips. Make sure they’re evenly distributed so every ball gets its fair share of chocolatey joy.
- Scoop and Roll: Using a tablespoon measure, a small cookie scoop, or just your hands, portion out the dough. Roll each portion between your palms to form a smooth, 1-inch ball. If the dough sticks to your hands, lightly dampen your palms with water. Chef’s Hack: For perfectly uniform balls (great for tracking nutrition!), a small cookie scoop is my best friend in the kitchen.
- The Chill Pill: Place your gorgeous espresso balls on a plate or baking sheet lined with parchment paper. Pop them in the refrigerator for at least 20-30 minutes to firm up. This step is crucial—it allows the oats to soak up the moisture and lets the flavors really marry. Chef’s Tip: I sometimes can’t wait and eat one straight away… it’s delicious but messier. The patience is worth it for the perfect texture!
- Store and Enjoy! Once set, transfer your Espresso Shot Protein Balls to an airtight container. They’ll keep happily in the fridge for up to 2 weeks, or you can freeze them for up to 3 months for an anytime treat.
Serving Your Caffeinated Creations
How you serve these is half the fun! For your morning routine, pack 2-3 in a small container for a commute-friendly breakfast alongside a piece of fruit. In the afternoon, place a couple on a small plate with a few whole almonds or a drizzle of melted peanut butter for a “snack board” moment. Want to impress guests at a brunch? Stack them in a little tower on a cake stand alongside the coffee carafe—it’s an instant conversation starter. Honestly, my favorite way is straight from the fridge, with one hand while I answer emails with the other. No judgment here!
Make It Your Own: Delicious Twists & Swaps
Once you’ve mastered the basic recipe, the playground is open! Here are a few of my favorite riffs:
- Mocha Coconut Dream: Add 2 tablespoons of unsweetened shredded coconut to the dry ingredients and roll the finished balls in more coconut. It’s tropical and delicious!
- Cookie Dough Delight: Use vanilla protein powder and swap the chocolate chips for white chocolate chips. It tastes like snickerdoodle coffee cookie dough!
- Spiced Chai Latte Balls: Replace the vanilla extract with almond extract. Add ½ teaspoon of cinnamon and a pinch each of ginger and cardamom to the dry mix. It’s warm, cozy, and utterly addictive.
- Double Chocolate Decadence: Use chocolate protein powder and add 1 tablespoon of unsweetened cocoa powder to the dry ingredients. For true chocoholics, after chilling, dip half of each ball in melted dark chocolate.
- Nut-Free & Vegan: Use sunflower seed butter, maple syrup, and a vegan protein powder. It’s just as delicious and inclusive for all your foodie friends.
Chef Emily’s Notebook Scribbles
This recipe has evolved from that fateful coffee spill into my most-requested snack by friends and family. My husband now hides a container in the back of the fridge labeled “BRUSSELS SPROUTS” so the kids (and I) won’t find it! Over time, I’ve learned that the quality of your nut butter makes a huge difference—a natural, drippy kind works best. Also, if you use a particularly strong or bold instant espresso, you might smell it intensely when mixing and think “Whoa, that’s strong!” but I promise, once chilled, the flavor mellows into pure perfection. These little balls have fueled manuscript writing, marathon baking sessions, and more than one late-night heart-to-heart with a friend over tea. Food is fuel, but it’s also joy, and these are a perfect bite of both.
Your Questions, Answered!
Q: My mixture is too dry and won’t stick together! Help!
A: This is the most common issue and an easy fix. The culprit is usually a thick nut butter or a particularly absorbent protein powder. Add more binding liquid a teaspoon at a time: more almond butter, a splash of milk (dairy or non-dairy), or even a bit more maple syrup. Mix thoroughly after each addition until it comes together.
Q: Can I make these without protein powder?
A: Absolutely! Simply omit the protein powder and add an extra ¼ cup of rolled oats. You might need a touch more almond butter or honey to compensate for the lost volume. They’ll still be delicious coffee energy bites!
Q: How much caffeine is actually in each ball?
A: It depends on your espresso source. Using 1 tablespoon of brewed espresso adds roughly 30-40mg of caffeine total to the whole batch. Divided by 12-15 balls, that’s just a few mg each—a gentle lift. Using 2 tsp of instant espresso powder can add about 60-80mg to the batch, making each ball have roughly 5-7mg. It’s a gentle boost, not a jolt!
Q: Why do they need to be refrigerated?
A: The chilling firms up the fats in the nut butter and sets the structure. It also gives the oats time to soften slightly, creating the ideal chewy texture. At room temperature, they can become a bit too soft and messy.
Nutritional Nibbles (For the Curious!)
Let’s talk about what’s fueling you! These values are approximate and based on a batch making 14 balls, using almond butter, honey, and chocolate protein powder. Remember, this is a snack designed for sustained energy, not a low-calorie treat. The combination of complex carbs from the oats, healthy fats from the nut butter, and protein from the powder is what helps avoid a sugar crash and keeps you satisfied. Each ball is roughly: Calories: ~100 | Protein: 5g | Carbs: 9g | Fat: 6g | Fiber: 2g | Sugar: 4g. They’re a balanced, real-food option that tastes like a treat—my favorite kind of health hack.
Final Thoughts from My Kitchen to Yours
And there you have it, friend! Your guide to ditching the afternoon slump with something truly tasty. What I love most about these Espresso Shot Protein Balls is how they embody what Tasty Chow is all about: recipes that are fun, full of flavor, and fit seamlessly into your real, busy life. They’re a little project that yields big rewards. So the next time you’re brewing a pot of coffee, set aside a tablespoon for your snack instead of your cup. Your taste buds and your energy levels will thank you. Now, I’d love to hear how yours turn out! Tag me on social @TastyChow if you give them a try. Until next time, keep your spoons ready and your appetites hungry!
— Emily 🧡