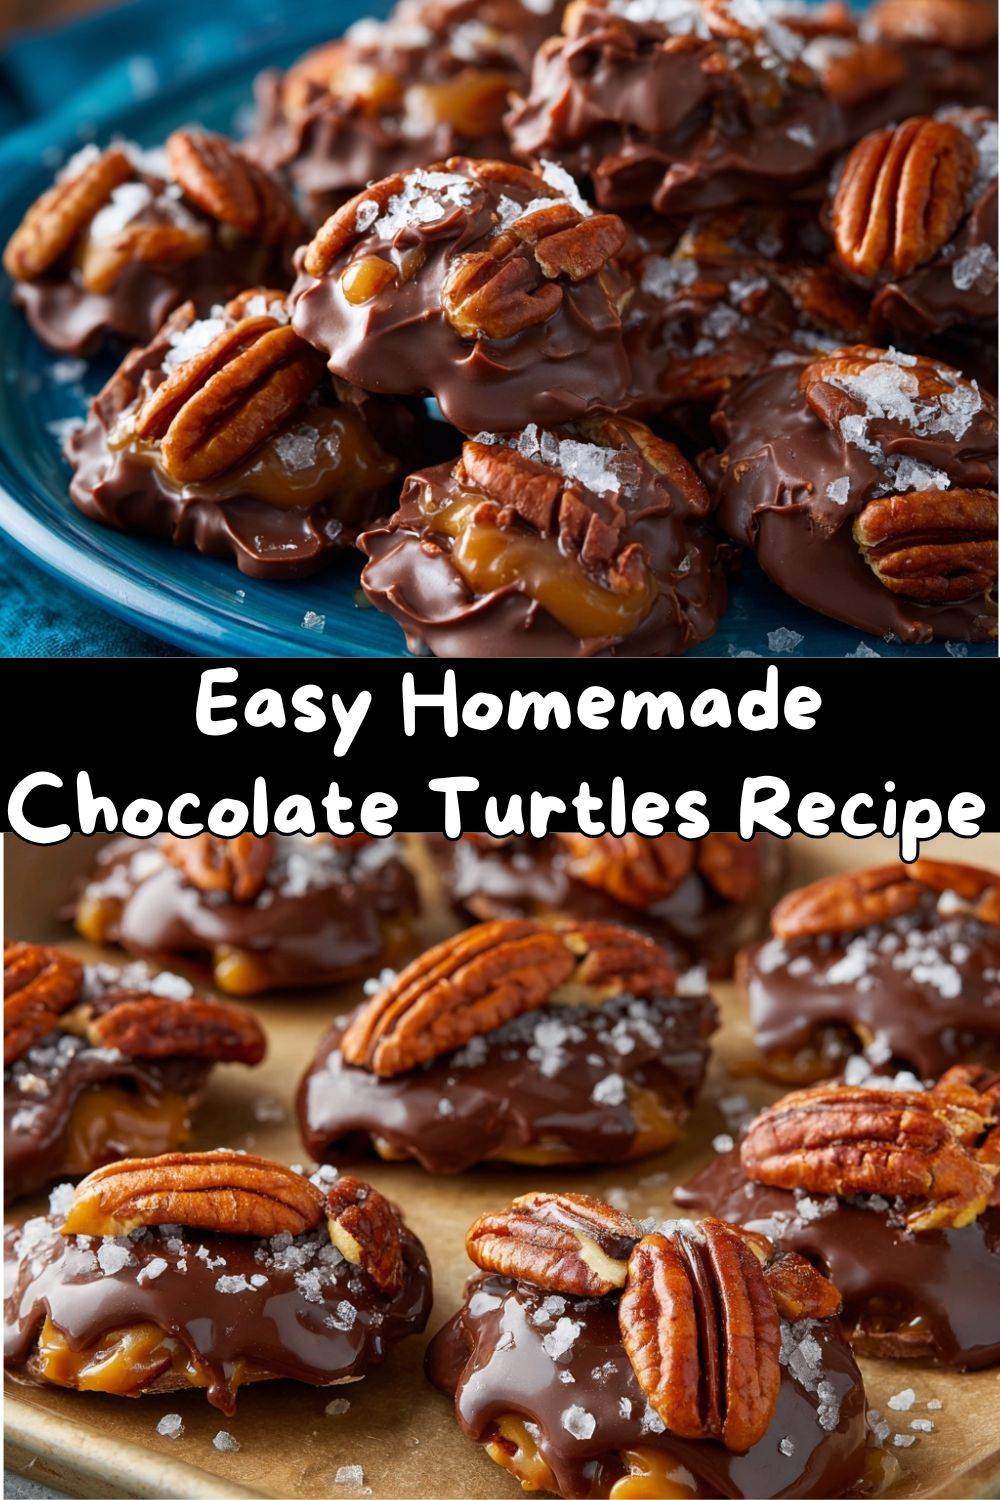
Homemade Chocolate Turtles: Your New Favorite Candy Crush
Hey there, friend! Come on in, grab an apron, and let’s get one thing straight: you are absolutely, 100% capable of making jaw-dropping, candy-shop-worthy treats right in your own kitchen. Today, we’re talking about Homemade Chocolate Turtles—those iconic little bites of toasted pecan, gooey caramel, and smooth chocolate that taste like pure, unadulterated joy. If you’ve ever stood in the candy aisle, picked up a box of those fancy ones, and thought, “I wish I could make these,” I’m here to tell you that you can, and it’s so much easier (and more fun) than you think.
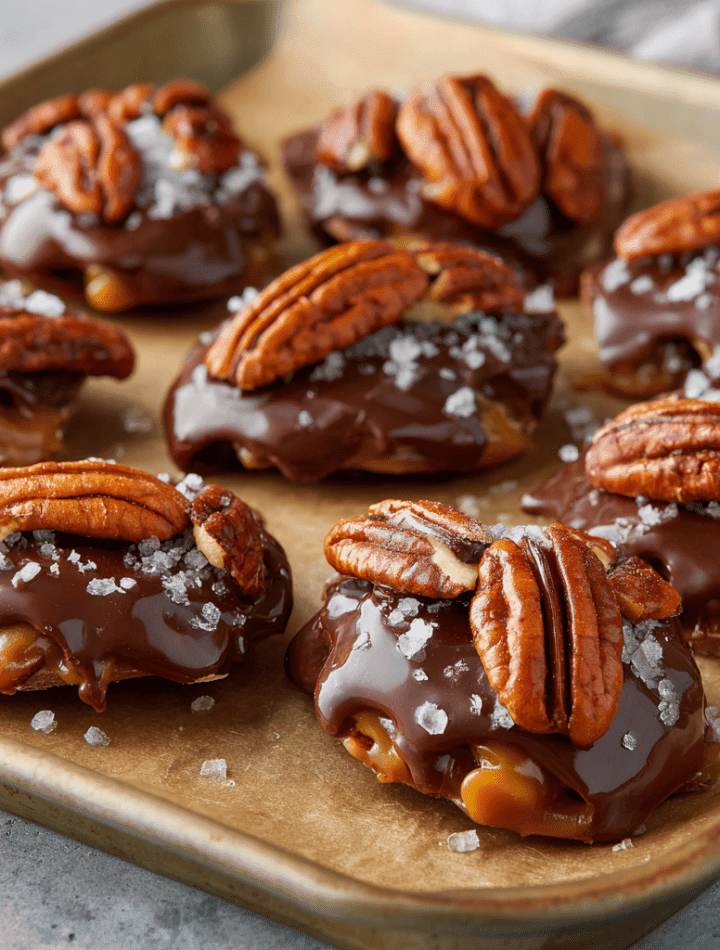
Forget complicated candy thermometers and stressful sugar syrups. This recipe is all about simplicity, a few quality ingredients, and the kind of hands-on fun that makes your kitchen smell incredible. We’re going to toast pecans until they’re fragrant, melt caramel into a lush, buttery pool, and blanket it all in rich, melted chocolate. The result? A treat that’s the perfect harmony of sweet, salty, crunchy, and chewy. These turtles are perfect for holiday gifting, party platters, or that secret mid-week snack you keep hidden in the fridge (your secret is safe with me!). So, let’s turn up some tunes, clear some counter space, and make something deliciously unforgettable together.
The Turtle That Started It All
My love affair with these little clusters began long before culinary school, in my Grandma Ruth’s warm, flour-dusted kitchen. She wasn’t a fancy chef, but she was a wizard of “special occasion” treats. Every December, a giant tin of store-bought chocolate turtles would appear on her counter. It was the one candy we were allowed to sneak from, one precious piece at a time. I remember the ritual so clearly: carefully unwrapping the gold foil, biting through the crisp chocolate shell into the sticky caramel, and finally hitting that salty, buttery pecan center. It felt like winning the snack lottery.
Years later, when I was first finding my feet in a professional kitchen, I had a major “aha!” moment. We were making intricate desserts with spun sugar and gold leaf, but all I craved was that simple, perfect bite from my childhood. I realized gourmet doesn’t have to mean complicated; it means making something with care and good ingredients. So, I started playing around, simplifying the process until I landed on this no-fuss, maximum-flavor version. Now, making turtles is my own December ritual—a sweet, sticky homage to my grandma and the powerful magic of a truly great treat. Every bite is a delicious little time machine.
Gathering Your Flavor Crew
Here’s the beautiful part: you only need a handful of simple ingredients to create pure magic. Let’s break them down, because knowing your “why” makes the “how” even better.
- 2 cups pecan halves: The sturdy, crunchy foundation. Toasting them is non-negotiable—it wakes up their oils and gives them a deep, buttery, almost meaty flavor that can stand up to the sweet caramel. Chef’s Insight: If you have pecan pieces, you can use them, but halves make for that classic, beautiful “turtle leg” look.
- 1 cup soft caramel candies (about 25 pieces): This is our chewy, gooey heart. I like using classic square caramels (like Kraft) because they melt like a dream. Substitution Tip: Out of caramels? A 14-ounce bag of caramel bits works perfectly and melts even faster—no unwrapping required! You can also use homemade caramel, but let it cool and thicken slightly so it’s pourable but not runny.
- 2 tbsp heavy cream or milk: Our magic smooth-out agent! This turns solid caramels into a luscious, dippable sauce. Heavy cream makes it extra rich and helps prevent seizing. Substitution Tip: Any milk or non-dairy milk (like almond or oat) will work in a pinch.
- 1 1/2 cups semi-sweet or milk chocolate chips: The glorious, shiny coat. Semi-sweet is my go-to for a perfect sweet/bitter balance, but milk chocolate is a dreamy, classic choice. Chef’s Insight: For a truly professional finish, use high-quality chocolate bars chopped up. They contain more cocoa butter and temper more smoothly, giving you that satisfying “snap.”
- Sea salt (optional, for topping): This tiny sprinkle is a game-changer. A flaky sea salt creates little bursts of flavor that cut through the sweetness and make every single note pop. Don’t skip it!
Let’s Build Some Turtles: Step-by-Step
Okay, team! Let’s dive into the fun part. I’ll walk you through each step with all my favorite little hacks to ensure candy-making success.
- Toast Those Pecans: Preheat your oven to 350°F (175°C). Spread your pecan halves in a single layer on a baking sheet. Pop them in for 5-7 minutes. You’ll smell when they’re ready—that warm, nutty fragrance is your cue. Let them cool slightly. Why this matters: Toasting deepens the flavor and ensures they stay crunchy, even under the caramel and chocolate.
- Create Your Turtle Bases: Line a clean baking sheet with parchment paper. Now, get creative! Arrange 3-4 pecan halves in little clusters, with their pointed ends touching in the center (like a star or flower). This creates the perfect little nest for our caramel. Leave about an inch between clusters.
- Melt the Caramel Goo: Unwrap your caramels (put on a good podcast for this part!) and place them in a medium, microwave-safe bowl with the heavy cream. Microwave on high in 30-second bursts, stirring vigorously in between. It usually takes about 90 seconds total. Stop when it’s smooth and completely melted. Pro Hack: If your caramel seems too thick to drizzle, add another teaspoon of cream and stir. It should ribbon off the spoon.
- The Caramel Drizzle: Using a spoon (or a small cookie scoop), carefully place a dollop of the melted caramel right in the center of each pecan cluster. Don’t worry about being perfect—a little ooze is part of the charm! Let the caramel set for 5-10 minutes until it’s no longer liquid but still slightly tacky. This helps create a defined layer.
- Chocolate Time! Melt your chocolate chips in another microwave-safe bowl, again using 30-second intervals and stirring until perfectly smooth. You can also use a double boiler (a heatproof bowl set over a pot of simmering water). Critical Tip: Make sure no water gets into your chocolate, or it will “seize” and become grainy. Keep that bowl dry!
- Seal the Deal: Spoon the melted chocolate over each cluster, covering the caramel completely and letting it drip down between the pecans. This is your artistic moment! Now, immediately sprinkle on a tiny pinch of flaky sea salt if using. It adheres perfectly to the soft chocolate.
- The Final Wait: Allow the turtles to set completely. You can let them sit at room temperature for about an hour, or speed things up by popping the tray in the fridge for 20-25 minutes. The chocolate will become firm and shiny.
How to Serve Your Masterpieces
You did it! Now, for the best part: enjoying them. These turtles are stars all on their own, but a little presentation goes a long way.
For a home dessert platter, pile them high on a rustic wooden board or a pretty ceramic plate alongside some fresh berries, dried orange slices, or other cookies. They look abundant and inviting.
For gifting, they’re absolutely show-stopping. Place each turtle in a fluted paper candy cup (those little brown or white ones), and stack them in a festive tin or a clear cellophane bag tied with a ribbon. Add a handmade tag that says “Homemade Turtles”—trust me, this gift will be remembered all year.
My favorite way? With after-dinner coffee. The bitterness of a good espresso is the perfect partner for the sweet, rich turtle. Serve one on the side of a mug, and watch your guests’ faces light up. It’s a tiny, perfect dessert moment.
Get Creative: Turtle Twists!
Once you’ve mastered the classic, the playground is open! Here are a few of my favorite ways to mix things up:
- The Salty Supernova: Use a mix of salted roasted peanuts and pecans. Finish with a dark chocolate coat and an extra sprinkle of smoked sea salt. It’s an addictive sweet-and-salty bomb.
- Decadent Dark Forest: Swap the pecans for toasted walnuts or hazelnuts. Use a high-quality dark chocolate (70%) and stir a tablespoon of bourbon or espresso powder into your caramel. Sophisticated and deeply flavorful.
- “Turtles” Gone Tropical: Use macadamia nuts and big-flake coconut. Add a teaspoon of coconut oil to your melting chocolate for a subtle tropical vibe. This is a sunshine-in-your-mouth version.
- Dairy-Free & Vegan Delight: Use vegan caramels (check the label!), coconut cream, dairy-free chocolate chips, and your favorite nuts. It’s just as indulgent and inclusive for all your foodie friends.
- Holiday Sparkle: After dipping in chocolate, immediately sprinkle with crushed peppermint candies (for Christmas) or colored sanding sugar (for any celebration). Festive and fun!
Chef Emily’s Kitchen Notes
This recipe has evolved from a “let’s see if this works” experiment to my most-requested holiday treat. I’ve learned a few things along the way! First, don’t stress about the caramel layer being perfectly round. The organic, rustic look is part of their homemade charm. I once tried using a piping bag for “perfect” circles and it just looked… weird. Embrace the goo!
Second, these turtles are shockingly forgiving. If your chocolate gets a little thick, just stir in a tiny splash of coconut oil to loosen it up. If your caramel sets too fast while you’re working, just zap it for 10 more seconds. The key is to have fun with it. I usually double the batch because, without fail, my family “quality tests” at least a dozen before they even make it to the gift boxes. That’s the real sign of success!
Your Questions, Answered
Q: My caramel seized and got clumpy! What happened?
A: This usually means it got too hot, too fast. Next time, use lower power on your microwave (50%) and stir more frequently. If it happens, don’t panic! Add another tablespoon of cream and heat again in very short bursts, stirring constantly. You can often bring it back.
Q: How do I store these, and how long do they last?
A> Store them in an airtight container at room temperature for up to a week (if they last that long!). For longer storage (up to 3 weeks), keep them in the fridge. Let them come to room temp for about 10 minutes before serving for the best texture. You can also freeze them for up to 3 months in a sealed container.
Q: Can I use other nuts?
A> Absolutely! Almonds, cashews, and peanuts all work wonderfully. Just make sure to toast them first for maximum crunch and flavor. The classic “turtle” shape might change, but the deliciousness will not.
Q: Why is my chocolate not shiny?
A> This is usually due to overheating, which causes the cocoa butter to separate. Gentle, slow melting is key. If you want a guaranteed professional shine, look up “simple chocolate tempering” methods—it’s a fun next-level skill!
A Note on Nutrition
Let’s be real: these are a celebratory treat, a bite of pure indulgence. That said, it’s always good to know what you’re enjoying! The following is an approximate nutritional breakdown per piece (based on a batch of 24). Remember, using different chocolate or nut sizes can alter these numbers slightly.
Each homemade turtle brings about 140 calories, with 9g of fat (mostly the heart-healthy unsaturated kind from pecans!), 15g of carbohydrates, 13g of sugar, 1g of protein, and 1g of fiber. They are a source of energy-dense ingredients, so savoring one or two slowly is the way to go. The pecans provide a little magnesium and zinc, and if you use dark chocolate, you’re getting those wonderful antioxidants, too. Think of them as little moments of joy, not everyday fuel—and enjoy every single bite without an ounce of guilt.
Final Thoughts from My Kitchen to Yours
And there you have it! You’re now armed with everything you need to create these incredible homemade chocolate turtles. More than just a recipe, I hope this gives you the confidence to play in the kitchen, to make messes, and to create edible little hugs for the people you love (including yourself!).
Food, especially treats like these, is about connection—to our past, to each other, and to the simple pleasure of making something with your own two hands. So, whether you’re wrapping these up with a big bow or hiding the container in the back of the fridge for a rainy day, I hope they bring you as much happiness to make as they do to eat.
Now, I’d love to hear from you! Did you try a fun variation? Did your family go crazy for them? Tag me on social @TastyChow or drop a comment below. Sharing our kitchen wins is my favorite thing. Until next time, keep chasing flavor, my friend!
With love and a full heart,
Emily