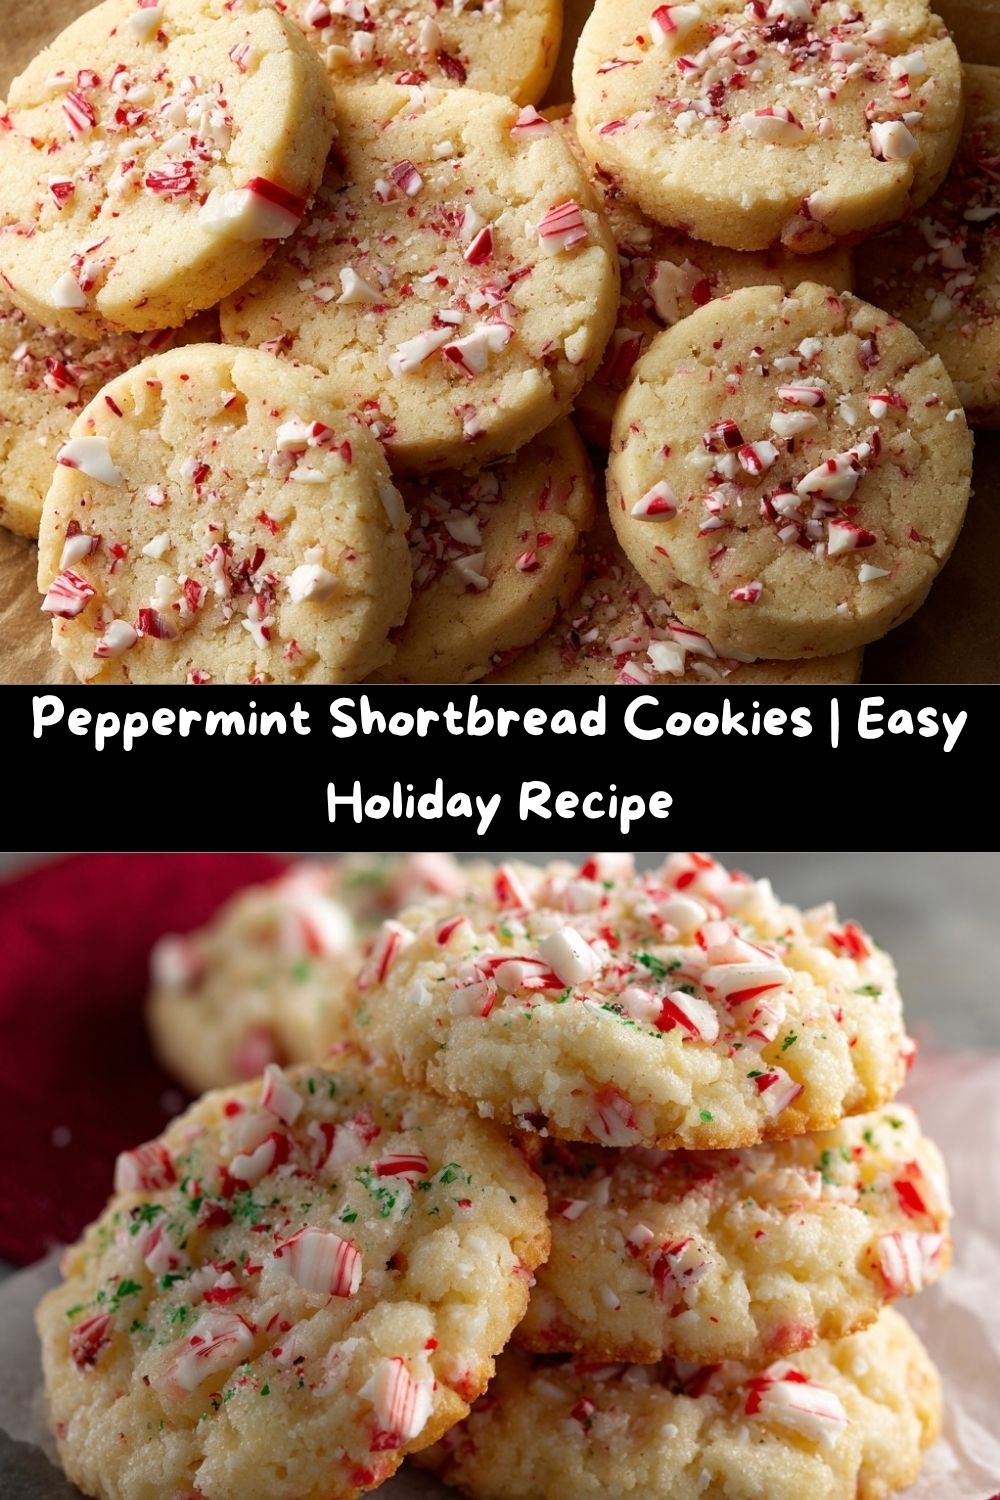
Peppermint Shortbread Cookies: Your New Holiday Obsession
Welcome to Your New Favorite Cookie
Hey there, friend! Come on in, wipe your feet on the festive mat, and let me pour you a mug of something warm. Can you smell that? It’s the scent of buttery goodness and cool, cheerful peppermint wafting from my oven. It’s officially cookie season in my kitchen, and I am so excited to share one of my all-time favorite holiday creations with you: these absolutely irresistible Peppermint Shortbread Cookies.
Now, I know what you might be thinking. “Emily, shortbread? Isn’t that a little… simple?” And to that I say, my dear foodie, sometimes the simplest things are the most extraordinary. We’re taking a classic, melt-in-your-mouth shortbread base—rich, tender, and wonderfully crumbly—and giving it a holiday makeover with a generous dose of chopped Andes Peppermint Candies. The result is a cookie that’s elegant enough for your fanciest cookie swap, but so incredibly easy and fun to make that you’ll want to whip up a batch just for a cozy night in with a holiday movie.
This recipe is my love letter to the perfect balance of flavors and textures. The cool, creamy mint against the warm, buttery shortbread is a match made in dessert heaven. So, tie on your favorite apron (the messy one with the gingerbread man stain, I see it—it’s my favorite too), and let’s make some magic together. This is the cookie that will have your family and friends begging for the recipe. Let’s chow down!
The Christmas I Almost Burned the Snowman
My love for these cookies started in a slightly chaotic, wholly wonderful way. Picture this: I’m about sixteen, feeling wildly confident in my budding baking skills, and I decide I’m going to single-handedly provide the entire neighborhood with holiday treats. I had grand plans involving spun sugar and meticulously decorated gingerbread houses. But reality, as it often does in a warm kitchen, had other plans.
My first batch of intricate cut-out cookies spread into amorphous blobs, and my attempt at a Yule log cracked so dramatically it looked like it had been through an earthquake. I was frustrated, covered in flour, and on the verge of hanging up my apron for good. That’s when my mom, the true sage of our kitchen, gently nudged me aside. She pulled out her trusty, no-fuss shortbread recipe and a bag of the Andes mints she always kept in the fridge. “Let’s just make something simple and delicious, Em,” she said. We mixed, we rolled, we baked. The kitchen filled with that incredible buttery scent, and when those cookies came out of the oven, perfectly golden and studded with melty peppermint pieces, I knew we had a winner. They were a smash hit, and more importantly, they reminded me that the best recipes aren’t about being perfect—they’re about the joy you bake into them.
Gathering Your Cookie Crew: The Ingredients
One of the best things about this recipe is its beautiful simplicity. You probably have most of these ingredients in your pantry right now! Here’s what you’ll need and a little chef’s insight on each one.
- 2 ¼ cups All-Purpose Flour: This is the sturdy backbone of our cookie, giving it that classic, tender-crumbly structure. For a slightly more delicate texture, you can swap in ¼ cup of cornstarch for an equal amount of flour to make a “shortbread flour” blend.
- ¼ tsp Salt: Don’t you dare skip this! Salt is the flavor superhero that makes the sweet, buttery notes pop and balances the peppermint. It’s a non-negotiable for a well-rounded cookie.
- 1 cup Unsalted Butter, softened: This is the heart and soul of shortbread. I always use unsalted so I can control the salt level. The key word here is softened! It should be cool to the touch but yield easily when you press it. Think “the consistency of creamy ice cream that’s been on the counter for 20 minutes.”
- ¾ cup Granulated Sugar: We’re using granulated sugar for a delicate crunch and clean sweetness that doesn’t overpower our star ingredient, the peppermint.
- ¾ tsp Peppermint Extract: This is our secret weapon! It amplifies the minty flavor throughout the entire cookie, ensuring every single bite is bursting with holiday cheer. A little goes a long way!
- ¾ cup Chopped Andes Peppermint Candies: The star of the show! I love the soft, creamy texture of Andes mints. Chopping them gives you lovely little pockets of melty minty goodness. Pro tip: toss the chopped candies in a tablespoon of the measured flour before adding them to the dough—this helps prevent them from sinking to the bottom during baking!
Let’s Get Baking: The Step-by-Step Fun
Ready to create some cookie magic? Follow these steps, and you’ll be a shortbread superstar in no time. I’ve packed this section with all my favorite chef hacks to ensure your success!
- Preheat and Prep: First things first, get that oven preheating to a cozy 325°F (160°C). This lower temperature is key for baking shortbread evenly without over-browning the edges. While it’s warming up, line your baking sheets with parchment paper. This isn’t just for easy cleanup; it ensures the bottoms of your cookies bake to a perfect, gentle gold.
- Whisk the Dry Team: In a medium bowl, whisk together your all-purpose flour and salt. Whisking is important here! It aerates the flour and evenly distributes the salt, so you don’t get a salty bite in one cookie and a bland one in the next.
- Cream the Dream Team: In a large bowl, using a hand mixer or a stand mixer with the paddle attachment, cream together the softened butter and granulated sugar. Now, don’t rush this! We’re going for “light and fluffy,” which usually takes a good 2-3 minutes of beating on medium speed. You’ll know it’s ready when the mixture has paled in color and looks wonderfully creamy. This step incorporates air, which gives our cookies their delightful texture.
- Incorporate the Flavors: Mix in the peppermint extract until it’s just combined. That minty aroma is going to make your kitchen smell amazing!
- Bring it All Together: Now, with your mixer on low speed, gradually add the flour mixture to the butter mixture. Mix only until the flour has just disappeared and a soft dough forms. Overmixing is the enemy of tender shortbread! Once it’s nearly combined, use a spatula to fold in those gorgeous, flour-tossed Andes mint pieces.
- The Chill Factor: This is the most crucial step for perfect slices! Turn your dough out onto a clean surface and shape it into a log about 2 inches in diameter. Wrap it tightly in plastic wrap and chill it in the fridge for at least 30-60 minutes. Chilling firms up the butter, which prevents the cookies from spreading too much in the oven and makes slicing a dream.
- Slice and Arrange: Once your dough log is firm, unwrap it and use a sharp knife to slice it into ¼-inch thick rounds. If you’re feeling fancy, you can also roll the dough out and use festive cookie cutters! Place the rounds about an inch apart on your prepared baking sheets.
- Bake to Perfection: Bake for 12-15 minutes. You’re looking for the edges to be just barely starting to turn a light golden brown. The centers should still look soft and set, but not wet. They won’t look “done” in the traditional puffy cookie way, and that’s perfect! Remember, they continue to cook on the hot baking sheet after you pull them out.
- The Cool Down: Let the cookies cool on the baking sheet for 5 minutes before transferring them to a wire rack to cool completely. This patience allows them to set up properly, so you get that signature shortbread crumble.
How to Serve These Minty Marvels
Okay, the cookies are cooled and your willpower has been heroic. Now, how do we serve these beauties? Let me count the ways!
For a simple, elegant presentation, I love arranging them on a beautiful rustic wooden board or a vintage cake stand. They look stunning all on their own. But if you want to take them to the next level of festive fabulousness, let’s talk about a white chocolate drizzle. Simply melt a ½ cup of white chocolate chips with a teaspoon of coconut oil (this makes it smooth and helps it set), drizzle it over the cooled cookies with a fork or a piping bag, and immediately sprinkle on a little extra crushed peppermint candy for a gorgeous, professional touch.
And the perfect pairing? A tall glass of cold milk is a classic for a reason. For the adults, a rich cup of coffee or a creamy peppermint mocha is pure bliss. They also make a fantastic edible gift! Tuck a stack into a cellophane bag, tie it with a pretty ribbon, and you’ve got a heartfelt, homemade present that says, “I think you’re awesome.”
Get Creative! Fun Recipe Twists
I am a huge believer in making a recipe your own! Once you’ve mastered the classic, try one of these delicious variations.
- Chocolate-Dipped Delight: Melt some dark or semi-sweet chocolate and dip half of each cooled cookie into it. Place them on parchment paper to set for a decadent, classic flavor combination.
- The “Peppermint Bark” Cookie: After drizzling with white chocolate, go back and drizzle with a little melted dark chocolate. It looks stunning and tastes just like your favorite holiday candy!
- Gluten-Free Goodness: You can easily make these gluten-free! Simply swap the all-purpose flour for a 1:1 gluten-free baking blend. I’ve had fantastic results with this swap, and no one can tell the difference.
- Extra Crunchy Peppermint: For a more intense peppermint flavor and a bit of red sparkle, replace half of the Andes mints with ¼ cup of crushed candy canes or peppermint hard candies.
- Brown Sugar & Toffee Twist: Swap the granulated sugar for light brown sugar and replace the Andes mints with ¾ cup of chopped toffee bits (like Heath bits). You get a deeper, caramel-like flavor that’s absolutely to die for.
From My Kitchen to Yours: Chef’s Notes
This recipe has been a living, evolving thing in my kitchen for years. The first time I made it, I was so impatient that I skipped the chilling step. The result? A delicious but flat “shortbread puddle.” We lovingly called them “Peppermint Crisps” and ate them with a spoon over ice cream, so it wasn’t a total loss! It was a great reminder that even kitchen “failures” can be tasty.
Over time, I learned that the secret to the perfect slice isn’t just chilling the log—it’s using a serrated knife and a gentle sawing motion. It gives you the cleanest cuts without squashing the lovely dough. I also love making a double batch of the dough log and freezing one. That way, when surprise guests pop over, I can just slice and bake for instant “I’m a domestic goddess” points.
Your Questions, Answered!
I’ve gotten so many wonderful questions about this recipe over the years. Here are the most common ones to help you bake with confidence.
- Q: My dough is too crumbly and won’t hold together when I slice it. What happened?
A: This usually means it was a bit over-mixed or is a little too cold. Let it sit on the counter for 5-10 minutes to soften slightly. When you press it, it should yield but still be firm. If it’s still crumbly, you can work in a teaspoon of cold water at a time until it just comes together. - Q: Can I freeze the baked cookies?
A: Absolutely! These cookies freeze like a dream. Once they are completely cooled, store them in a single layer in an airtight container or freezer bag. They’ll keep for up to 3 months. You can thaw them at room temperature whenever a cookie craving strikes. - Q: My cookies spread too much. Why?
A: The most common culprit is butter that was too warm. Make sure your butter is just softened, not melty. Also, don’t skip the chilling step! A firm, cold dough is your best defense against cookie spread. - Q: Can I use peppermint essential oil instead of extract?
A: I don’t recommend it. Peppermint essential oil is much, much more potent and is not intended for consumption in the same way food-grade extract is. Stick with peppermint extract for the safest and best-tasting results.
Peppermint Shortbread Cookies
- Total Time: ~1 hour 15 min
- Yield: 24 Cookies 1x
Description
Cool, buttery, and perfectly crumbly — these Peppermint Shortbread Cookies bring together classic holiday flavor with melt-in-your-mouth texture. With crushed Andes peppermint candies in every bite, they’re festive enough for a cookie swap, but easy enough for a cozy night in.
Ingredients
2¼ cups all-purpose flour
¼ tsp salt
1 cup unsalted butter, softened
¾ cup granulated sugar
¾ tsp peppermint extract
¾ cup chopped Andes Peppermint candies
Instructions
Preheat oven to 325°F (160°C).
In a medium bowl, whisk together flour and salt. Set aside.
In a large bowl, cream butter and sugar until light and fluffy.
Mix in peppermint extract, then gradually add the flour mixture.
Stir in chopped peppermint candies until evenly distributed.
Form dough into a log, wrap in plastic, and chill for 30–60 minutes.
Slice into ¼-inch thick rounds or roll out and cut with cookie cutters.
Bake on a parchment-lined sheet for 12–15 minutes, until just set and lightly golden on the edges.
Cool on a wire rack. Enjoy as-is or drizzle with white chocolate for extra flair!
- Prep Time: 15 minutes
- Chill Time: 30 - 60 mins
- Cook Time: 15 minutes
Nutrition
- Calories: 140 / Cookie
- Sugar: 8g / Cookie
- Fat: 8g / Cookie
- Carbohydrates: 16g / Cookie
- Protein: 1g / Cookie
A Little Note on Nutrition
Hi friends! While I’m all about indulging in life’s sweet moments (especially during the holidays!), I also believe in mindful eating. Here’s a general breakdown per cookie (based on a yield of 24), assuming you’re enjoying them as-is, without the extra white chocolate drizzle.
Each cookie comes in at around 140 calories. They contain about 8g of fat (that’s the glorious butter!), 16g of carbohydrates, 8g of sugar, and 1g of protein. These are a treat, through and through, and they are meant to be savored and enjoyed. My philosophy? Bake them with love, share them with friends, and enjoy every single, buttery, minty bite without an ounce of guilt. Happiness is a nutrient, too!
Final Sweet Thoughts
And there you have it! My go-to recipe for Peppermint Shortbread Cookies that are sure to become a new tradition in your home. From my slightly disastrous first Christmas bake to the countless happy batches I’ve made since, these cookies hold a special place in my heart. They’re a reminder that the best memories are often made in the simple, messy, and delicious moments we share.
I hope you have as much fun making these as I do. I can’t wait for you to experience that moment when you pull the golden, minty-speckled rounds from your oven and see the smiles they bring. So, tell me, foodie friend! Did you make them? What variation did you try? Tag me on social @TastyChow so I can see your beautiful creations! Happy baking!
With love and a sprinkle of peppermint,
Emily