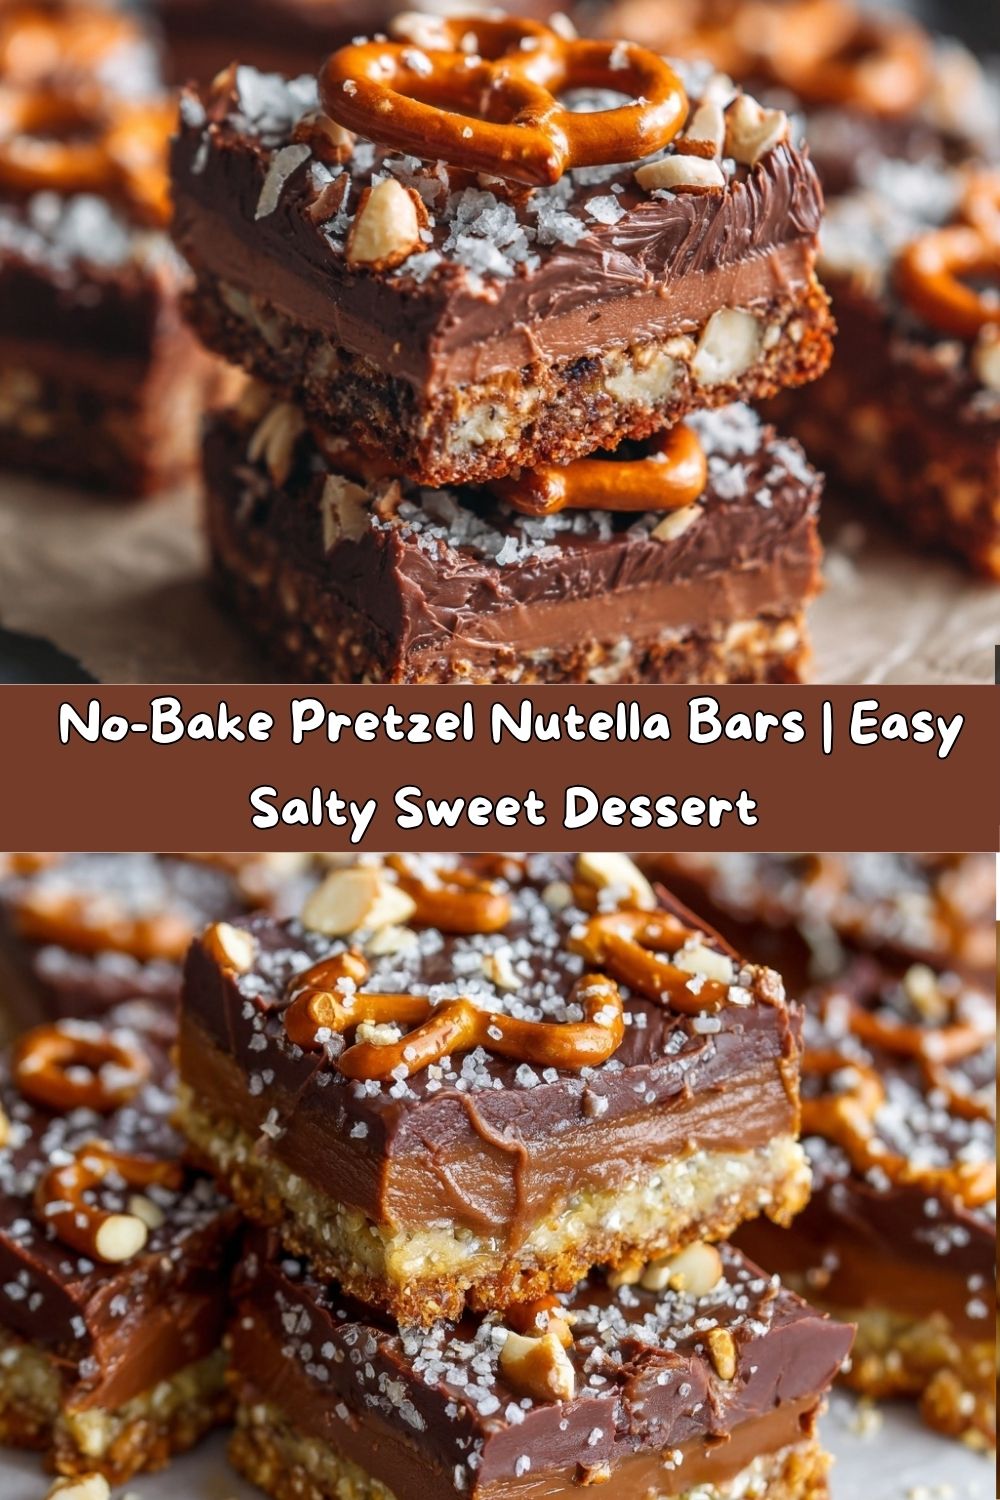
Your New No-Bake Obsession: Pretzel Nutella Bars
Hey there, my fellow food lover! Let’s be real for a second. Some days, you need a little magic in your life—the kind that comes from a perfect combination of sweet, salty, and crunchy, all wrapped up in a bar you can eat with one hand. You want a dessert that feels like a treat but doesn’t require you to turn on the oven, sift flour, or dirty every single bowl in your kitchen cabinet. Sound familiar? I’ve been there more times than I can count.
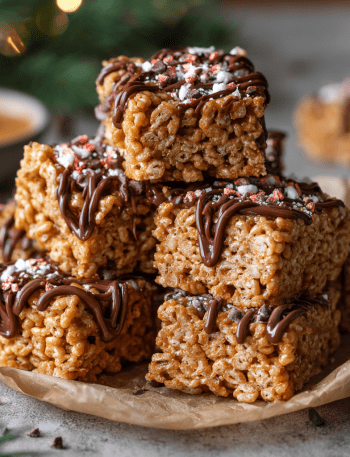
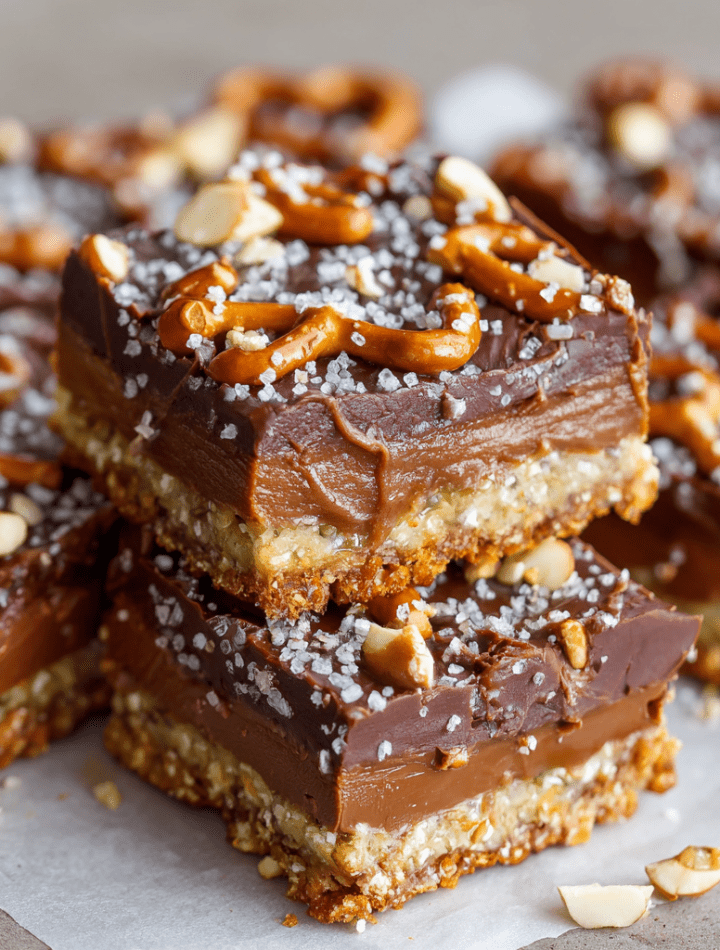
Well, my friend, get ready to meet your new best friend: No-Bake Pretzel Nutella Bars. This is the recipe you’ll memorize. It’s the one you’ll whip up for last-minute potlucks, after-school surprises, and those crucial “I need something chocolatey NOW” moments. We’re talking a seriously crunchy pretzel crust, a luxuriously thick and creamy layer of Nutella, and a dreamy, gooey topping of melted chocolate that just sends everything over the top.
It’s like if your favorite candy bar and a bag of pretzels fell in love and had the most delicious baby imaginable. And the best part? It all comes together in about 10 minutes of active time. Your fridge does all the hard work. So, tie on your favorite apron (the one with the cute pattern, not the fancy company one), and let’s make something dangerously delicious together.
A Happy Little Kitchen Accident
I wish I could tell you I dreamed up this recipe after years of meticulous research, but the truth is, it was born from a beautiful, chaotic mess. Picture this: It was a rainy Tuesday, and my pantry was looking a little sad. I had a serious baking itch but was missing key ingredients for the fancy tart I originally wanted to make. All I had were the remnants of a giant bag of pretzels, a jar of Nutella that was calling my name, and a few Mirage chocolate bars my husband had stashed away.
As I stared at that half-crushed bag of pretzels, I had a flashback to my grandma’s kitchen. She never let anything go to waste. Stale bread became bread pudding, overripe bananas turned into the best banana bread, and leftover pie crust scraps were sprinkled with cinnamon sugar and baked into little cookies. Channeling her spirit, I thought, “Why can’t pretzels be a crust?” I crushed them up, mixed them with butter and a little brown sugar, and pressed them into a pan. The rest, as they say, is history. The first bite was a revelation—a perfect harmony of salty and sweet that made me do a little happy dance right there in my kitchen. It was a reminder that sometimes, the best recipes aren’t planned; they’re discovered.
Gather Your Ingredients
Here’s the beautiful lineup of ingredients you’ll need. This is a “no-stress” list with plenty of room for improvisation!
- 2 cups crushed pretzels: This is the foundation of our salty-sweet magic! I use classic thin pretzels for the best crunch. You don’t need to pulverize them into dust; a mix of fine crumbs and small pieces gives the crust fantastic texture. Gluten-free pretzels work perfectly here if needed!
- ½ cup unsalted butter, melted: This is the glue that holds our pretzel crust together. Using unsalted butter lets us control the saltiness. If you only have salted butter, that’s totally fine—just know your final bars will be a touch saltier (which I personally love!).
- ¼ cup brown sugar: A little secret from my kitchen! The molasses in the brown sugar adds a warm, caramel-like depth that pairs incredibly well with the chocolate and pretzels. It takes the crust from “good” to “can’t-stop-eating-it” good.
- 1 cup Nutella (or any chocolate-hazelnut spread): The star of the show! This layer is pure, unadulterated joy. Use the name brand or your favorite store-bought version—it all works. For a nut-free option, a thick chocolate frosting or a sunflower seed butter-based spread would be a great swap.
- 3 Mirage chocolate bars, chopped: These bars are my not-so-secret weapon. They melt into a wonderfully soft, fudgy, and slightly toffee-like topping. If you can’t find Mirage bars, don’t panic! See my variations below for some easy and delicious substitutes.
- Optional Twist: Flaky sea salt or chopped toasted hazelnuts: I highly recommend this final flourish! A tiny sprinkle of flaky sea salt right after you spread the melted chocolate enhances every single flavor. Chopped hazelnuts add a wonderful crunch and lean into the Nutella vibe.
Let’s Build These Bars! (Step-by-Step)
Ready to create some no-bake magic? Follow these simple steps, and you’ll be a pro in no time.
- Prep Your Pan: First things first, line an 8×8-inch baking pan with parchment paper, leaving some overhang on two opposite sides. This is my number one chef hack for this recipe! It creates a “sling” that lets you lift the entire block of bars out of the pan effortlessly for clean, easy slicing. No more wrestling with your dessert!
- Create the Crust: In a medium bowl, combine your crushed pretzels, melted butter, and brown sugar. Mix it really well until every last pretzel piece is shimmering and coated in that buttery, sugary goodness. Now, dump this mixture into your prepared pan and press it down firmly and evenly. I like to use the bottom of a flat measuring cup to really compact it. A firm press here is the key to a crust that holds together when you bite into it.
- The Nutella Layer: Ah, the moment we’ve all been waiting for. Spoon your cup of Nutella over the crust. Now, here’s a little tip: if your Nutella is super thick and stubborn, you can microwave it for just 10-15 seconds to make it slightly more spreadable. Be careful not to overheat it! Use an offset spatula or the back of a spoon to spread it into a smooth, even, and glorious layer. Try to get it all the way to the edges!
- The Chocolate Topping: Place your chopped Mirage bars (or alternative chocolate) in a microwave-safe bowl. Melt it in the microwave in 30-second bursts, stirring well after each burst. Chef’s secret: Stop microwaving when the chocolate is about 90% melted. The residual heat will melt the rest as you stir, which prevents it from seizing and becoming grainy. Once it’s smooth, pour it over the Nutella layer and gently tilt the pan to spread it into a perfect, glossy top coat.
- The Chill Out: This is the hardest part—waiting! Carefully transfer the pan to your refrigerator and let it chill for at least 1 hour, or until the chocolate top is set and firm. If you’re in a real hurry, 30 minutes in the freezer will do the trick, but the fridge gives the best texture.
- Slice and Serve: Use the parchment paper sling to lift the entire block of bars onto a cutting board. Using a sharp knife, slice it into 16 squares. For super clean cuts, you can wipe the knife blade clean between slices. Then, try to resist eating them all in one sitting. I believe in you!
How to Serve These Salty-Sweet Beauties
Honestly, these bars are perfect just as they are, held in your hand as you sneak into the kitchen for just one more. But if you want to fancy them up for a party or a special treat, here are a few of my favorite ways to serve them:
The Simple Stack: Pile a few bars on a beautiful rustic wooden board or a pretty ceramic plate. It’s casual, inviting, and says, “Help yourself!”
With a Scoop: For the ultimate indulgence, serve a bar slightly warmed (about 10 seconds in the microwave) with a scoop of high-quality vanilla bean ice cream. The contrast of the cold ice cream with the slightly softened, crunchy bar is a dessert dream come true.
The Coffee Date: These bars are a match made in heaven with a hot cup of coffee or a cold glass of milk. The bitterness of the coffee cuts through the sweetness beautifully, making it the perfect afternoon pick-me-up.
Get Creative! Recipe Variations
One of the best things about this recipe is how adaptable it is. Don’t be afraid to make it your own! Here are a few twists to try:
- The Classic Candy Bar: Can’t find Mirage bars? No problem! Substitute with 4 regular-sized (1.55 oz) Milk Chocolate Hershey’s bars mixed with ¼ cup of toffee bits (like Heath bits). It’s the same delicious toffee-chocolate vibe!
- The Peanut Butter Lover: Swap out the Nutella for an equal amount of creamy peanut butter. Then, use melted milk chocolate for the top layer and sprinkle with chopped salted peanuts. It’s a whole new world of delicious.
- The Dark & Stormy: For a more sophisticated, less sweet bar, use a dark chocolate-hazelnut spread and top it with melted dark chocolate (70% cacao works great). The intense chocolate flavor with the salty pretzel is absolutely incredible.
- The “Everything but the Kitchen Sink”: Feel free to add ¼ cup of mini chocolate chips or even some mini marshmallows to the pretzel crust mixture before pressing it in. More texture, more fun!
- The Festive Twist: During the holidays, crush up some candy canes and sprinkle them over the melted chocolate topping for a festive peppermint crunch.
Chef Emily’s Notes from the Kitchen
Over the many, many times I’ve made these bars, I’ve learned a thing or two. This recipe has evolved from that first happy accident into a tried-and-true favorite. I once, in a moment of what I thought was brilliance, tried to use pretzel sticks instead of the classic twists. Let’s just say they did *not* crush evenly and the crust was a bit of a textural adventure—stick to the standard pretzels!
I’ve also found that letting the bars sit at room temperature for about 5 minutes before serving makes them perfectly chewy and easier to bite into. They keep beautifully in an airtight container in the fridge for up to a week (if they last that long!), and they also freeze wonderfully for up to 3 months. Just layer them between parchment paper in a freezer-safe container.
FAQs & Troubleshooting
Got a question? I’ve probably heard it! Here are answers to the most common ones.
Q: My crust is crumbly and won’t hold together. What did I do wrong?
A: This usually means you need more “glue!” Make sure you’re using a full ½ cup of melted butter and that you’re pressing the crust mixture into the pan *very firmly*. Don’t be shy—really put some muscle into it! The brown sugar also helps with binding, so don’t skip it.
Q: Can I use a different size pan?
A: You can! A 9×9-inch pan will work, but your bars will be thinner and you’ll get more servings. The chilling time might be slightly less. I don’t recommend going any smaller than 8×8, or the layers will be too thick and difficult to slice.
Q: My chocolate topping cracked when I sliced the bars. How can I prevent that?
A: This can happen if the bars are too cold. Let them sit on the counter for 5-10 minutes to take the deep chill off before slicing. Also, using a sharp knife and wiping it clean between cuts makes a world of difference.
Q: What’s the best way to crush the pretzels?
A: My favorite low-mess method is to put them in a large zip-top bag, press out the air, and use a rolling pin to crush them to my desired consistency. You can also pulse them a few times in a food processor, but be careful not to turn them into powder!
Nutritional Info (Because We’re All Curious!)
Okay, let’s talk real talk. These are an indulgent treat, and we should enjoy them as such! Here’s a rough nutritional breakdown per bar (assuming you get 16 bars from the batch). Remember, these are estimates and can vary based on the specific brands you use.
- Calories: ~220
- Fat: 13g
- Carbohydrates: 24g
- Sugar: 16g
- Protein: 3g
While they’re a dessert, you can feel good about a few things: the pretzels provide a little whole grain, and using real ingredients like butter, chocolate, and hazelnuts means you’re avoiding a lot of the artificial stuff found in store-bought candy bars. It’s all about balance, my friend! Enjoy one (or two) without guilt.
Final Thoughts from My Kitchen to Yours
And there you have it! My go-to recipe for when life calls for something easy, impressive, and downright delicious. These Pretzel Nutella Bars are more than just a dessert; they’re a reminder that the best things in life are often the simplest. They’re about sharing, about creating a moment of joy, and about not being afraid to get a little messy in the kitchen.
I hope this recipe finds its way into your regular rotation and becomes a favorite in your home, just like it is in mine. When you make them, I’d love to see your creation! Tag me on social @TastyChow so I can cheer you on.
Now, go forth and chow down!
With love and a full heart,
Emily