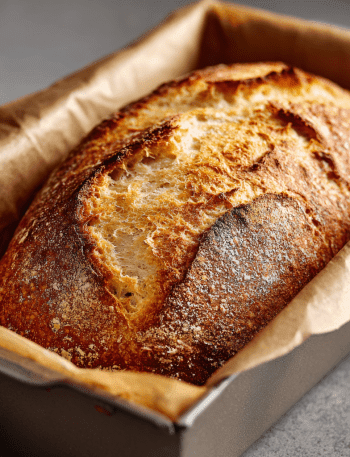
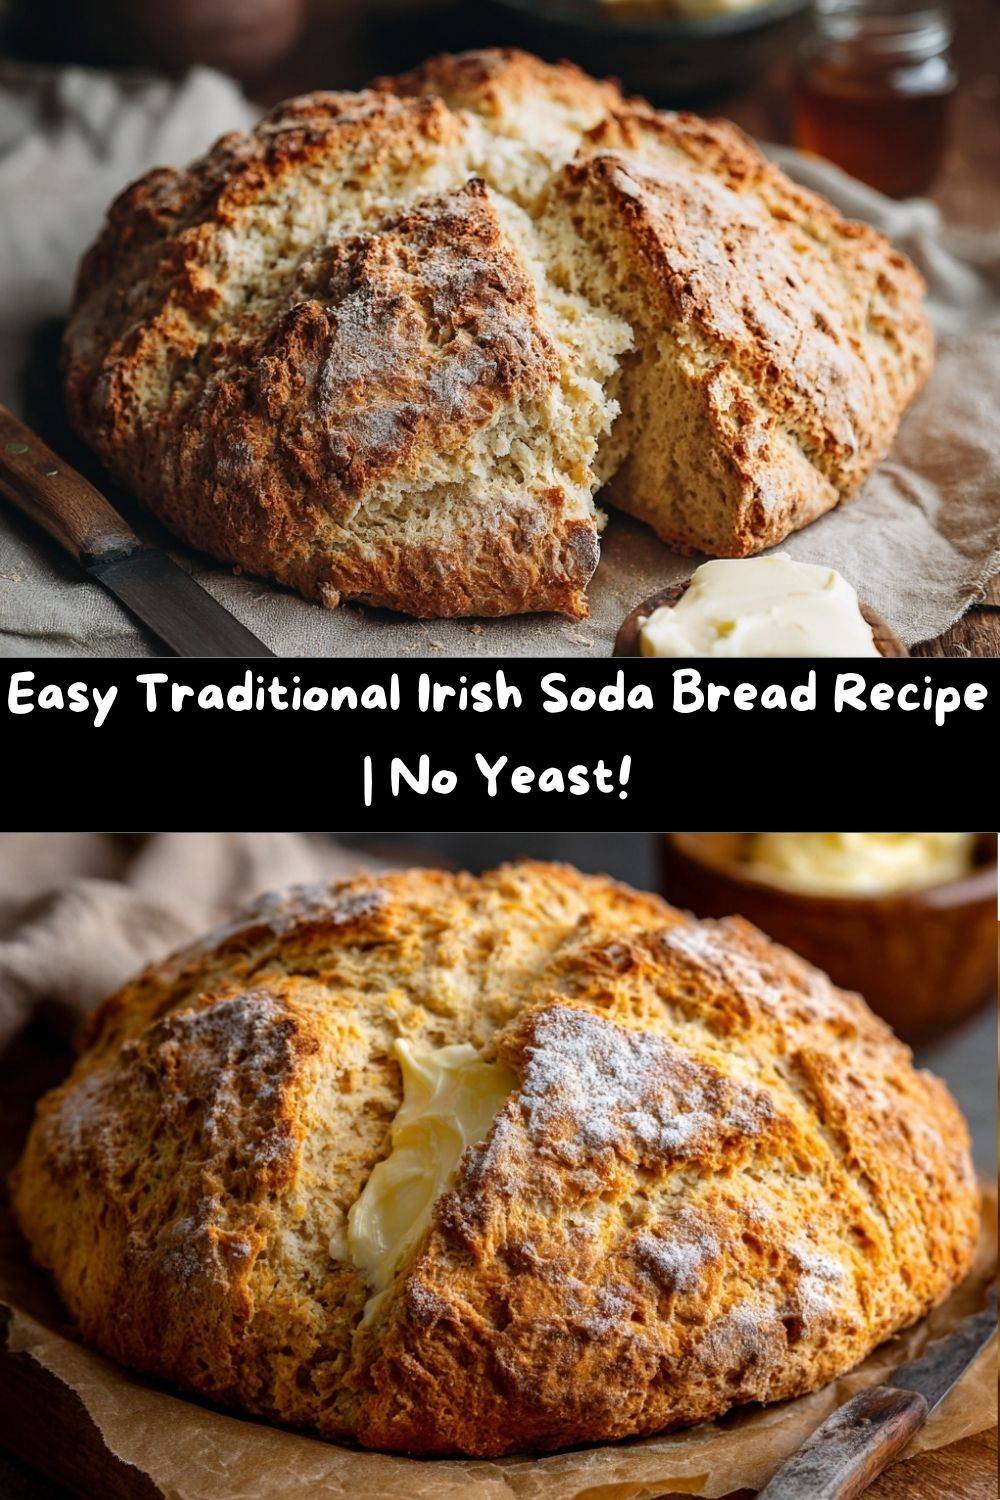
Traditional Irish Soda Bread – Rustic, Easy & Ready in Under an Hour
Hey there, my fellow food lover! Have you ever had one of those days where the air has just a little too much chill in it, your soul is craving something simple and wholesome, and the thought of waiting for yeast to rise feels like a monumental task? Well, pull up a chair and let me introduce you to your new kitchen best friend: Traditional Irish Soda Bread.
This isn’t a fussy, prim-and-proper loaf. Oh no. This is the rugged, beautiful, and wonderfully straightforward bread of the people. With a craggy, golden-brown crust that gives way to a soft, tender, and slightly dense crumb, it’s the edible equivalent of a warm, woolly sweater. The best part? It’s a quick bread, which means no yeast, no proofing, and no waiting around. From bowl to belly in under an hour? Yes, please!
I’m a firm believer that the best recipes are the ones that feel like a hug, and this bread is a full-armed, sincere embrace. It’s the perfect sidekick to a simmering pot of stew, the ideal vehicle for a generous slathering of good butter and a dollop of tangy jam, and a testament to the magic that can happen with just a handful of humble ingredients. So, tie on your favorite (and maybe a little messy) apron, and let’s bake up some comfort, together.
The Scent of Grandma’s Kitchen
My love affair with soda bread started long before culinary school, in the warm, flour-dusted haven of my grandma’s kitchen. She wasn’t Irish by birth, but she was a wizard with “making do.” I can still picture her, hands moving with a quiet confidence, never measuring with cups but with her eyes and heart. She’d mix the dough in a wide, speckled blue bowl, and the moment the baking soda hit the buttermilk, that faint fizz was like a secret signal that something magical was about to happen.
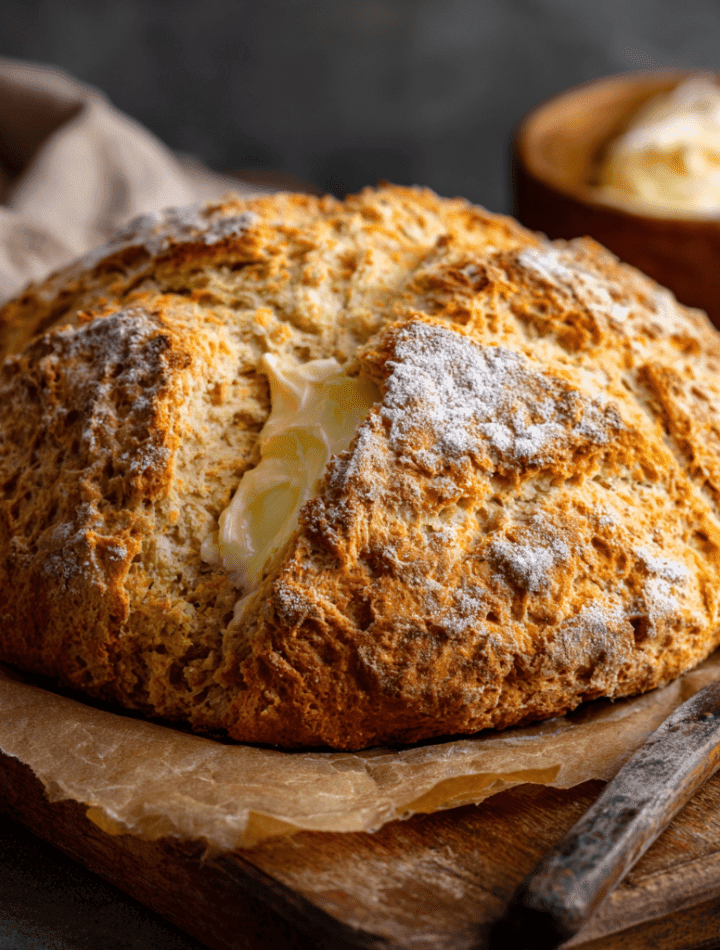
The real ceremony was the “X” she’d score on top with her sharpest knife. To my young eyes, it was just a baker’s mark. But she’d lean down and whisper, “This, my dear, lets the fairies out.” She told me it was an old tradition, a way to bless the bread and release any mischievous spirits trapped inside. As it baked, the humble loaf would bloom, the four quarters puffing up proudly, and the entire house would fill with a scent that was pure, unadulterated comfort. Breaking into that first warm slice, slathered in melting butter, wasn’t just eating; it was a lesson in tradition, simplicity, and the love baked into every crumb.
Gathering Your Simple, Magical Ingredients
The beauty of this bread is in its short and sweet ingredient list. Each one plays a crucial role, so let’s get to know our team players!
- 4 cups (500g) All-Purpose Flour: This is our foundation. It creates the perfect structure—sturdy enough to hold its shape but tender enough to melt in your mouth. For a slightly heartier loaf, you can swap out one cup for whole wheat flour.
- 1 teaspoon Baking Soda: This is the star of the show! Baking soda is our leavening agent. When it reacts with the acid in the buttermilk, it creates little bubbles of carbon dioxide that make the bread rise. No yeast required!
- 1 teaspoon Salt: Never, ever skip the salt! It’s not just for flavor; it tightens the gluten structure, giving our bread a better texture. It makes all the other flavors pop.
- 1 ¾ cups (414ml) Buttermilk: The other half of our dynamic duo! The acid in the buttermilk activates the baking soda. It also adds a subtle tang and incredible tenderness. Chef’s Tip: No buttermilk? No problem! Make a quick “sour milk” by adding 1 tablespoon of white vinegar or lemon juice to a measuring cup, then filling it to the 1 ¾ cup line with regular milk. Let it sit for 5 minutes until it curdles slightly.
- 1 tablespoon Sugar (Optional): A tiny touch of sugar won’t make the bread sweet, but it encourages a beautiful golden-brown crust and balances the tang of the buttermilk. I always add it!
- ½ cup Raisins or Currants (Optional): This is a classic addition for a “Spotted Dog” or “Railway Cake” variation. I love the little bursts of sweetness they provide. Feel free to leave them out for a truly traditional, plain loaf.
Let’s Get Baking: Your Foolproof Steps
Ready to see some kitchen magic? Follow these steps, and you’ll be a soda bread pro in no time. Remember, the key is a light touch!
Step 1: Preheat and Prep. Fire up your oven to a hot 425°F (220°C). This high heat is essential for creating that gorgeous, crackly crust. While it’s heating, line a baking sheet with a piece of parchment paper. No greasing needed!
Step 2: The Dry Team Assemble. In a large mixing bowl, whisk together your flour, baking soda, salt, and sugar (if using). I like to give the baking soda a good sift with the flour to make sure there are no pesky lumps. This ensures everything is evenly distributed for a perfect rise. If you’re adding raisins, toss them in with the dry ingredients now—this coats them in flour and helps prevent them from sinking to the bottom of the loaf.
Step 3: The Big Mix. Make a well in the center of your dry ingredients and pour in all of the buttermilk at once. Now, here’s the most important chef hack: use a fork or your fingertips to mix! You just want to stir until the flour is moistened and a soft, rough, and “shaggy” dough forms. There will still be some dry-looking bits—that’s perfect! Over-mixing is the enemy of tender soda bread, as it develops the gluten and makes it tough.
Step 4: Shape with Love (Not Muscle). Turn the shaggy dough out onto a lightly floured surface. Gently pat and fold it just enough to bring it together into a rough ball. We’re talking 10-15 seconds, max! Don’t knead it like a traditional bread dough. Think of it as gently tucking it into a round shape. Place your rustic-looking loaf onto the prepared baking sheet.
Step 5: The Signature Score. Grab a sharp, serrated knife. Now, with confidence, cut a deep “X” across the top, about halfway down into the dough. This isn’t just for looks! It helps the heat penetrate the thickest part of the loaf, ensuring it bakes evenly all the way through. It also gives the bread its classic “four-quarter” look as it expands in the oven.
Step 6: Bake to Golden Perfection. Slide your masterpiece into the hot oven and bake for 35-45 minutes. You’ll know it’s done when the crust is a deep, golden brown, and the loaf sounds beautifully hollow when you tap the bottom. Another great test is to check the internal temperature with an instant-read thermometer—it should read 190°F (88°C).
Step 7: The (Hardest Part) Cool Down. Transfer the bread to a wire rack and let it cool for at least 30 minutes before you slice into it. I know, the aroma is intoxicating and the temptation is real! But this waiting period allows the crumb to set. Slicing it too early will result in a gummy, sticky interior. Trust me, it’s worth the wait!
How to Serve Your Homemade Masterpiece
Now for the best part—eating! This bread is incredibly versatile.
The Classic Comfort: Serve thick, warm slices alongside a hearty beef and Guinness stew, a creamy potato leek soup, or a simple bowl of chili. It’s the ultimate tool for sopping up every last delicious drop.
The Simple Snack: My absolute favorite way to enjoy it? Still warm from the oven, with a generous smear of high-quality salted butter that melts into all the nooks and crannies. A drizzle of honey or a spoonful of sharp raspberry jam takes it to another level.
The Breakfast of Champions: Toasted slices of day-old soda bread are a revelation. The edges get crispy, the inside stays soft, and it’s the perfect base for poached eggs and avocado or just a simple layer of your favorite jam.
Get Creative! Fun Flavor Twists
Once you’ve mastered the classic, have some fun and make it your own! Here are a few of my favorite variations:
- Cheesy Herb Delight: Omit the sugar and raisins. Fold in 1 cup of shredded sharp Dubliner or Cheddar cheese and 2 tablespoons of fresh chopped herbs like chives, rosemary, or thyme into the dry ingredients.
- Brown Soda Bread: For a nuttier, more robust flavor, use half all-purpose flour and half whole wheat or wholemeal flour. It’s fantastic with soups and salads.
- Seeded & Hearty: Add ¼ cup each of sunflower seeds and pumpkin seeds to the dry mix. You can also sprinkle a few extra on top right before baking for a beautiful, crunchy finish.
- Sweet & Savory Apple Cheddar: A surprising and delicious combo! Add ½ cup of finely diced apple and ½ cup of shredded cheddar cheese. The sweet and savory notes are incredible.
- Gluten-Free Swap: You can make this gluten-free! Use a 1:1 gluten-free all-purpose flour blend (one with xanthan gum works best) and proceed with the recipe as directed. The texture will be a bit more crumbly, but just as delicious.
Chef Emily’s Kitchen Notes
This recipe has been my reliable friend for years, but it wasn’t always perfect. I’ll never forget the first time I made it—I was so nervous about it being underdone that I over-kneaded the dough into a tight, tough ball. The resulting loaf could have doubled as a doorstop! My grandma just laughed and said, “Even the fairies couldn’t help that one, dear.” It was a hilarious (and deliciously humbling) lesson in the power of a light touch.
Over time, I’ve learned to embrace the rustic, craggy look. A perfectly smooth, round loaf means you’ve probably worked the dough too much. The beauty of soda bread is in its humble, homemade character. Every crack and every uneven rise tells a story of a kitchen filled with love and a little bit of flour-dusted chaos. And that’s my kind of beautiful.
Your Soda Bread Questions, Answered!
Q: My bread is dense and doughy in the middle. What happened?
A: This is almost always due to one of two things: 1) The dough was over-mixed or over-kneaded, which made it tough. Remember, shaggy is good! Or 2) It needed to bake longer. Ovens can vary, so use the tap test (hollow sound) or an internal thermometer (190°F) for certainty.
Q: Can I make this without buttermilk?
A: Absolutely! My go-to substitute is the “sour milk” method mentioned in the ingredients. You can also thin plain yogurt or sour cream with a little milk until it reaches a buttermilk-like consistency.
Q: Why did my bread spread out flat instead of rising up?
A: This usually means your baking soda might be past its prime. Baking soda has a limited shelf life (about 6 months once opened). To test it, sprinkle a little into some vinegar or lemon juice. If it doesn’t bubble vigorously, it’s time for a new box.
Q: How should I store leftovers?
A: Soda bread is best eaten the day it’s made. Wrap any leftovers tightly in plastic wrap and store at room temperature for up to 2 days. For longer storage, slice and freeze it. It toasts up beautifully straight from the freezer!
Traditional Irish Soda Bread : Rustic, Easy & Ready in Under an Hour
- Total Time: 50 minutes
- Yield: 8 1x
Description
Simple, hearty, and steeped in tradition, Irish Soda Bread is the kind of no-fuss recipe every home baker needs. With a crisp crust and tender crumb, it’s perfect alongside soups, stews, or slathered in butter and jam. No yeast, no rise time—just pure, rustic goodness straight from the oven.
Ingredients
4 cups all-purpose flour
1 tsp baking soda
1 tsp salt
1¾ cups buttermilk
Optional: 1 tbsp sugar, ½ cup raisins or currants
Instructions
Preheat Oven: Set to 425°F (220°C). Line a baking sheet with parchment.
Mix Dry Ingredients: In a large bowl, whisk flour, baking soda, and salt (plus sugar, if using).
Add Buttermilk: Pour in buttermilk and mix until a shaggy dough forms. Add raisins if using.
Shape Dough: Turn onto a floured surface and knead just a few times to bring it together. Form into a round loaf.
Score & Bake: Place on baking sheet, cut a deep “X” on top, and bake 35–45 minutes or until golden and sounds hollow when tapped.
Cool: Let cool on a rack before slicing.
- Prep Time: 10 minutes
- Cook Time: 40 minutes
Nutrition
- Calories: 210 / Slice
- Fat: 2g / Slice
- Carbohydrates: 40g / Slice
- Protein: 6g / Slice
Nutritional Information (A Quick Look)
While we bake for joy and flavor, it’s always good to know what’s going into our bodies! This information is per slice (assuming 8 slices per loaf) and is an estimate.
This traditional loaf is a good source of carbohydrates for energy. The buttermilk adds a bit of protein and calcium. Using whole wheat flour will increase the fiber content. Remember, the joy and comfort it brings are part of its nutritional goodness, too! A balanced life always has room for warm bread and butter.
Final Thoughts from My Kitchen to Yours
Well, my friend, we’ve done it. We’ve taken a handful of simple, pantry-staple ingredients and transformed them into a loaf of bread that’s steeped in history, warmth, and incredible flavor. I hope this recipe becomes a staple in your home, just like it is in mine.
This Traditional Irish Soda Bread is more than just a recipe; it’s a reminder that the most satisfying things in life are often the simplest. It’s about embracing imperfection, sharing food with loved ones, and finding magic in the everyday. So the next time you need a little kitchen therapy or the perfect companion for your soup, remember this loaf. It’s waiting for you.
Now, I’d love to hear from you! Did you add cheese? Try the seeds? Tag me on social @TastyChow with a photo of your beautiful, rustic creation. Happy baking!
With love and a full belly,
Chef Emily